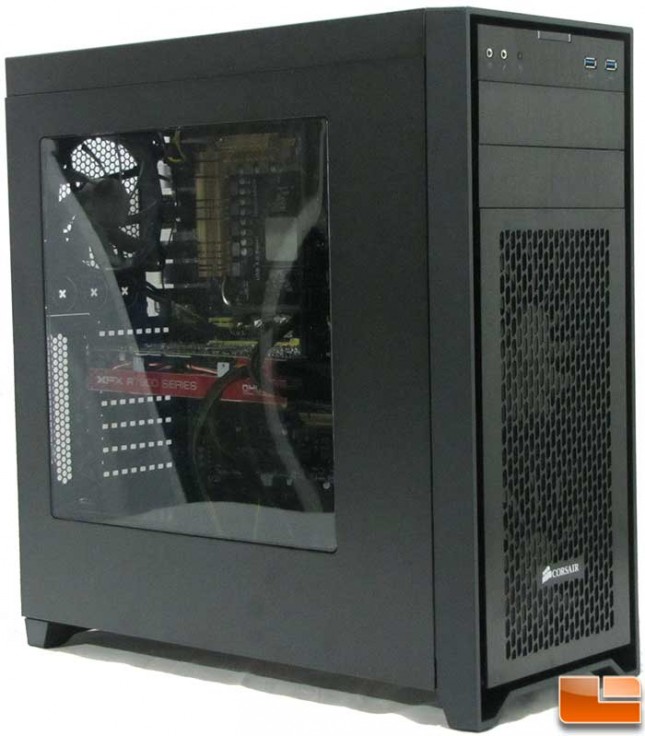
Corsair Obsidian 450D Mid-Tower Case Review
Obsidian 450D Hardware Installation
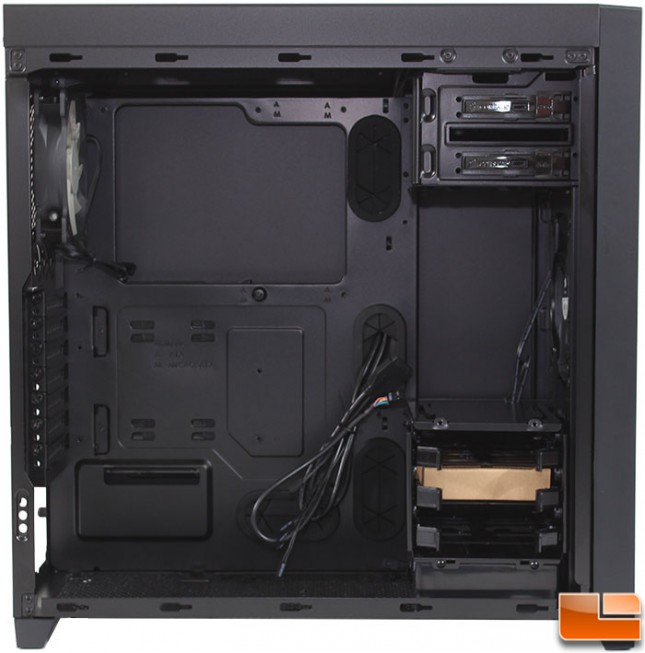
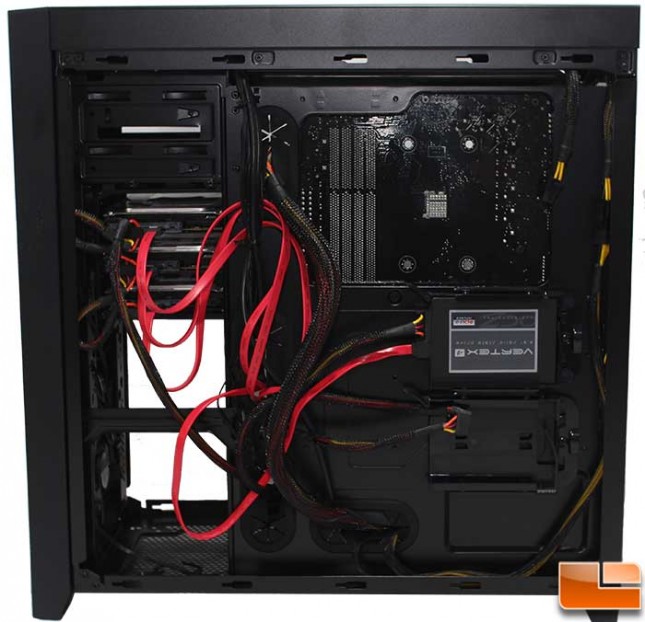
Being a mid-tower case, space is limited, however Corsair has doing a great job at making the interior of the 450D extremely roomy. The spacious interior will help any user install their components rather easily. While we mainly see four cable management holes, there is actually a fifth right by the 140mm exhaust fan for the motherboard auxiliary power cable.
The 3.5″ hard drive trays is a standard design, the drive connections face the back side of the case, which requires the back panel to be removed to properly install them. Putting a drive onto the tray is easy, slide the hard drive onto two of the pins and bend the tray slightly to align the other two pins.

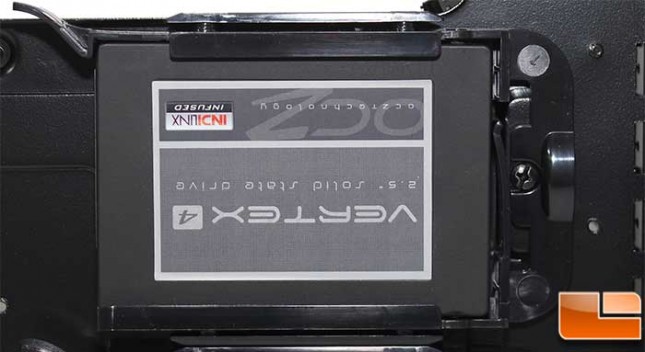
Two 2.5″ hard drives can be hidden on the backside of the motherboard tray, like the 3.5″ drives these are tool-less. These install even easier, pull the lever to make it easy to slide the drive into place and the lever holds the drive in place.
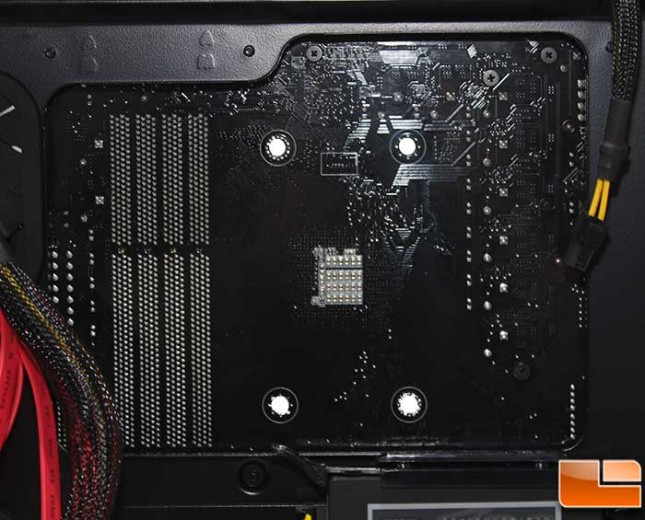
Corsair has preinstalled the motherboard standoffs, and made the middle standoff (right below the CPU location) a guide pin. This makes it extremely easy to install a motherboard. After a standard ATX motherboard is installed, we can see how much extra room there is to install the various components. While installing the hard drives, I decided to move the 3.5″ drive chassis to being right below the 5.25″ drive bays. Two screws hold it in place at the bottom, and only one screw at the top, of course it has metal rails for the drive chassis to slide into place.
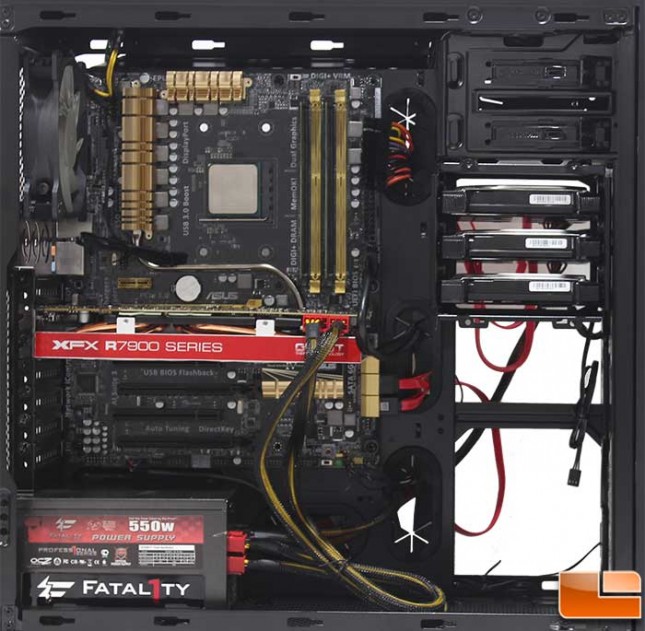
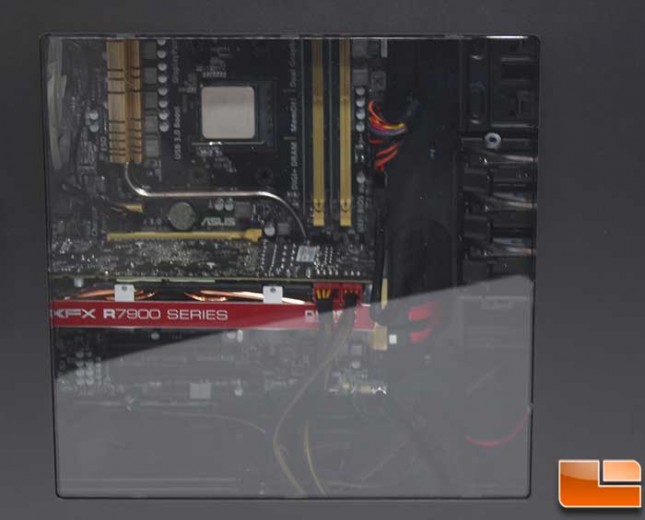
The Obsidian 450D supports video cards up to 400mm in length, the XFX R7950 video card that was installed is 236mm, so there is a large amount of space available for the largest of video cards.
On the back side, once cables started to be run I originally opted to use straight SATA cables, which will work, however they do stick out a little, using right angle connectors will fix this. Cable routing otherwise is very simple and easy to keep organized. While only a few cable tie locations are provided they are strategically placed to secure the cables with ease.
While the CPU cooler hadn’t been installed yet, there is plenty of room in the cutout to install a CPU cooler at anytime.
Putting the side panels back in place is easily done. With everything installed, we can step back and take a look at the side window. The window is very large and clear, it allows the hardware to be shown off.
With the system turned on, the three included fans are very quiet and should keep the Obsidian 450D cool. However, if liquid cooling is more your style, there are many options within the 450D to liquid cool your system