Corsair Obsidian 250D Mini ITX PC Chassis Review
Corsair Obsidian 250D Build
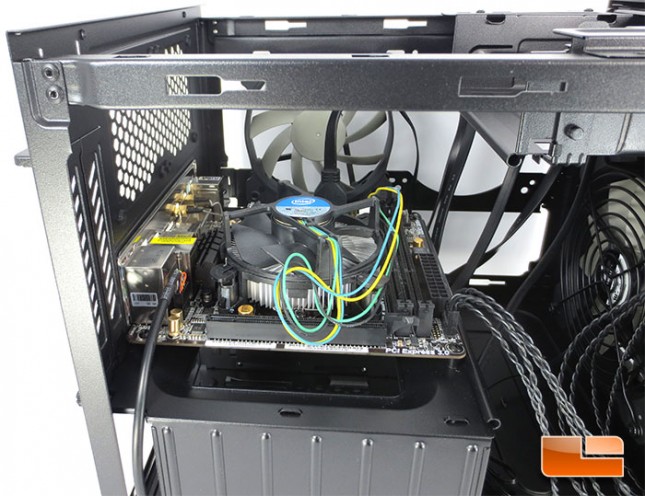
I didn’t want to go to crazy right out of the box so I started out with a simple mini ITX motherboard with the stock Intel heatsink. Using the Stock Intel heatsink leaves plenty of room over the motherboard for the system to breath. It isn’t the most exciting build in the Corsair Obsidian 250D, but it does gives us an idea of the area we are working with.
When installing the ASRock Z77E-ITX mini ITX motherboard the I/O shield installed into the Corsair Obsidian 250D without any issues. From personal experiences, if the I/O shield fits well you know you have a quality case.
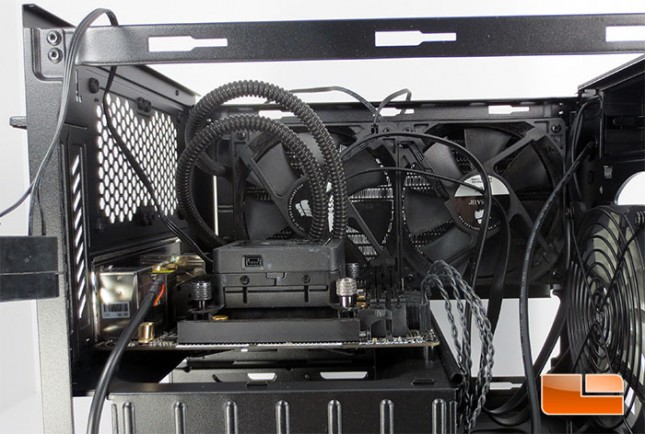
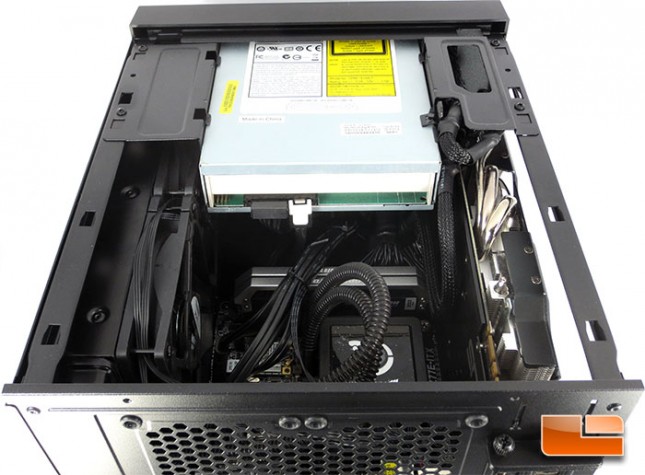
I couldn’t leave the Intel heatsink on there, I just couldn’t do it. Though in order to install the Corsair H100 into the Obsidian 250D I had to remove the 5.25″ drive cage. Once that was out of the way the H100 Hydro was able to mount right up.
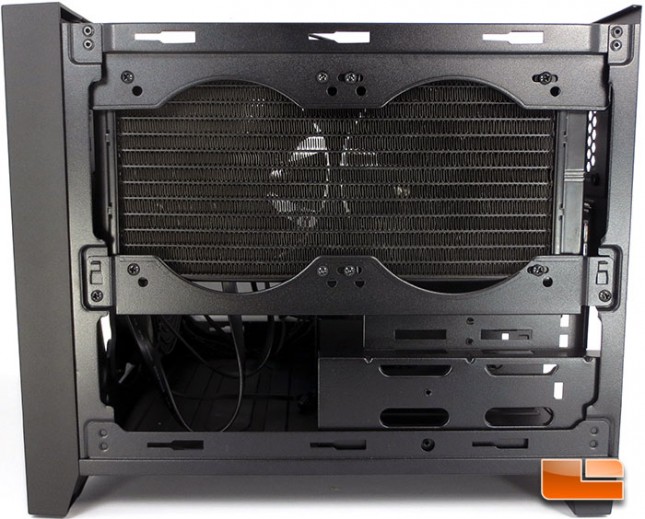
Here’s a look at the Corsair Obsidian 250D and the H100 from the opposite side, it pretty well fills up the entire side of the chassis. I tried to install the H100 with the fans mounted where the radiator is, but ran into some clearance issues with the hoses. Even as it is the hoses were a little close for comfort.
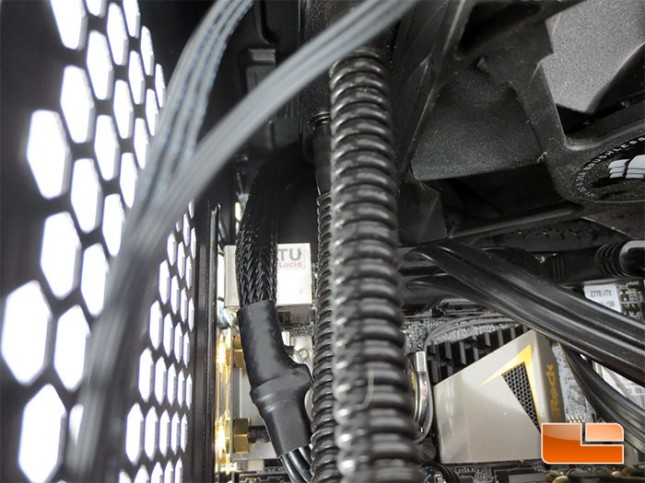
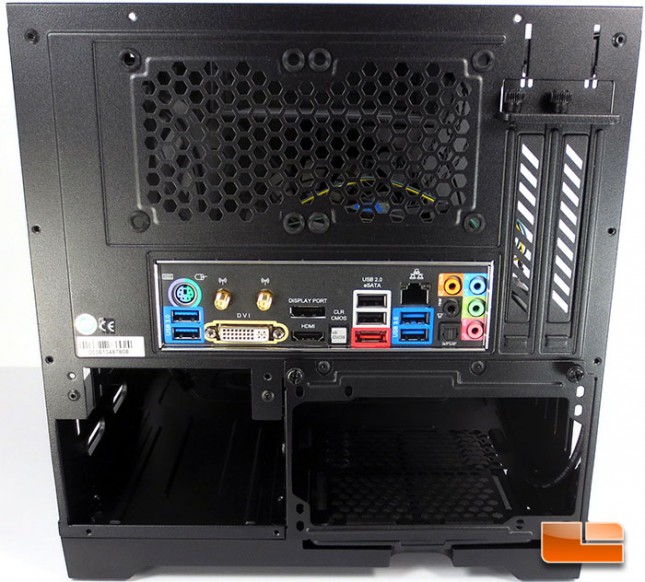
The hoses look as if they are running between the PS/2 port and the SATA cables, but they are a hair above the PS/2 port. The edge of the fan is right at the edge of the PCB though, same height and only a hairs gap between them. The Obsidian 250D will fit standard thickness radiators like the Corsair Hydro H100 and H100i which both measure 27mm, but not their latest and greatest Hydro H105 which has a radiator thickness of 38mm.
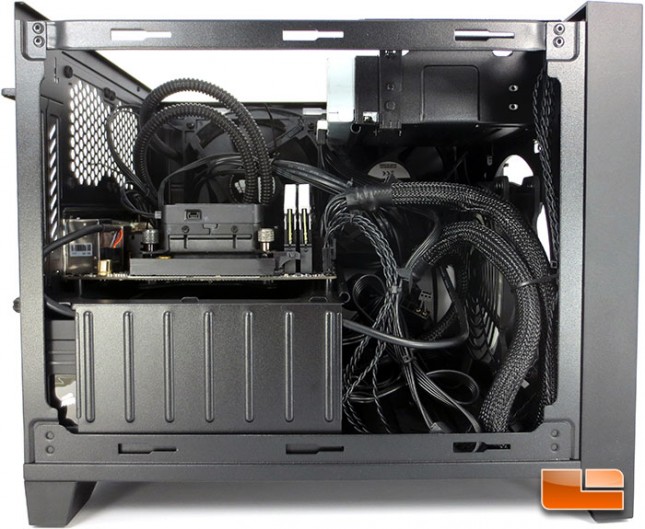
I will be the first to admit that cable management isn’t my strong suit, and the combination of parts that I was using didn’t make it any easier. The power supply that I stuffed in the Corsair Obsidian 250D is the Corsair AX860i, and while it is a beast of a power supply it isn’t exactly designed for small form factor systems. Fortunately the AX860i is completely modular so I didn’t need to worry about cables that I wasn’t using. Using a power supply with shorter cables would have made cabling quite a bit neater. Just a suggestion for you Corsair if you’re reading this, offer power supplies with short cables, or at least a set of short cables available for purchase.
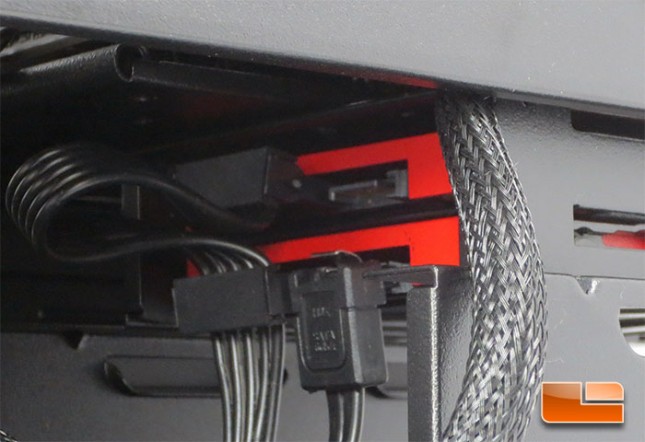
This hurt my brain a little bit. Mounting two SSD’s in the drive cage puts them a little to close for comfort. Using a single SATA power cable from the Corsair AX860i wasn’t a brilliant idea, the way that the plugs are wired into the cable puts to much stress on the SSD power connections and causes them to flex. I’m not saying that they will break, but in the long run it can’t be good for them. This is another brilliant idea, include an adapter for the SSD power that is properly spaced and can connect to a single SATA power cable.
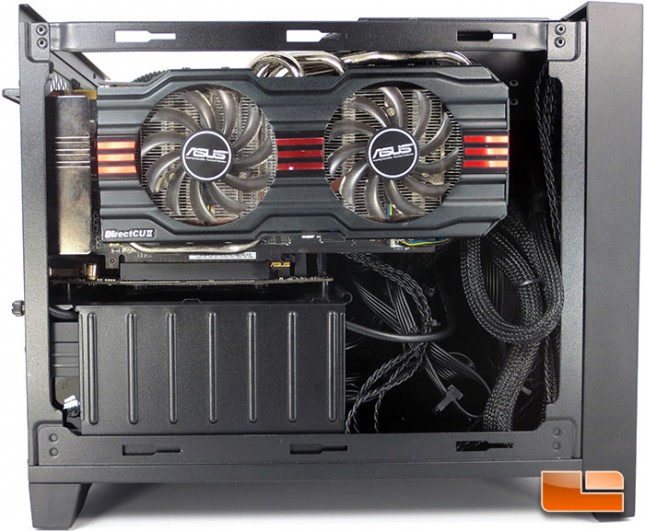
The Corsair Obsidian 250D can handle some of the most powerful graphics cards on the market. Our ASUS Direct CUII GeForce GTX 670 measures 10.7″ (272mm), and the Obsidian 250 can handle graphics cards up to 295mm in length.
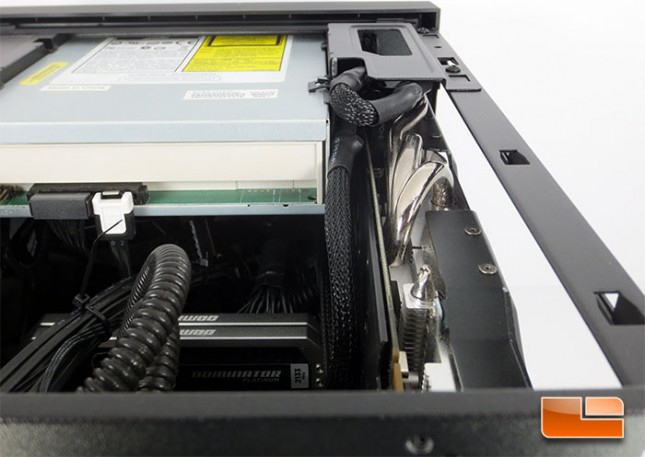
It was a little tricky getting the 6pin power plugs to fit under the 5.25″ drive cage, but ultimately I was able to route the wires and everything fit nicely without putting any pressure on the card.
Looking down on the Corsair Obsidian 250D when the system is all built up, you really can’t see my rats nest of wires down at the bottom of the chassis. All the extra cable length is tucked away under the 5.25″ drive cage and there are no windows that have a view down there.
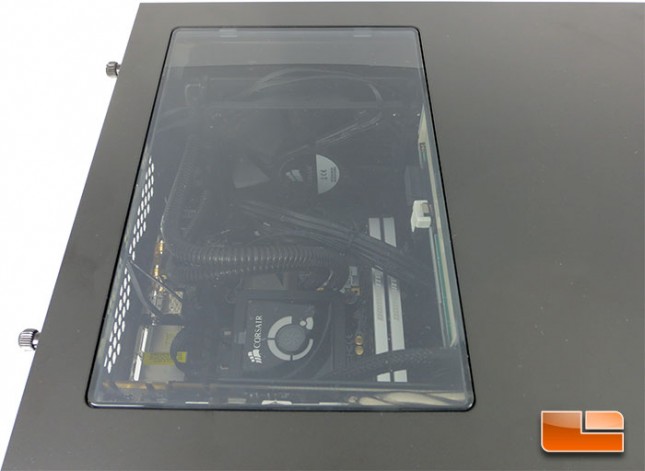
I mentioned earlier that the window on the top of the Corsair Obsidian 250D shows off the motherboard and components of the build. From this slightly awkward angle the water cooling, memory, motherboard and the graphics card are all visible. What you can’t see is the excess wires, power supply, and hard drives. It’s always good to keep a little mystery in a build.
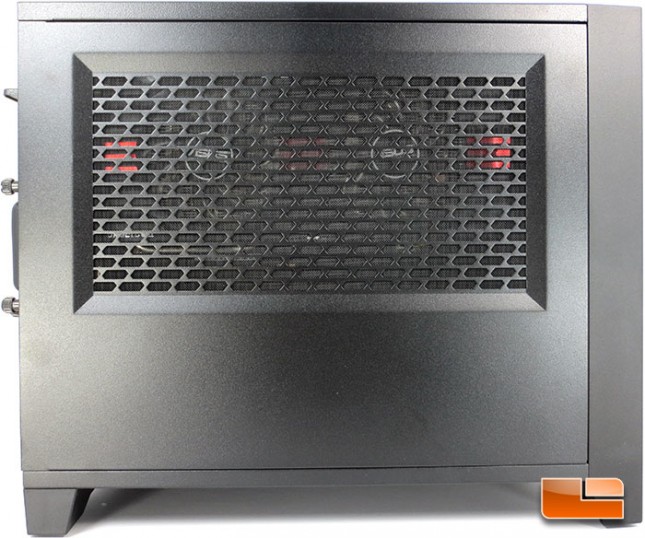
Although the side panel has plenty of ventilation, the magnetic filter keeps our view of the ASUS Direct CUII GeForce GTX 670 slightly obscured. It’s still easy to see that is an ASUS card within the Corsair Obsidian 250D, but the cosmetic details aren’t as readily available.

Once the optical drive is installed into the Corsair Obsidian 250D we can pretty much call the build complete. This particular drive is a little more on the grey side, and the system would look better with a darker black drive.

Side panels are on and the system is built!