Corsair Hydro Series H100i Extreme Performance CPU Cooler Review
Installing The H100i CPU Cooler
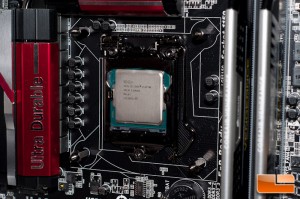
This H100i system will be installed on an Intel Core-i7 4770k, and I will show you how easy it is to install. I am also going to be using a Fractal Design Define XL R2 case, which should work perfectly for this kit.
To prep your system, make sure that your CPU is clean of any old thermal paste and other debris. Make sure you use rubbing alcohol with the highest purity that you can find.
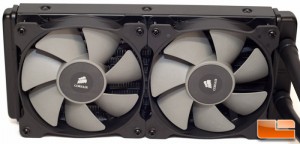
I strongly recommend putting the fans on before installing this kit. It will save you a lot of headaches in the long run. I made sure that the fan wires were facing the rear of my case, just so I could keep them out of the way and keep my case looking neat on the side that counts. I tend to be afraid of damaging the radiator when installing hardware, but I found the included screws to be just the right length that they wont poke the radiator. Heres a quick shot of the fans installed before I hook this up to my case.
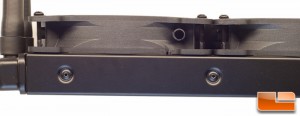
A side profile shot will show you that the fans and radiator are just about the same thickness.
When youre ready to move onto your case, you will want to start off by mounting the radiator to the appropriate place on your case. In my setup, I mounted it to the top. This is a very ideal location for this kit, anyway.
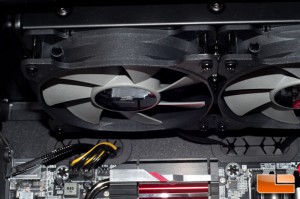
With the radiator mounted, I had a good amount of clearance in my case before I hit the motherboard and its components.
Next up you will want to mount the backing plate. This plate can be used with Intel sockets 1155, 1156, and 1150,and 1366. Socket 2011 will just use special standoffs that are included.
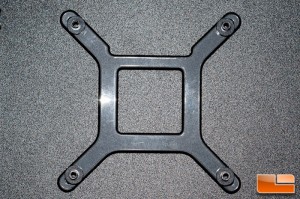
This bracket has tool-free adjustable mounting points on it, which makes it convenient for everyone. After adjusting the bracket to fit my socket 1150 setup, I used the appropriate standoffs and screwed it into place. From the rear, this is what youll see.

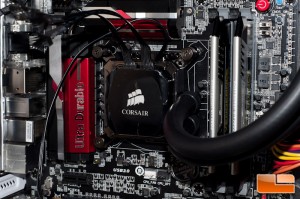
Now that were ready to mount the water block, simply pull the protective plastic off to start. Next up slide the top mounting plate over the block and it will snap into place. This plate is magnetically held into place, so you should not need to worry more about it slipping off. Finally, hold the block in place and use the thumb screws to get you started with holding the block in place. I opted to use a screw driver to tighten these down further.
Now that weve got everything in place, its time to connect the cables to it. Should you have four fans to connect, you can use both cables. Since only two are included in the kit, well use just one. In the below picture, I demonstrate having both in place.
Also, we cant forget to hook up that 3-pin cable to a fan header and also the SATA power connector.
I removed one of the cables and then hooked up the two fans to the cable that I attached to the water block.
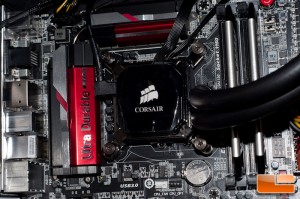
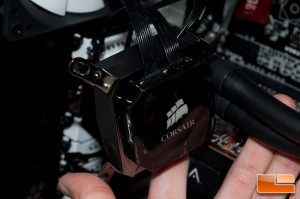
Finally I hooked up the USB cable to a USB header on my motherboard, which will be the link for Corsair Link. Heres a finalized shot of the block in place. You can also see the radiator hovering above.
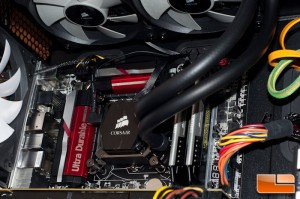
Finally, firing everything up, we can see the initial white color of the Corsair logo. This logo will change color based on a series of events, should you choose to set that up. Otherwise you can opt to set it a static color of your choice.

Listening to the fans, I had no complains. Under low speeds, these fans were nice and quiet. When they ramped up, they were loud, but not obnoxiously loud like some other fans that Ive heard.
You can do a number of things with the Corsair Link software, but at the time of writing this article, the Corsair Link software was NOT compatible with Haswell CPUs. Corsair is aware of this and they are working hard on updating the software. So with that said, until they release their updated software, you will not be able to view information about the H100i system or change the LEDs.
This wraps up the overview of the H100i, so lets take a quick look at the hardware that well be using in conjunction with this kit.