Corsair Crystal 570X Tempered Glass Case Review
Crystal 570X Build
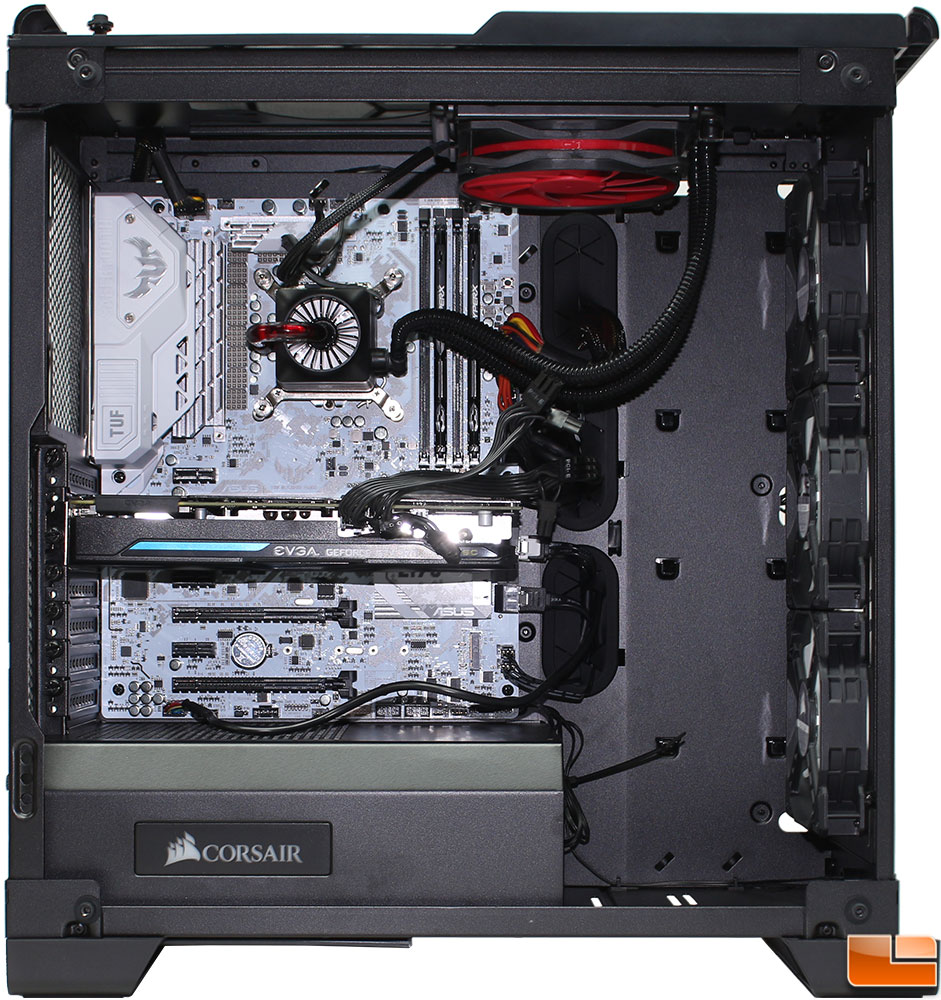
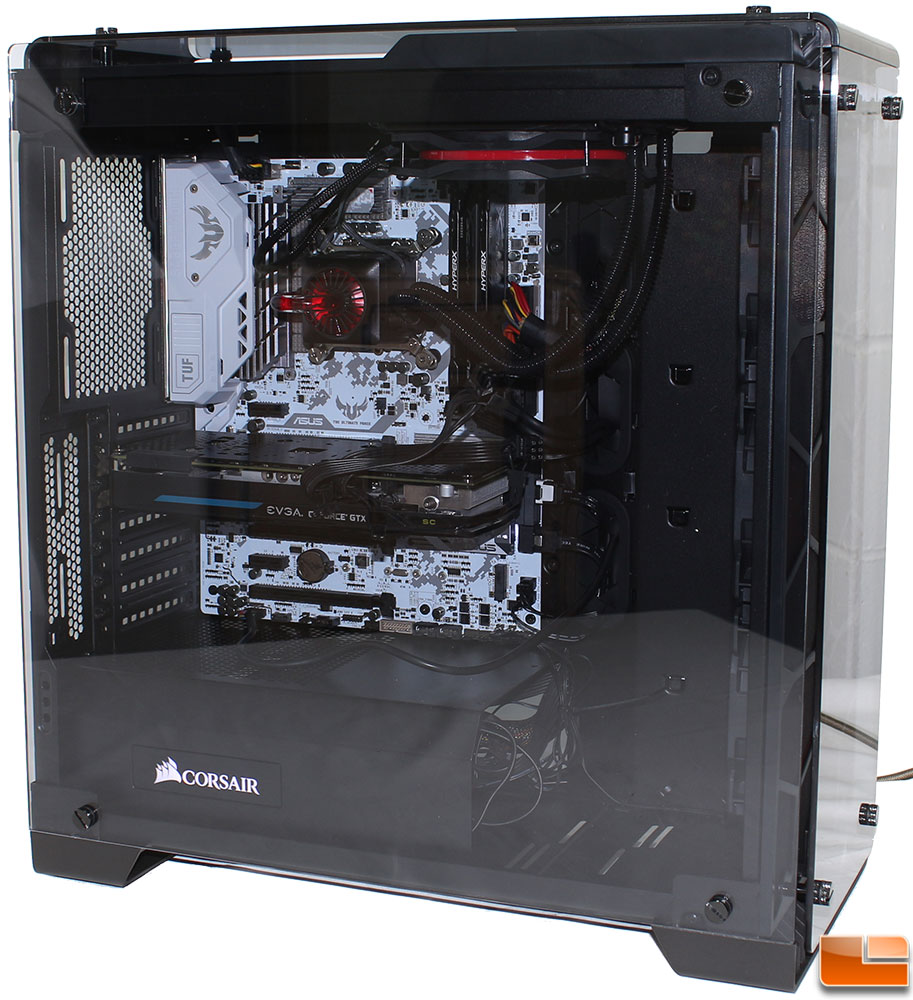
The Corsair Crystal 570X comfortably fits an ATX motherboard, a smaller motherboard would obviously fit with plenty of room. The slightly angled cable management holes, makes it a little nicer to route cables through, especially like the SATA ports that are along the edge of the motherboard. At the front of the case, there is plenty of room to install liquid cooling options. There is approximately 3.5″ of space between the SP120 fans, and the cable management holes, which is more than enough room to install a thick radiator, and fans in a push/pull configuration; or a large reservoir on the bottom.
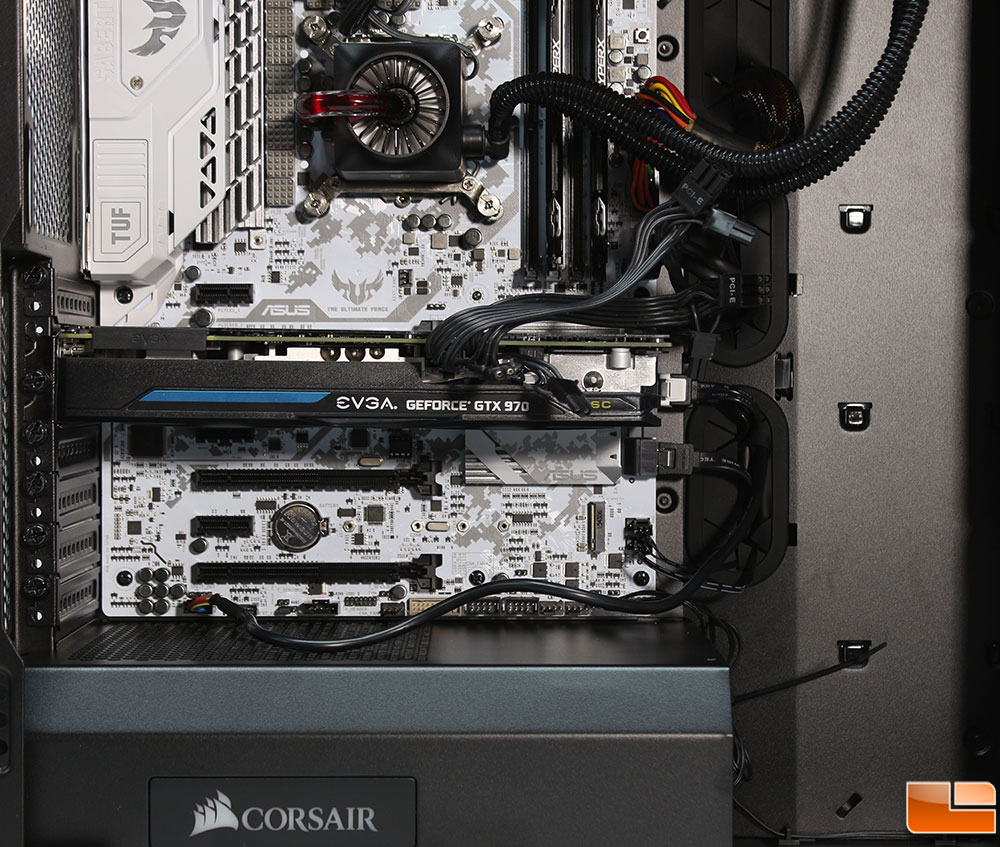
When routing the cables for the connectors on the bottom edge of the motherboard, I found that without a hole on top of the power supply cover, I had to run the cables over the top of the cover. Thankfully, this motherboard has two USB 3.0 ports, and I was planning on using the one near the 24-pin ATX power connector, however if I wanted to use the bottom one for a cleaner installation, the big USB 3.0 cable would be laying on top of the power supply cover. It’s a little hard to see, but the top panel connectors (power switch and power LED) I routed from below the power supply cover. The PCI-E power cables, were routed along the back side of the tray, and routed through the second cable management hole in the tray, with the 24-pin ATX power cable through the top hole.
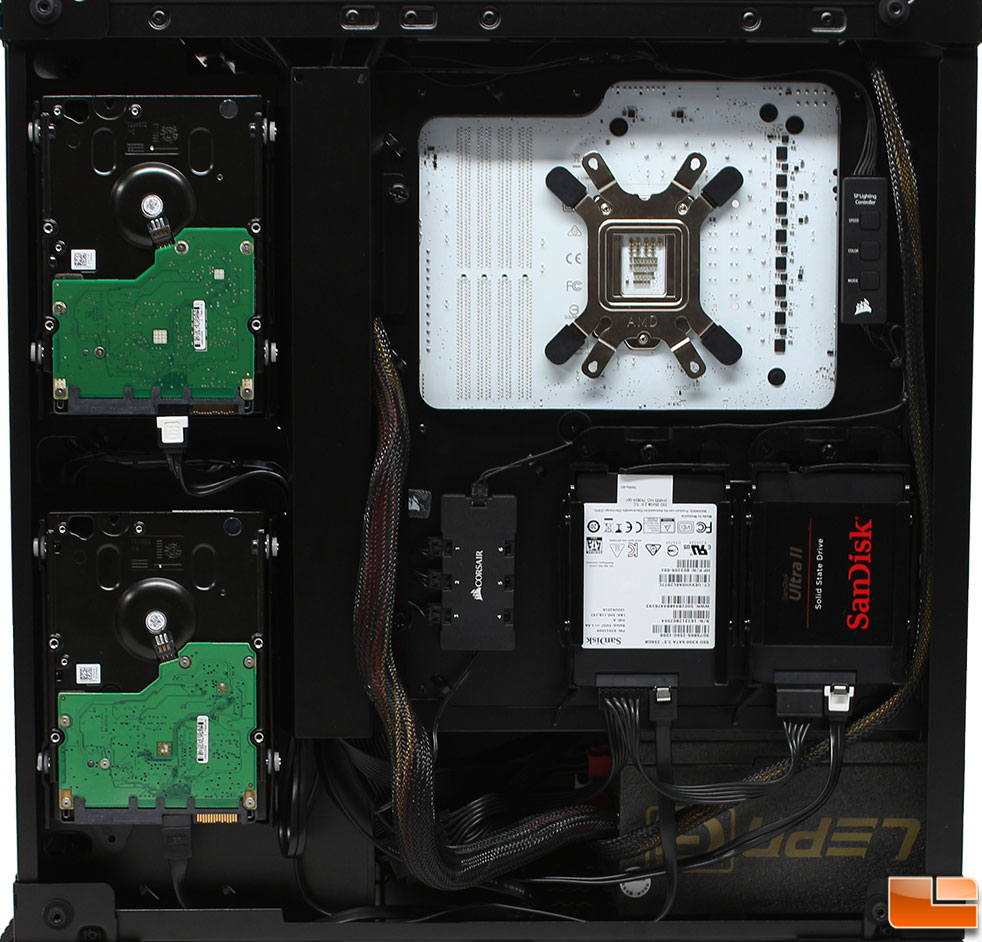
Taking a quick look at the back of the motherboard tray, we can see there is plenty of room to install the AIO liquid cooler support bracket without any issues. There is more than enough room that it should be able to accommodate most placements of the CPU. Overall, the cable management is fairly easy to do, with a few caveats, which we will discuss momentarily. With the 3.5″ hard drives, and 2.5″ SSD’s in place, I could it extremely easy to connect both the data and power cables.
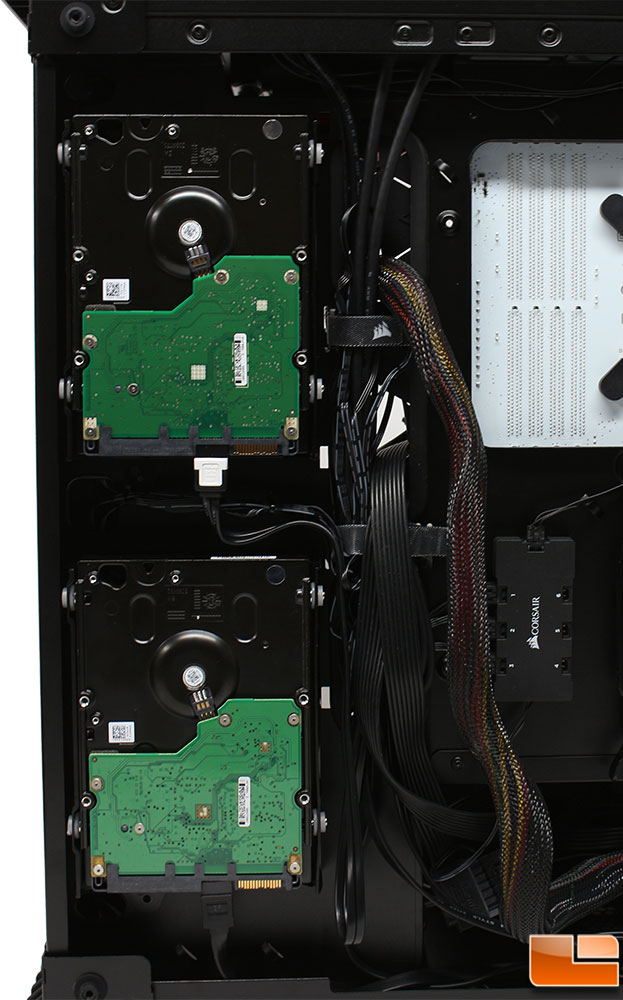
Here is the second place where I started to become a little disappointed. First, let’s talk about the 3.5″ hard drives, while they are mounted well, and secured to the trays with the tool-less clips, I would have personally preferred to see the labels on the drives rather than the black case and PCB. I did try to turn them around so the labels would face out, however then they stood out too far and the panel wouldn’t go on. Next, let’s take a closer look at the cable channel without the cover. Other than the pre-installed cables, we added the four SATA data cables, 2x PCI-E cables and the 24-pin ATX motherboard power cable. With just these, as we saw previously, I wasn’t able to get the cover on; the ATX power cable, with the other cables was just too much in that little area. I moved the 24-pin ATX cable out of the way it was still a little difficult to replace the cover, however I was able to install it without pinching any of the cables.
If there had been a couple cable holes on top of the power supply cover, I could have routed the PCI-E cables through that, and not had any issues with the cover. Another option would be to discard the cover, and secure all the cables neatly in that channel. With the cover in place, I could secure the 24-pin ATX cable on the other side of the LED control hub as there is a cable tie location there.
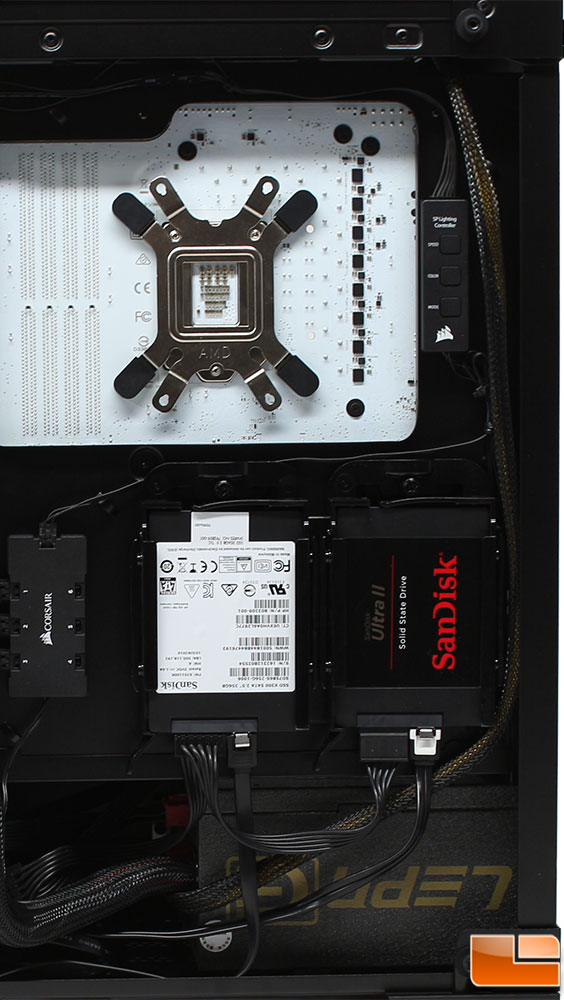
The area on the back of the motherboard tray for the SSD drives is very clean. While I didn’t spend much time on doing these cables, it really wasn’t necessary. Most of the cables fall down alongside the power supply, and the one cable that routes to the top, is easily routed along the back edge. There are a couple cable tie locations here that will keep that 8-pin AUX power cable secure. While I haven’t secured the cable, there is a well placed tie location at the top to keep it secure. Corsair has already secured the cables going from the LED control hub to the controller and to the top buttons, nothing to worry about on those.
-

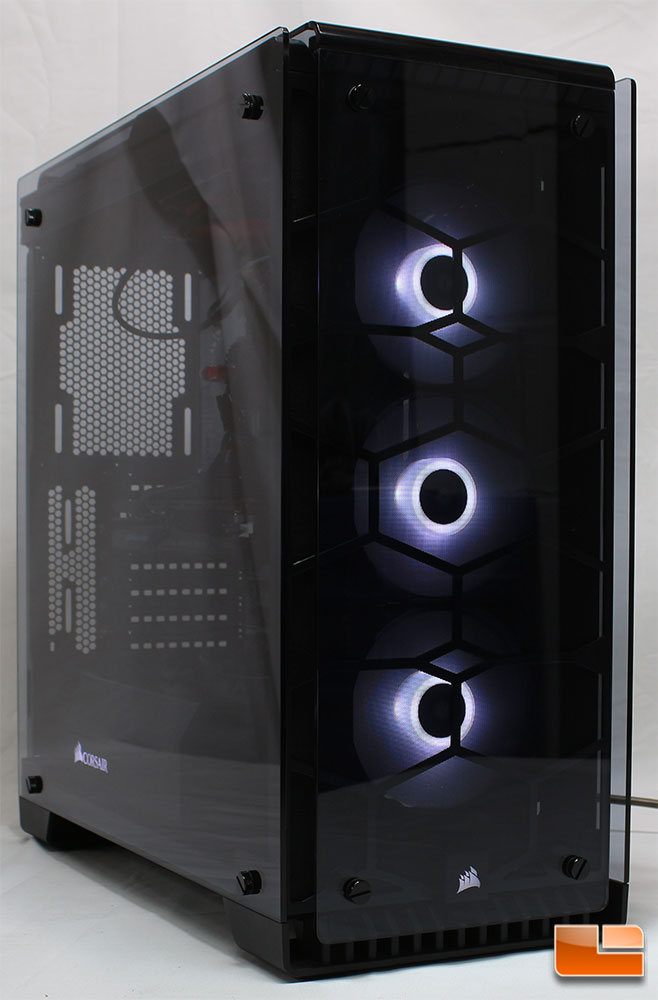
- Corsair Crystal 570X White
-

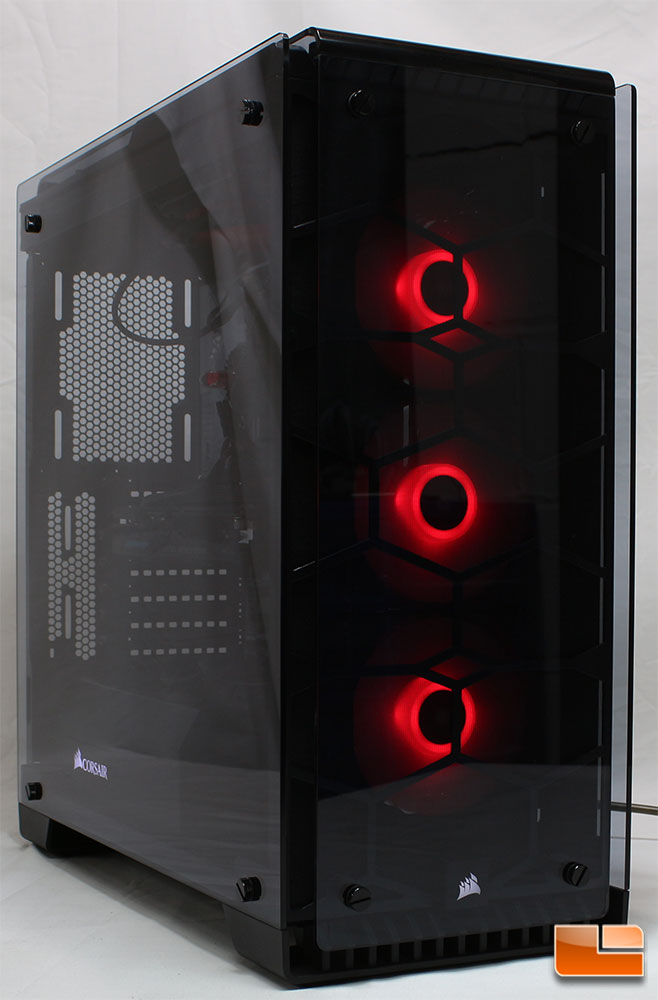
- Corsair Crystal 570X Red
-
- Corsair Crystal 570X Orange

-
- Corsair Crystal 570X Yellow

-

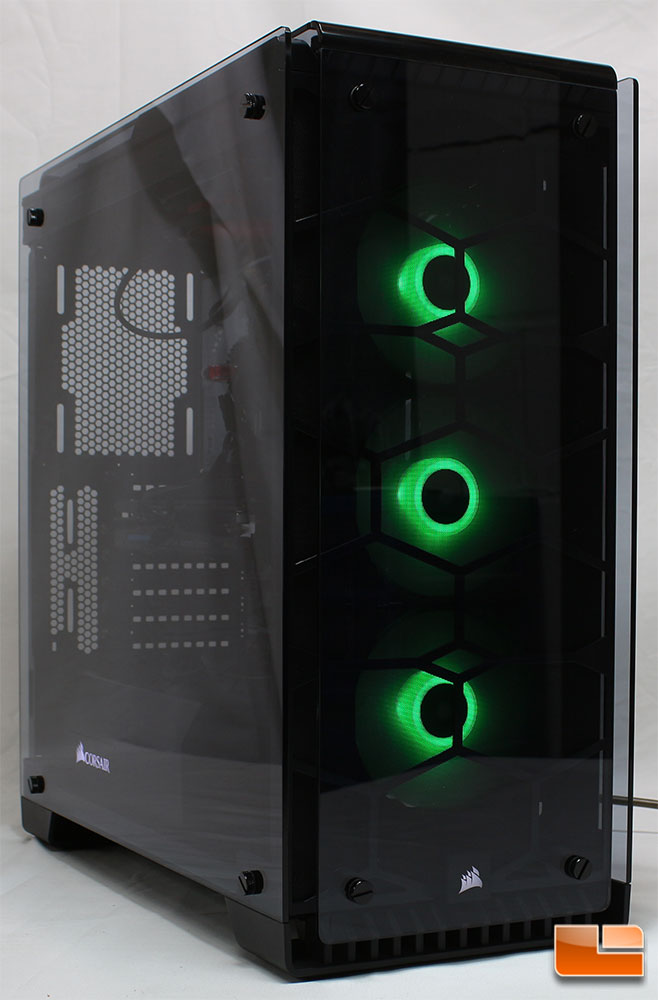
- Corsair Crystal 570X Green
-

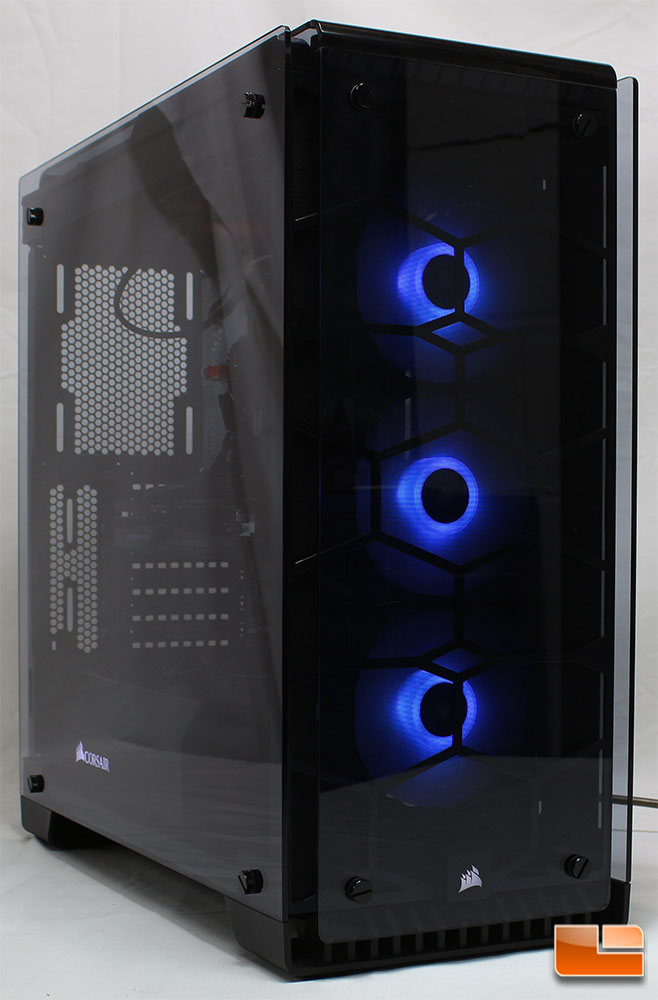
- Corsair Crystal 570X Blue
-

- Corsair Crystal 570X Violet

I hadn’t seen the Corsair SP120 RGB fans before, and have to admit I’m impressed with the quality of their color. With the hub mounted LED’s, the colors refract through the translucent blades better than I had imagined, and better than the pictures show. In low light, the color reaches from the center hub to the edge of the blades.
Playing with the controls, on the top mounted controller, for somebody that hadn’t seen the case before, it took a quick minute to figure out the order of the buttons. As a refresher, they are Color, Speed then Mode. The colors include White, Red, Orange, Yellow, Green, Blue, Violet and color cycling. Lighting modes include Breath & Flicker, Static, Breathing, and Flicker. Finally, the speed control includes three options, High, Medium and Slow.