Corsair Carbide Spec-Omega Mid-Tower Case Review
Corsair Spec-Omega Interior Overview
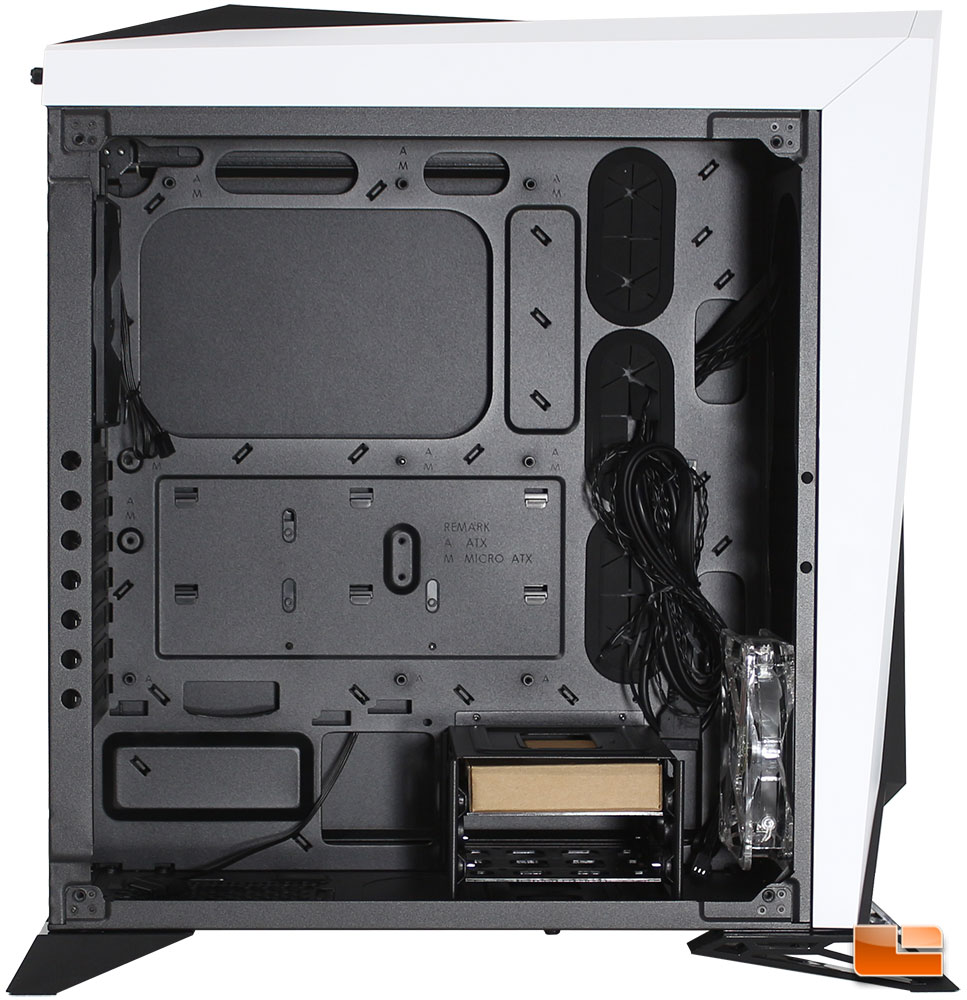
With the Tempered Glass side panel removed, we can get a clear view of the internal components. The first thing I noticed was the large number of holes in the motherboard tray which can make easier to route your cables; the three large cable management holes have rubber grommets to protect and keep your cables neat. In addition to the cable management holes, there are also a large number of places to secure those cables on the back side, Corsair has also included several on the front side, near the holes by the front intake fan locations. Next, along the back edge of the case there are seven holes meant to make it easier to remove the screws that hold the expansion slot covers and any expansion cards in place. Corsair has pre-installed the motherboard standoffs, with the center standoff being a peg to guide your motherboard into the proper location.
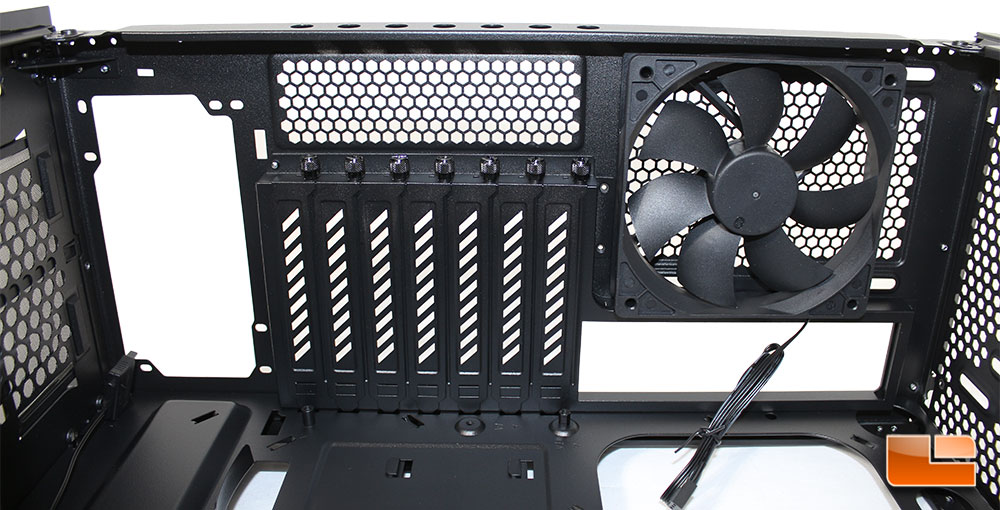
The back panel isn’t very exciting, it’s exactly as we expected from the exterior view. The several expansion slot covers are held in place with thumbscrews, while the rear 120mm exhaust fan is a standard case fan, not an LED fan. I would have liked for Corsair to include another LED fan here to light up the case a little as the Tempered Glass side panel allow you to show off your system; of course you are welcome to swap it with either a 120mm LED fan of your choice if you wanted to.

The included 120mm SP120 LED fan is pre-installed at the bottom position, which will give you the best view of the LED’s through the front window. If you were to install a 360mm radiator there is space between the front fan and the 3.5in drive cage to slide your radiator into place.
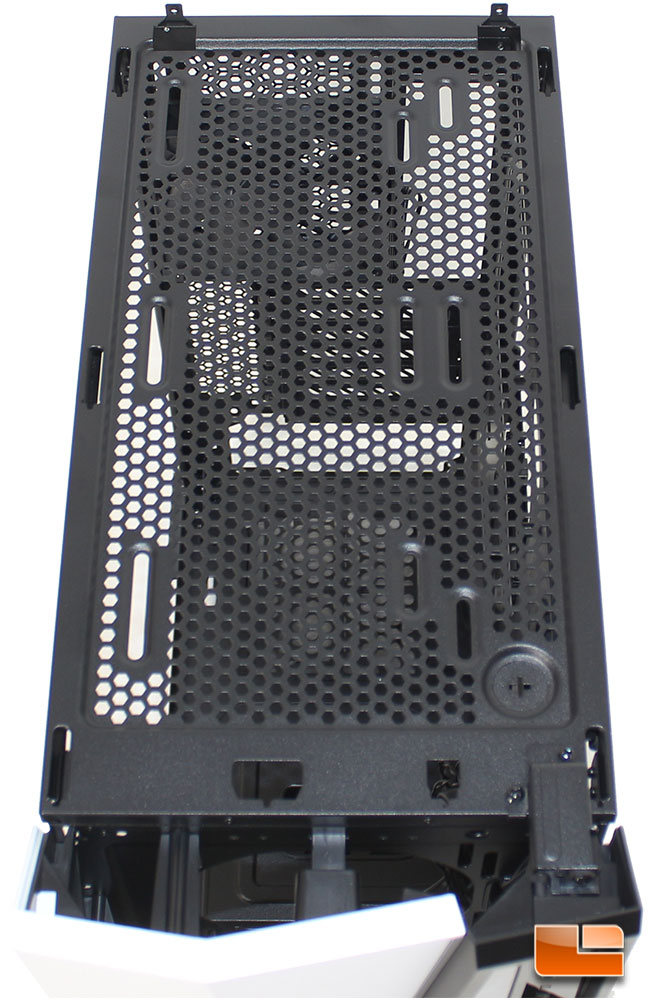
With the top plastic panel removed, we can see that the top panel is fully vented and has room for two 120mm or two 140mm fans. There is also a small round punch-out behind the front panel I/O cluster.

On the back side of the motherboard tray, we find many of the usual suspects. Corsair has installed a large number of cable management holes, a total of twelve holes are in the motherboard tray, not counting the oversize hole for the CPU bracket or the power supply cable hole at the bottom. To secure your cables there are close to 20 places that you can use cable ties to keep your case secured! All of the cable management holes have rolled edges to keep your skin and cables safe from cutting.
Just below the CPU bracket cutout, there is a triple 2.5 inch drive cage. Here you can install your 2.5 inch drives simply by sliding them into place with the power and data connectors facing up (towards the top of the case).

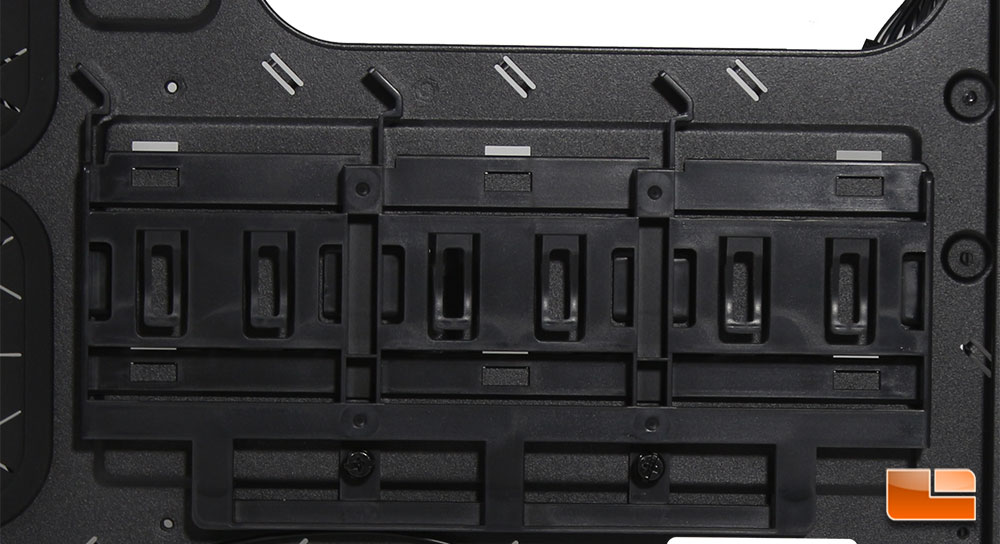
In the 3.5 inch drive cage there are two trays for the drives. These are standard drive trays with little pegs that go into the screw holes on the sides of the drives or if you prefer to use screws there are holes in the bottom of the tray. In addition to using 3.5 inch hard drives, you can also install 2.5 inch drives. Removing the drive trays is done through the back side of the computer. Should you wish to remove the 3.5 inch drive cage, there are two screws on the back side that secures it to the motherboard tray.
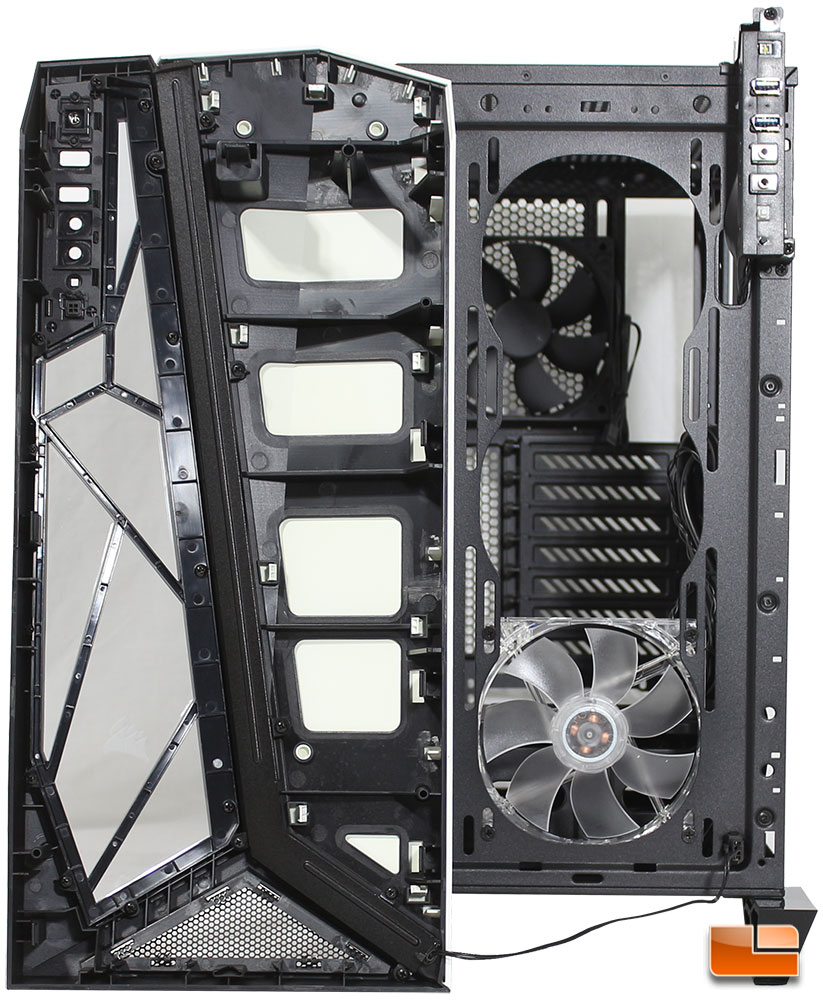
Removing the front panel isn’t as straight forward as pulling it off. There are three clips on each side that need to be released, then there is one at the top in the middle, about 1.5 inches from the top edge. While pressing on them, you need to slightly pull on the front panel to pull it away. I recommend removing the top panel to be able to get a good grip. once it’s pulled away, we can see the three 120m fan mount locations on the case, and a fairly short cable for the front panel’s integrated accent LED. This cable is a little tricky when putting the front panel back on the case, however there are a few clips on the bottom that are used to keep the cable secure and away from the fan.
Now that we know everything that the Corsair Spec-Omega has to offer, let’s build a system in it and see how it goes.