Corsair Carbide Air 240 mATX Case Review
Carbide Air 240 Internal Impressions

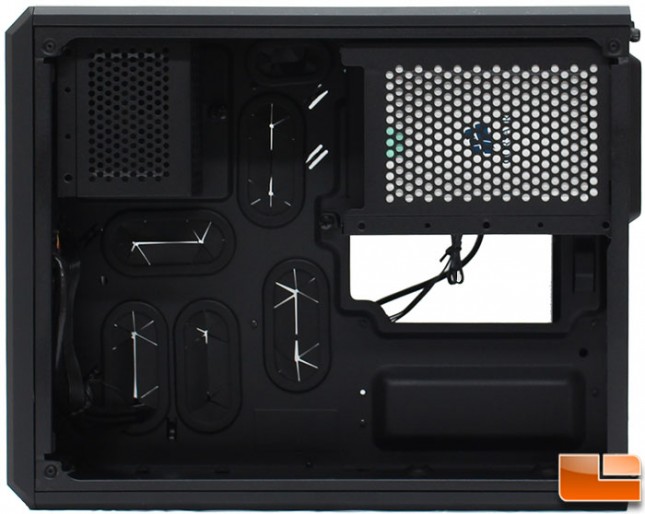
The side panel is removed by two thumbscrews at the back of the case, and then it swings out for easy removal. Immediately, a could of things stood out for me. The first is the large hole in the motherboard tray to install CPU coolers after the motherboard has been installed. It is partially covered by the 3.5″ hard drive cage, so that would need to be removed as well. Next thing is the large number of cable management holes in the tray, with five holes there should be plenty of room to route the cables and keep the interior clean. Without installing a front radiator, a graphics card up to 290mm will fit without any issues.
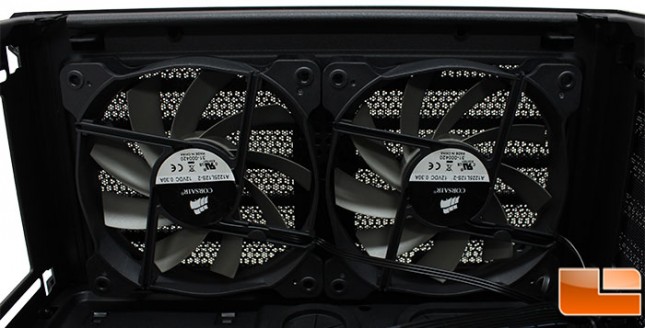
As we mentioned earlier, Corsair has included two 120mm front intake fans, these are model A1225L12S-2, which has nine fan blades, and has a rated speed of 1300RPM. These could be removed an a 240mm radiator installed, and depending on the other components, possibly even in a push/pull configuration.
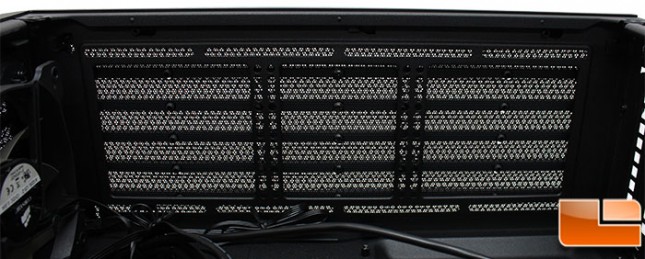
The bottom panel is fully vented, so a couple of 120mm fans could be installed here as well, or if preferred up to a 240mm radiator (depending on the other components).
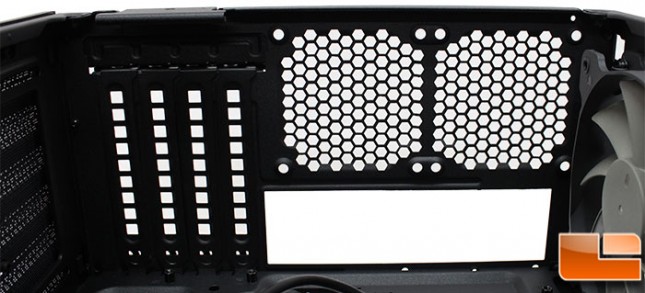
The back panel provides no surprises after we looked at it from the exterior. Two 80mm fans can be installed above the motherboard key, and the four vented expansion slot covers are held in place with a tension bracket. If desired, screws can be used in addition to the tension bracket. With the back panel supporting 80mm fans, the CPU cooler can only be 120mm high.
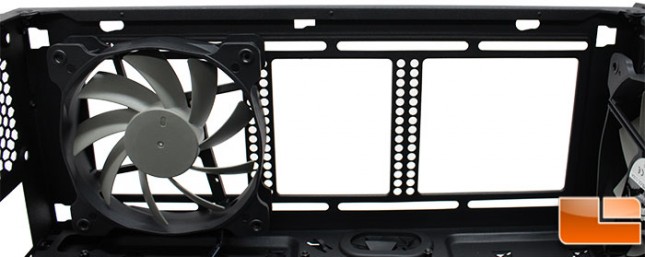
Another view of the top panel, if a second 120mm fan is installed here, the middle section would still be open.
Power Supply and Hard Drive Section
Switching to the other side, here we find the location for the power supply to be installed. Corsair says a power supply up to 225mm in length can be installed, but to be honest, you can install the longer ones up to 290mm without any issues. At the top of this side are the two hard drive cages, the 2.5″ cage at the front, and 3.5″ cage at the back.
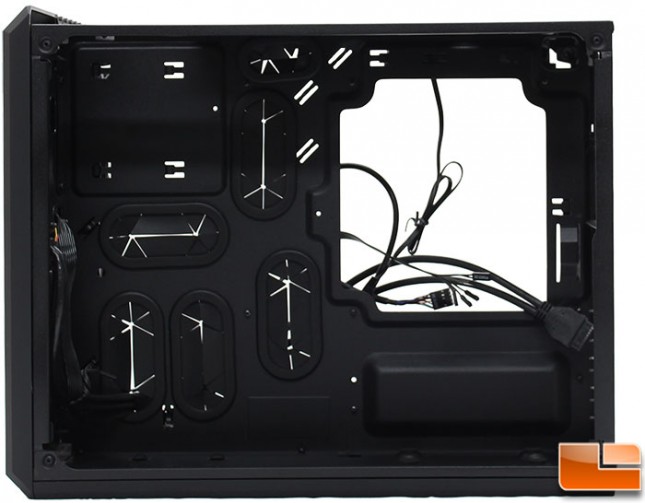
The two hard drive cages can easily be removed, the 2.5″ cage there is a thumbscrew internally, and a pan head screw on the top panel to be removed. The 3.5″ cage there is only one thumbscrew to be removed. With the 3.5″ cage removed, we can see the entire hole in the tray to make installing CPU coolers easier.
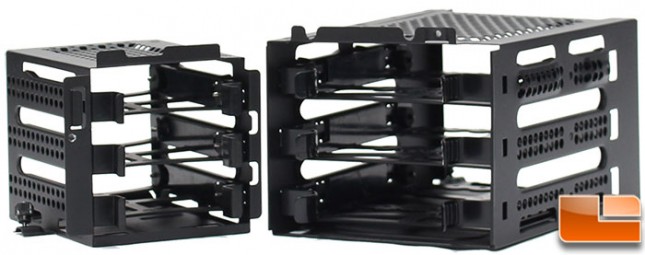
The two different hard drive cages can be removed from the inside of the case. To remove them, the 2.5″ cage has both a pan head screw and a thumbscrew securing it to the chassis, while the 3.5″ cage only uses a thumbscrew. For both cages there are guides to make sure the cage slides into the right position before securing it to the chassis. This implementation would make it easy for Corsair to provide an upgraded drive cages with a backplane already in place to make the installation of drives much easier to accomplish rather than needing to remove two panels.
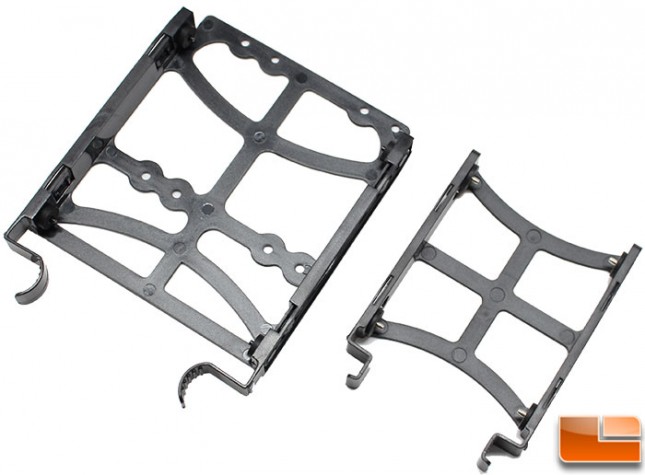
Pretty standard hard drive trays are included in the Carbide Air 240. Three 3.5″ drive trays are included, which also support 2.5″ drives; with the three 2.5″ drives a total of six 2.5″ drives can be installed. Slightly bending the tray will allow the drive to slide into the proper position.