Corsair Carbide 275R Mid-Tower Case Review
Corsair 275R Interior Review
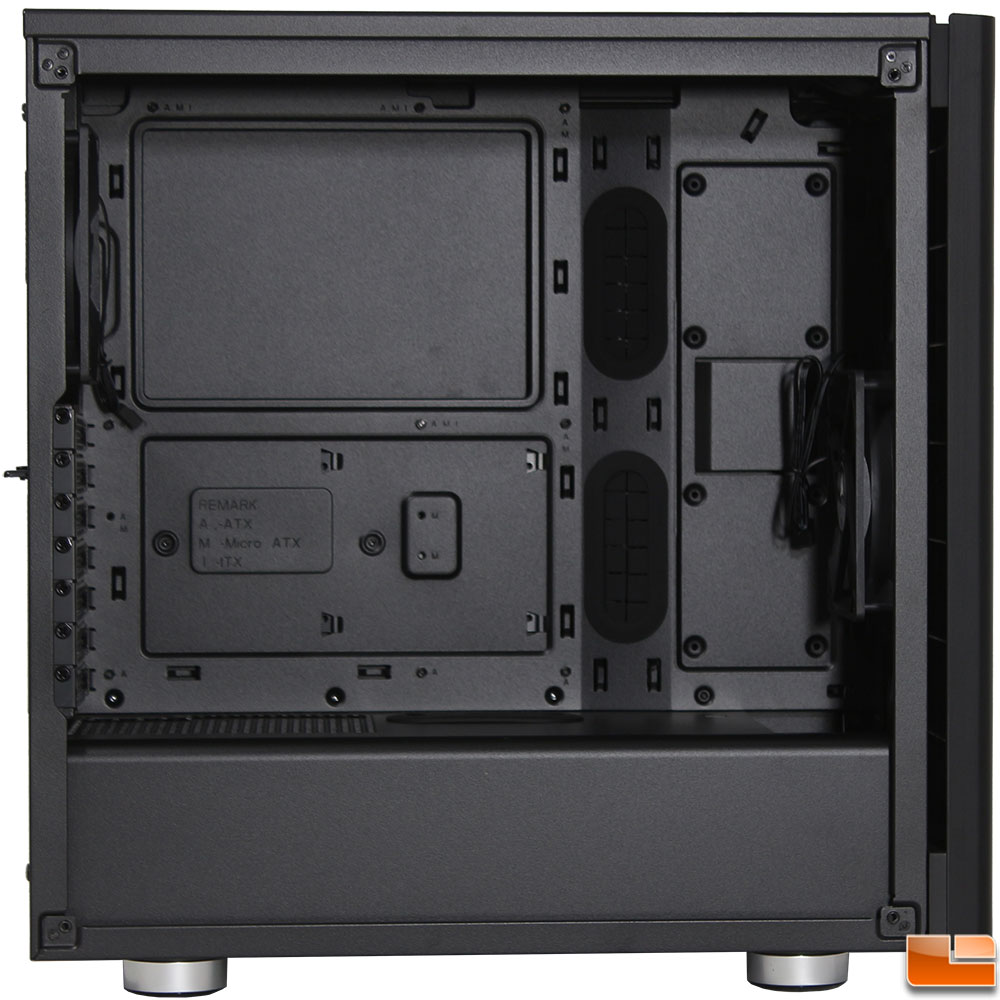
Using the included hex key we can remove the Tempered Glass side panel and get a really good view of the interior. The first thing I noticed was that an area in the front of the case is raised above the motherboard area. This is helpful as it provides a little more room behind the tray for cable management. It also puts the two main cable management holes at an angle, so it’s easier to connect the SATA connections. In addition to the two main cable management holes, there are also four other holes at the top of the case. Corsair has preinstalled nine motherboard standoffs, with the middle being a guide to make installation easier. In addition, the standoff holes are marked as to which are needed for the three different motherboard sizes that the Carbide 275R supports (ATX, mATX, iTX).
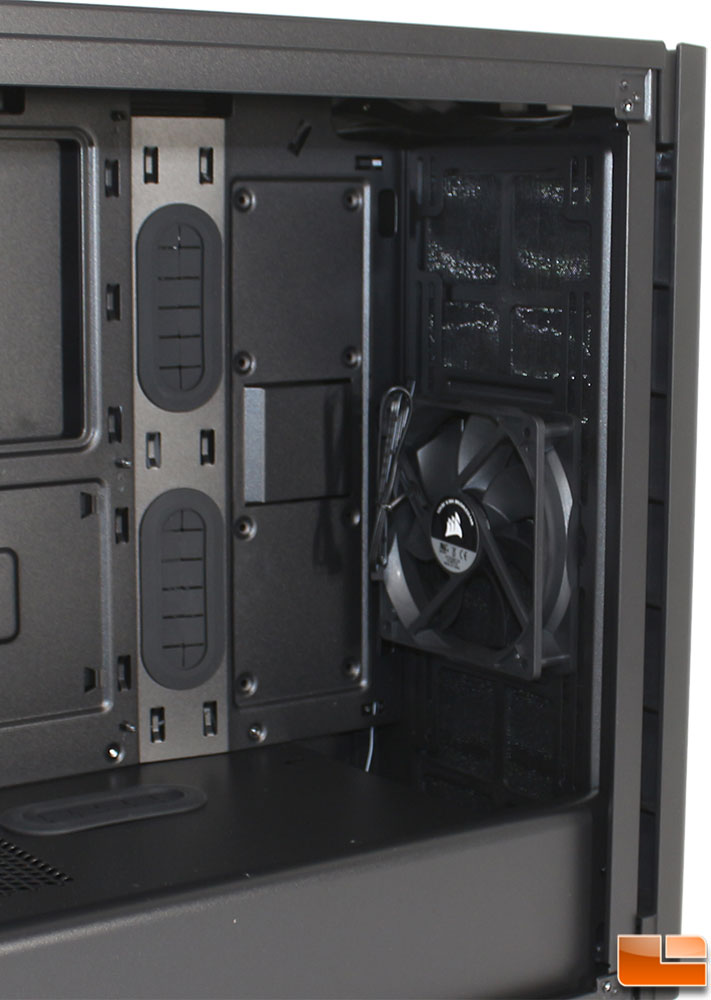
At the front of the case, Corsair has preinstalled a standard black 120mm fan, model A1225M12S which is rated for 1200RPM and 32CFM @ 19dBA. This is a non-LED fan, which isn’t really needed as the front panel is solid; however LED fans would allow you to brighten the interior and show off those components. One additional feature that is easily missed is that Corsair has also cut out three holes in the motherboard tray for the front fan power cables!
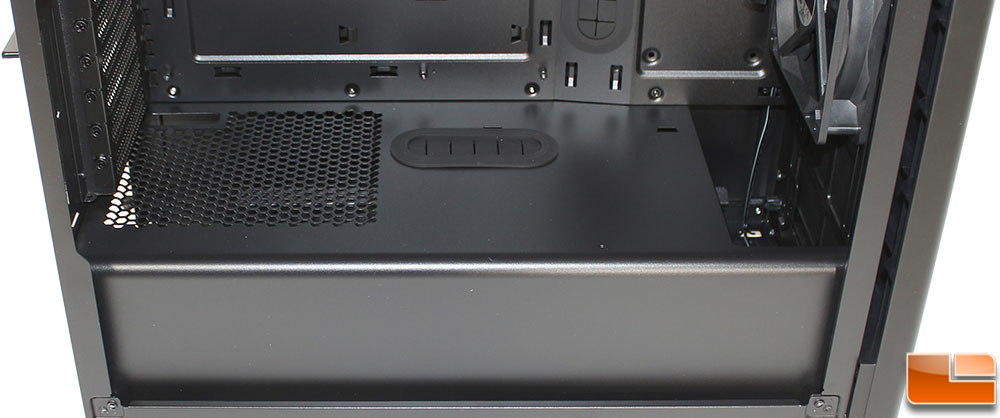
The full length power supply cover matches the rest of the case. There are a few things that make this especially nice, first in the back left corner, there is an additional cable hole which is perfect for the front audio cable. Second the main PCIe power cable hole has a rubber grommet on it to make things look nice. Finally there is just over 1.5 inches of space at the front of the case for a liquid cooling radiator, along with a fan.
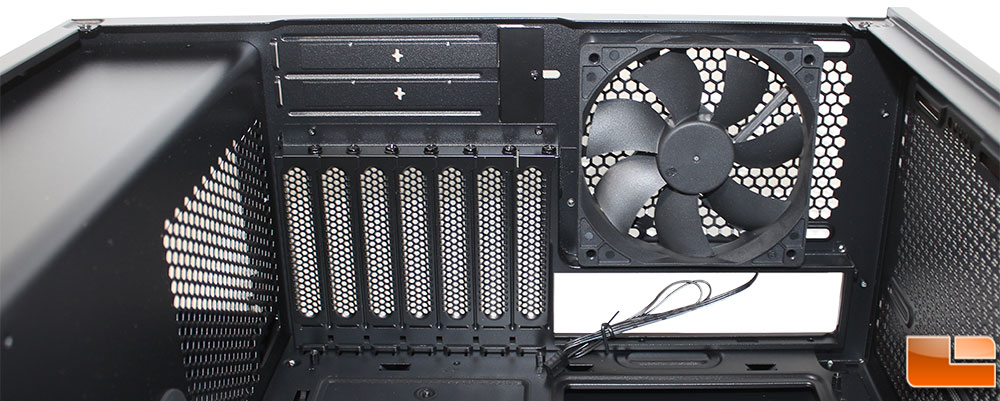
The back panel we find features we saw from the exterior view. Corsair has included a standard 120mm black exhaust fan and have preinstalled the seven vented expansion slot covers; which are secured by normal screws rather than thumbscrews. The two additional expansion slots are solid, and need to be removed from the back panel before being able to use them.
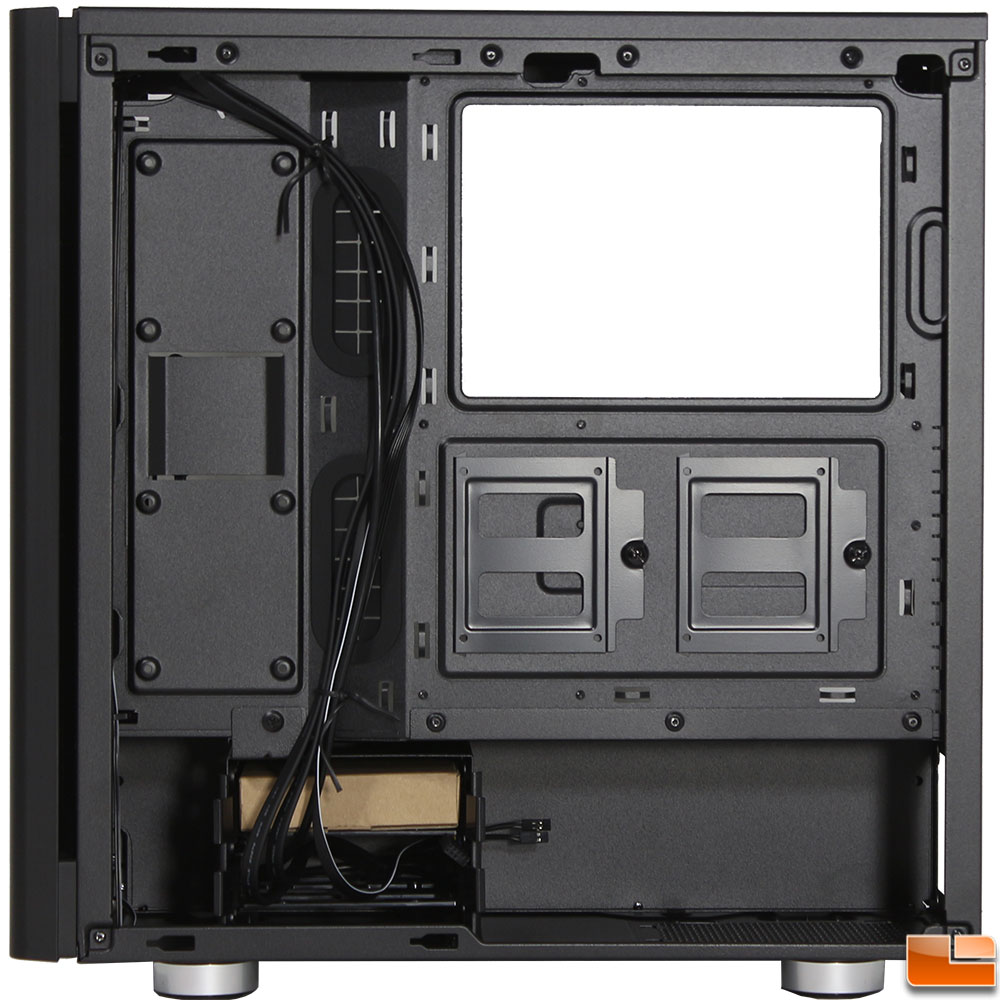
The back panel is held in place with two thumbscrews, which make it extremely easy to remove the back panel. Behind that we find an oversized CPU bracket cutout, which should allow for nearly every CPU placement. Cable Management is well thought out with 17 cable tie location. In addition, those extra four cable routing holes at the top of the case, Corsair has also placed cutouts for two of them to make it even easier to route the cables. Other features on this side include places for four 2.5 inch drives, two that use trays, and two that mount directly to the frame with screws from the other side. Mounting 2.5 inch drives directly to the frame isn’t new, however Corsair has done something a little different, the holes for the screws will raise the drives a little, and the space between the two drives is indented to provide a little extra room for cables! At the bottom is the space for the power supply, which includes four feet with antivibration pads. In front of the power supply is a dual 3.5 inch drive cage that uses standard trays to mount your drives.
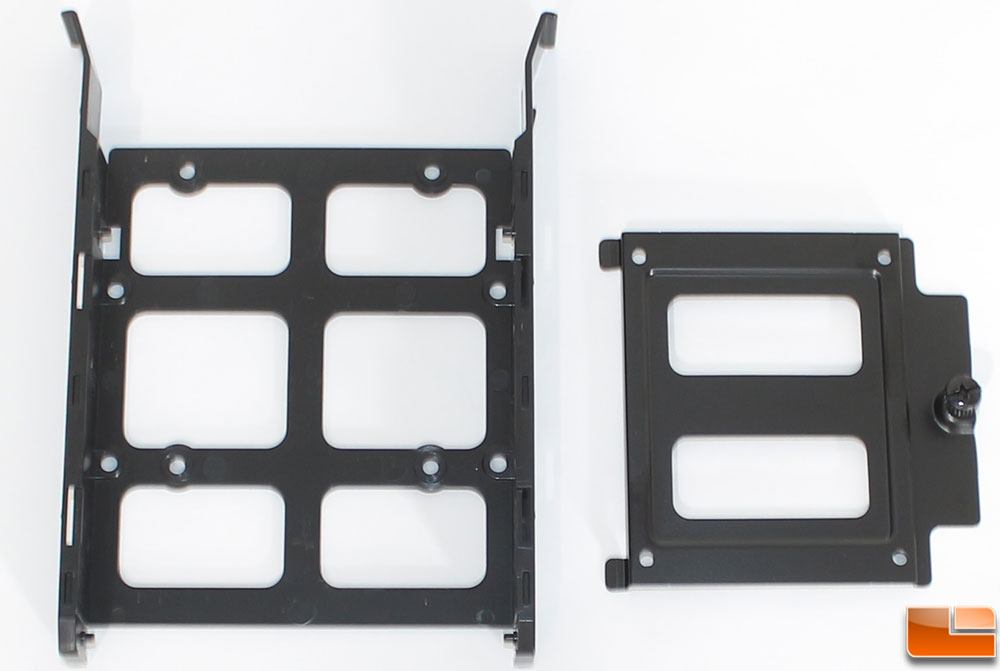
The design of the 3.5 inch drive tray has been in use for several years, they make installing hard drives very easily, and make it possible to install 2.5 inch drives on them as well. The 2.5 inch drive trays are metal and use screws to secure the drives to the trays, which are secured to the case with thumbscrews.
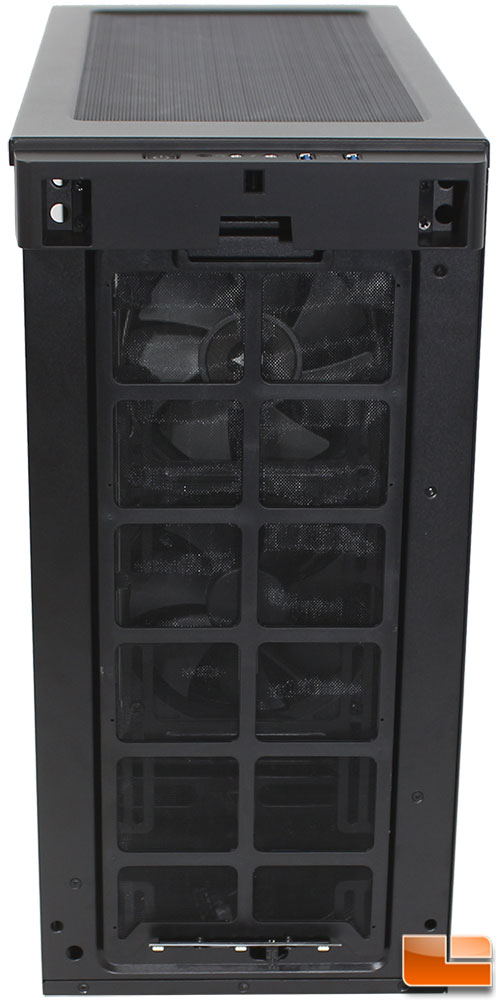
The front panel pulls off from the bottom of the case, revealing a filter that is held in place with a couple of tiny magnets. While I appreciate that Corsair includes a front intake fan filter, there is no easy way to remove it, you have to remove the front panel in order to access it. Many other case designs have made it so the front filter can be removed without having to mess with the front panel. Thankfully, the front panel doesn’t have any LEDs or I/O clusters to contend with so it is rather easy to remove.
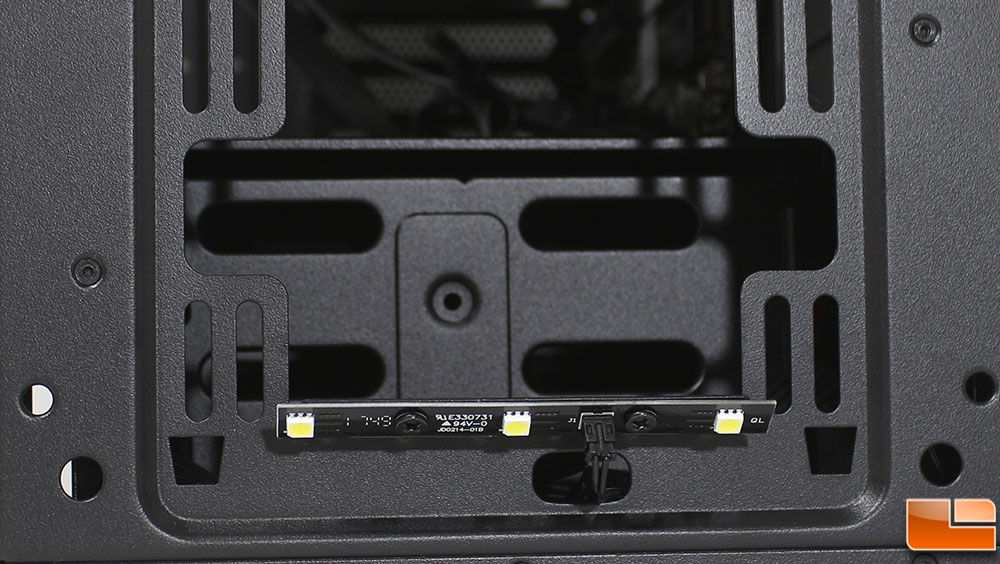
Previously, when we looked at the front panel, there was a notch at the bottom. Behind that notch is a little three LED bar. It’s nothing fancy like a RGB controllable LED bar
Now it’s time to build a system inside the Corsair Carbide 275R and see how easy it is.