Corsair Bulldog 2.0 Barebones 4K & VR Living Room Gaming PC Review
Corsair Bulldog 2.0 Overview
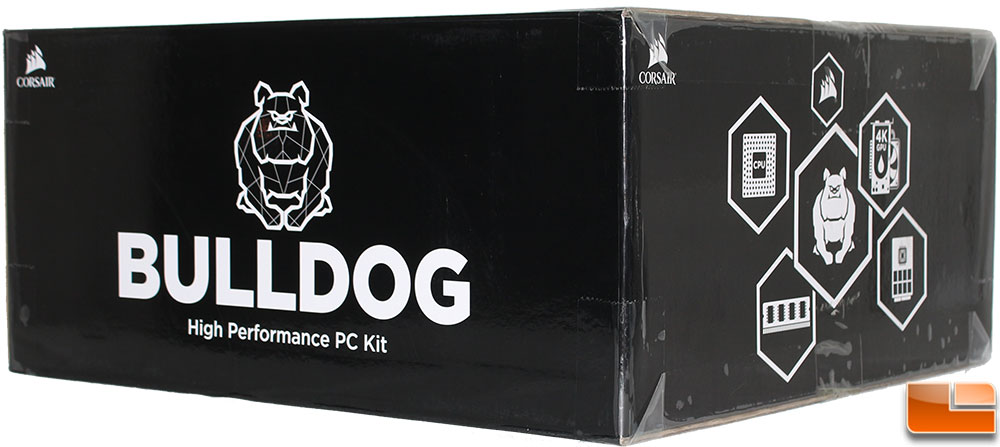
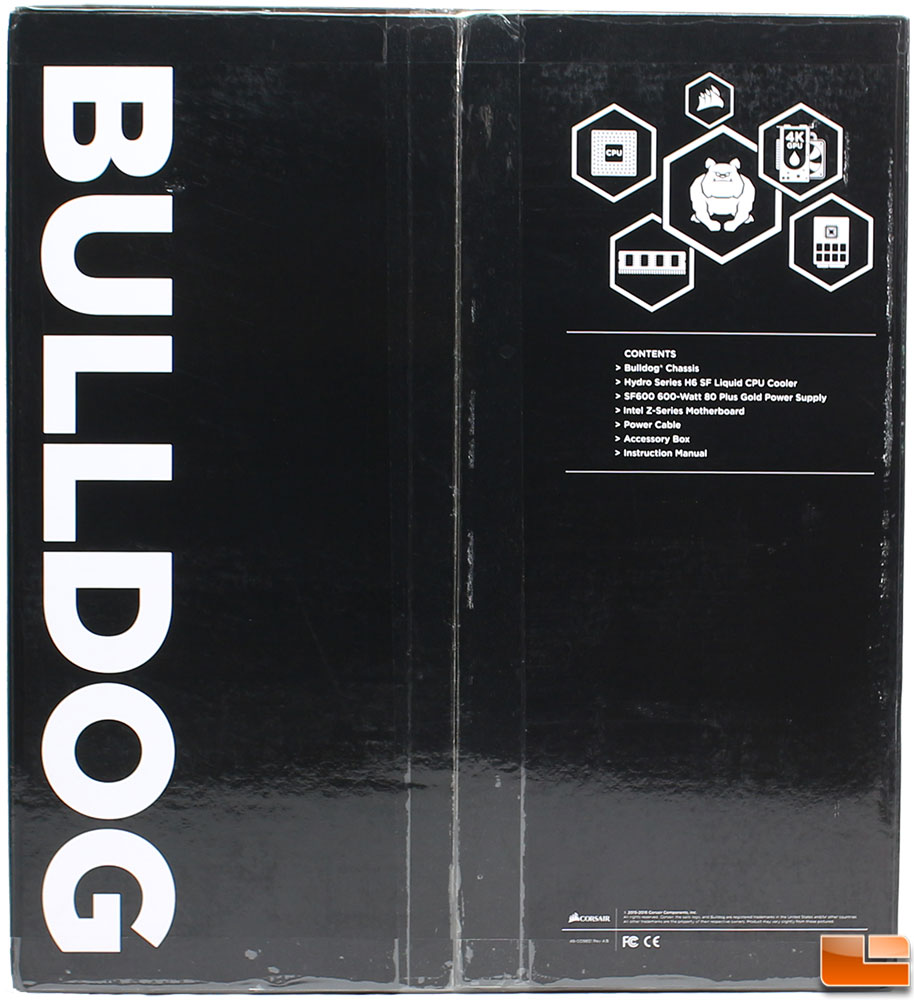
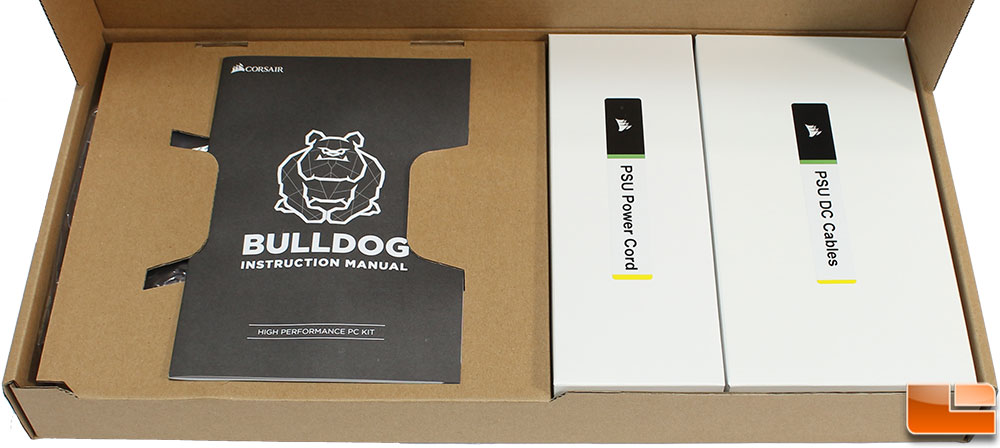
Exterior packaging for the Bulldog is pretty basic, but makes it clear what you are looking at. Within the box, Corsair always does a great job at packaging their hardware so it avoids damage when shipping. The accessories are included in an additional box, and is nicely organized to provide a high-end feel.
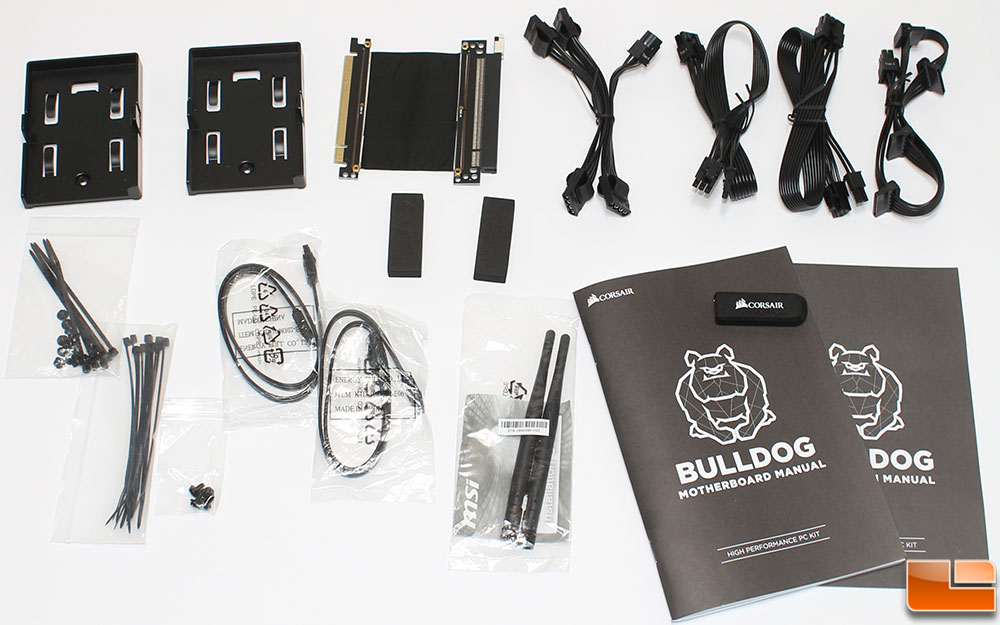
Included with the Bulldog 2.0 are two additional 2.5″ SSD trays, a PCI-E riser ribbon cable, a couple packs of cable ties with screws, two SATA power cables, and Wi-Fi antenna’s. For the power supply, a single 4-pin Molex, a SATA power cables are provided. Two PCI-E power cables are also included for the graphics card.
-

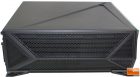
- Corsair Bulldog 2.0 Front
-

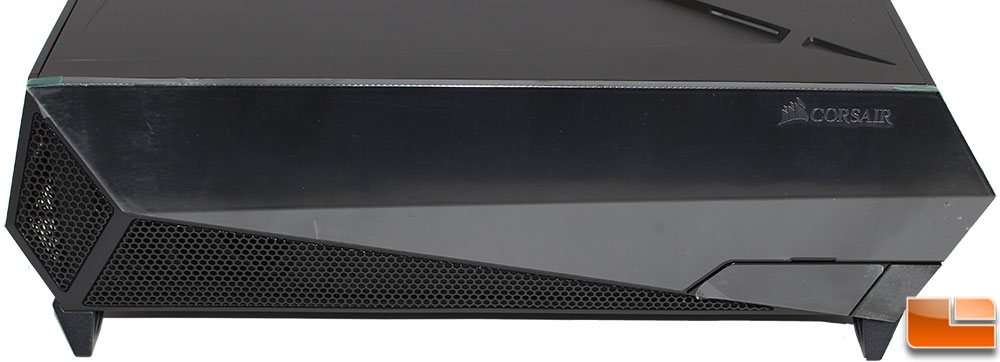
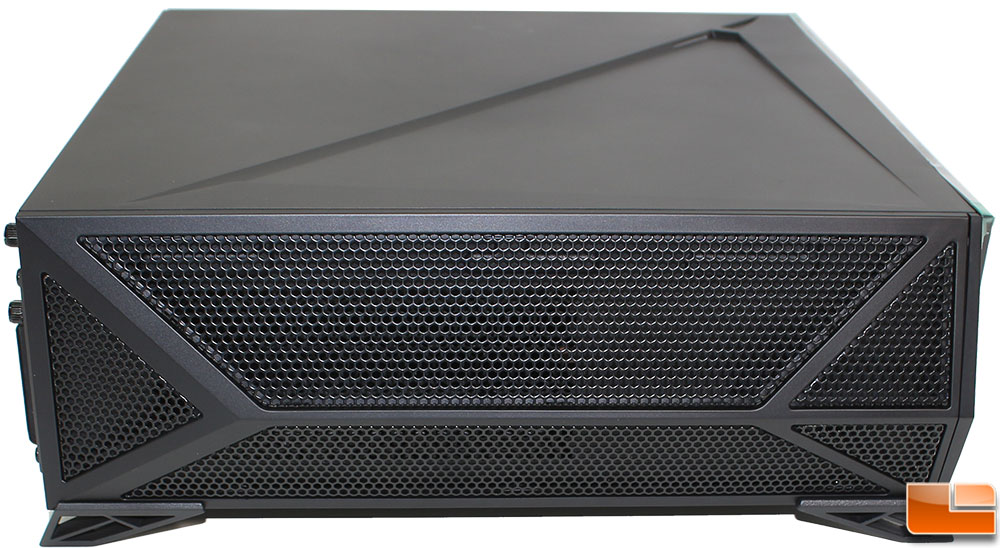
- Corsair Bulldog 2.0 Right Side

-
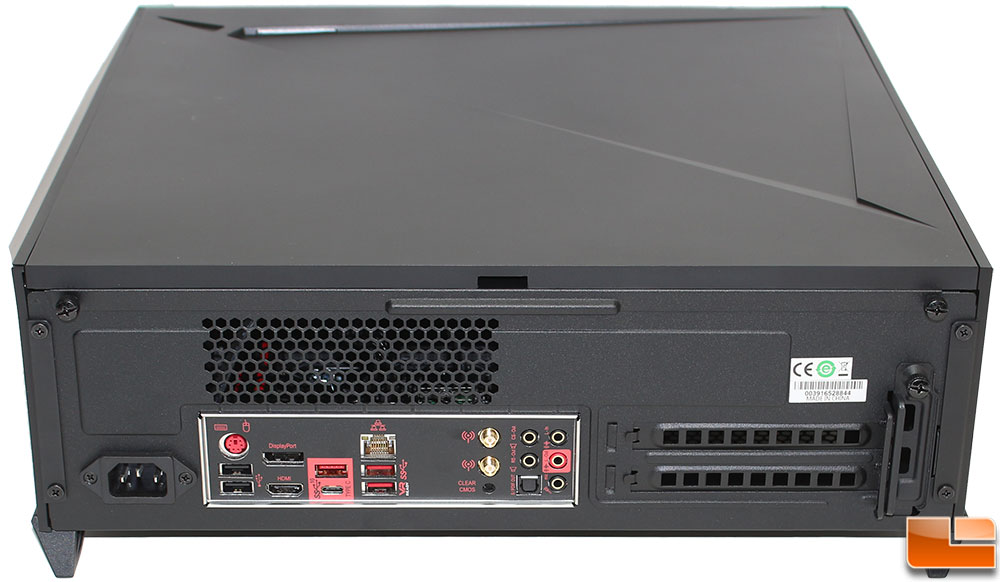
- Corsair Bulldog 2.0 Back
-
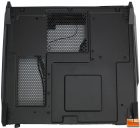
- Corsair Bulldog 2.0 Left Side
-
- Corsair Bulldog 2.0 Bottom
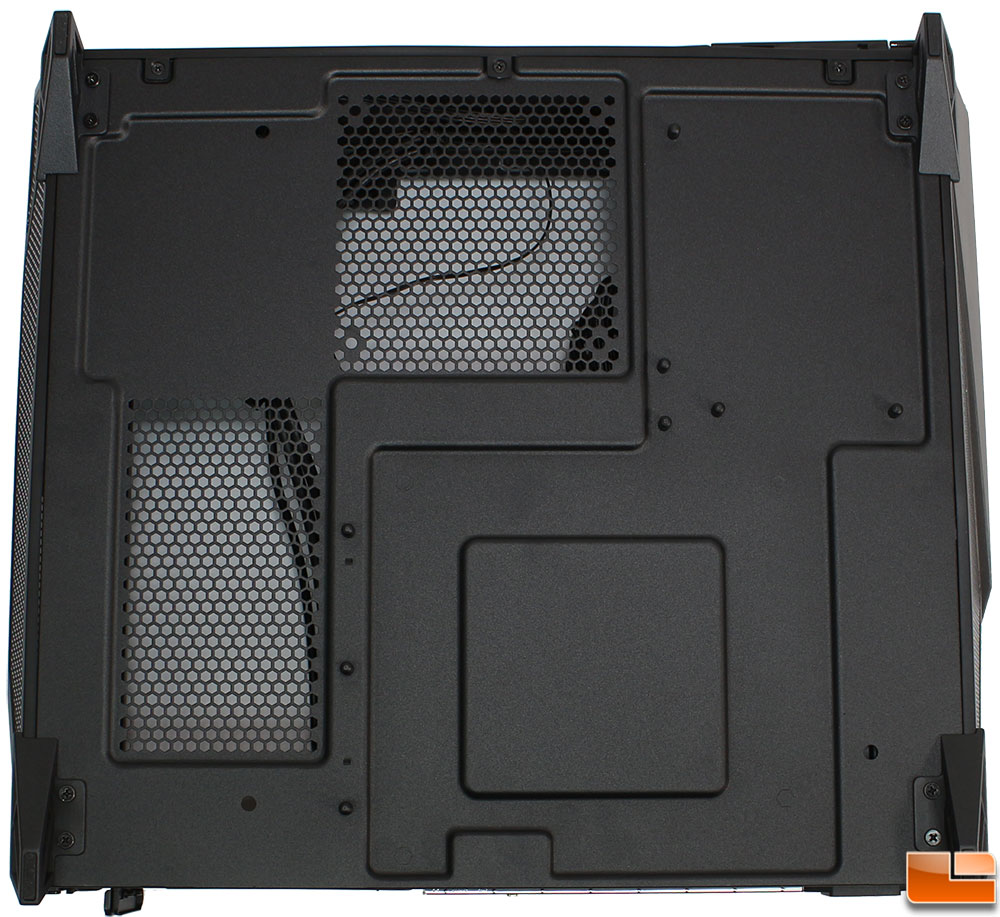
Taking a quick look around the Bulldog, Corsair has gone with an aggressive looking chassis design. The case is all black, so it won’t stand out and scream for attention in your living room. On the front and sides of the case there are a large areas that are vents to help with airflow, while the back of the case contains the necessary motherboard rear I/O panel, and two expansion slots for the graphics card. Taking a look at the bottom of the case, we find two additional vented areas, which we will find are specifically to help with the graphics card.
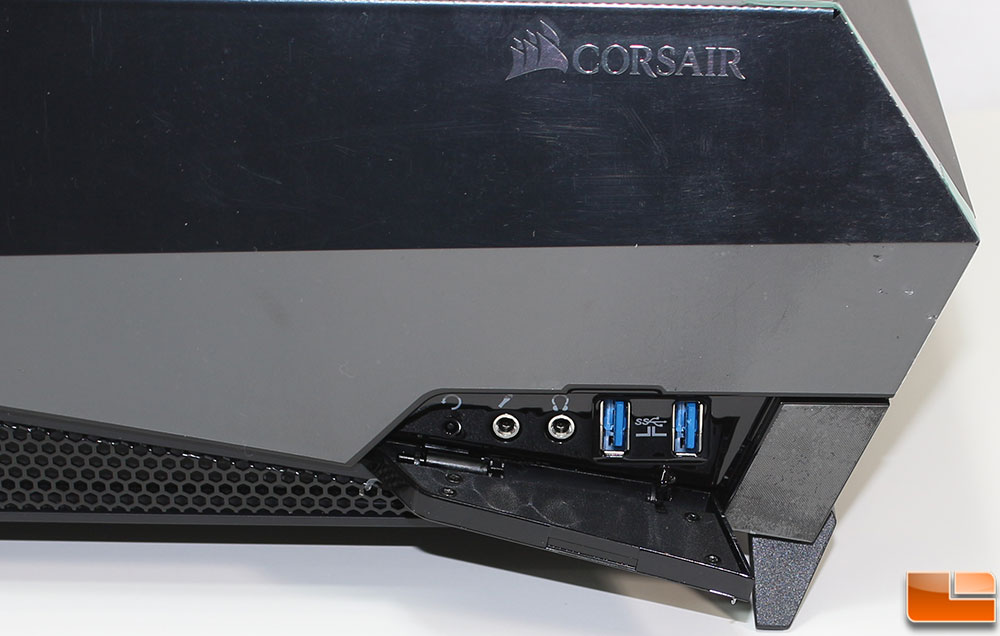
On the front of the Corsair Bulldog 2.0 is a hidden door that when opened reveals a tiny reset button, microphone/headphone 3.5mm jacks, and 2x Superspeed USB 3.1 Gen 1 ports. To the right of the door is an oversize power button.
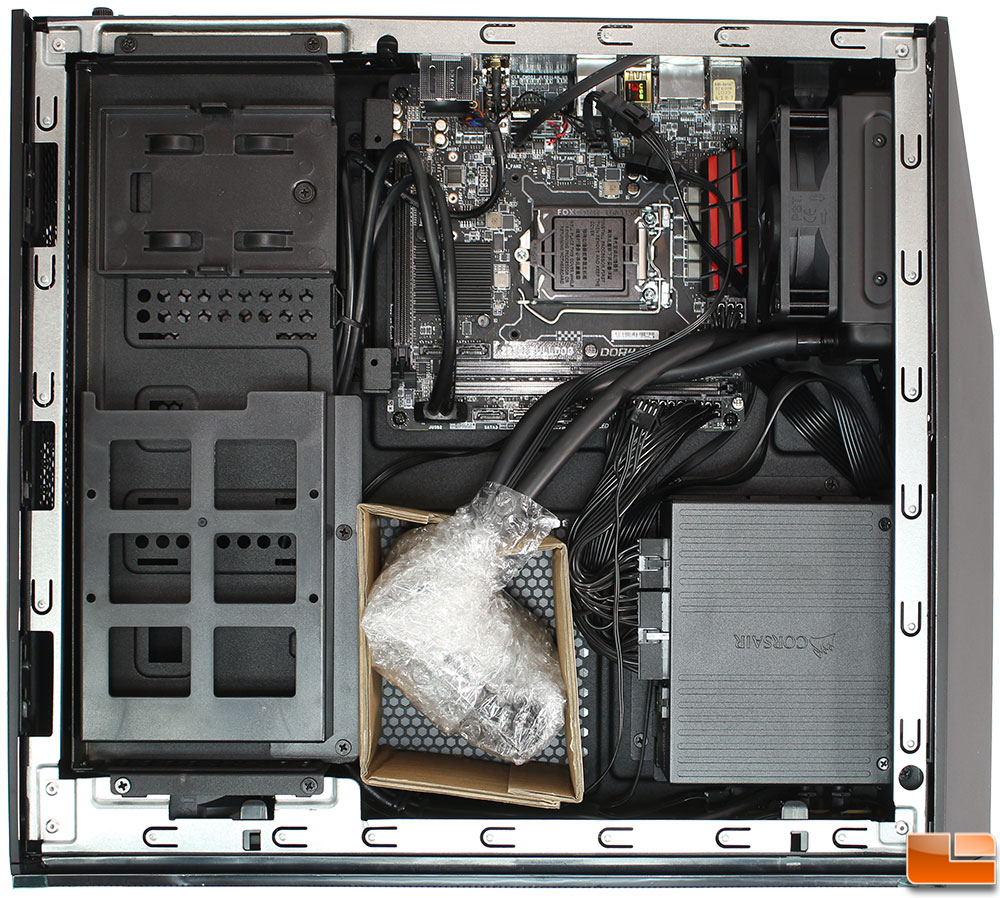
The top panel is held in place with two thumbscrews at the back of the case. Once these are removed, the panel slides to the back and is lifted off. With it off, we can see the inside of the case, and that Corsair has packaged the waterblock/pump for the H6 SF cooler wrapped in bubble warp and surrounded with some card for added protection. At the front of the case is the SF600 power supply, and the H6 SF cooler radiator is pre-installed and ready go along the right edge of the case. The MSI motherboard is also pre-installed and wired up, so you just have to install the CPU and memory to have the system up and running.
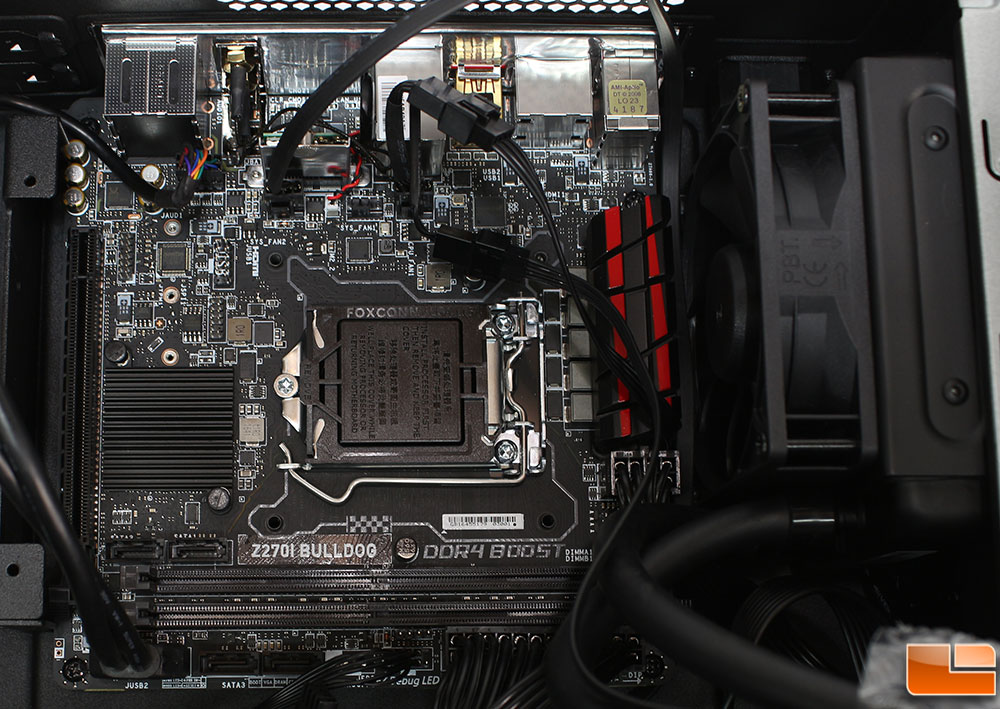
Our review sample included the MSI Z270I Gaming Pro Carbon AC motherboard, however it has been slightly modified for Corsair. First, the actual motherboard model has been covered up with a Z270I Bulldog label, and further removing branding, the Z270 chipset heatsink has been changed from including the manufacturer’s name, to a plain heatsink. Finally, a touch of color has been added to the VRM/MOSFET black heatsink with some red trim.
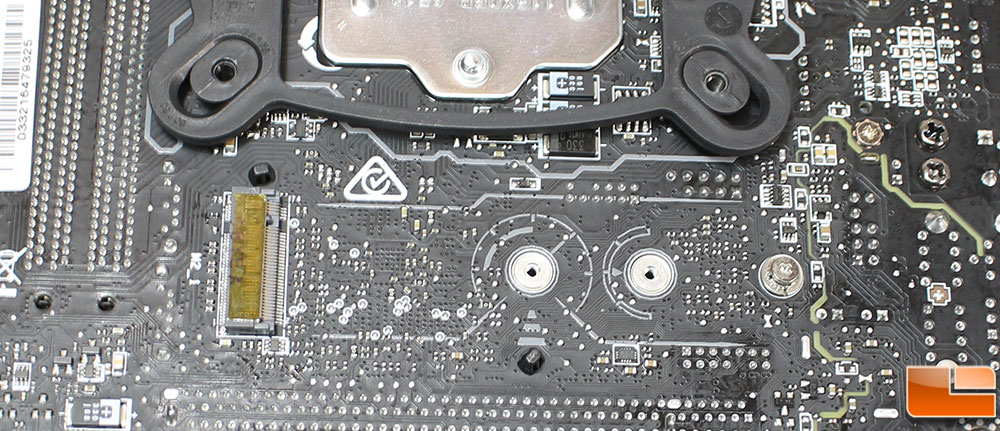
As I have seen MSI’s mITX motherboard at CES 2017, I had a feeling there was something hidden on the bottom. Removing the motherboard, I was able to flip it over and confirm there is a hidden M.2 slot on the bottom. It can use 2280 Key-M PCIe modules, and would be the best storage device to use. The Corsair MP500 PCIe NVMe M.2 SSD (pricing) for example has a maximum read speed of 3000MB/s vs ~560MB/s from a flagship SATA SSD. Unfortunately, this is one of the biggest disappointments on the Bulldog 2.0 case itself; a removable panel on the bottom of the case would allow users easy access to the M.2 slot. With the way it is designed, you have to remove the graphic card support riser before removing the motherboard; it’s not difficult, just a small hassle.
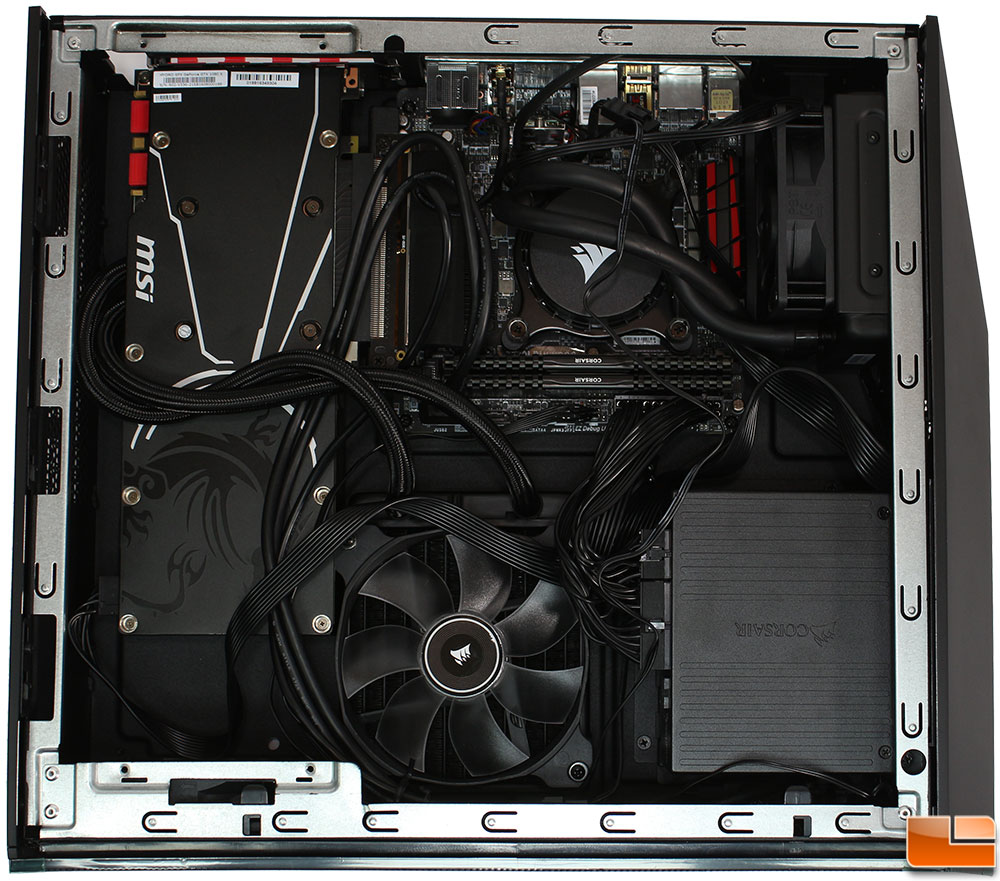
Corsair uses a PCI-E ribbon cable to change the graphics card orientation so it sits as flat in the case as possible. These PCI-E ribbon cables are easy to use, simply plug it into the motherboard slot, and secure the other end to the support bracket. Then install your graphics card into the ribbon cable’s PCI-E slot, and you are ready to finish the installation. The Bulldog 2.0 will upport up to 300mm graphics cards, with the GTX 1080 installed, there is still a little extra room. The particular graphics card that we are using also includes the water cooling system, and that radiator gets installed next to the power supply, leaving very little room. I found it easiest to install the GPU water cooling radiator by removing all the power connections on the power supply.
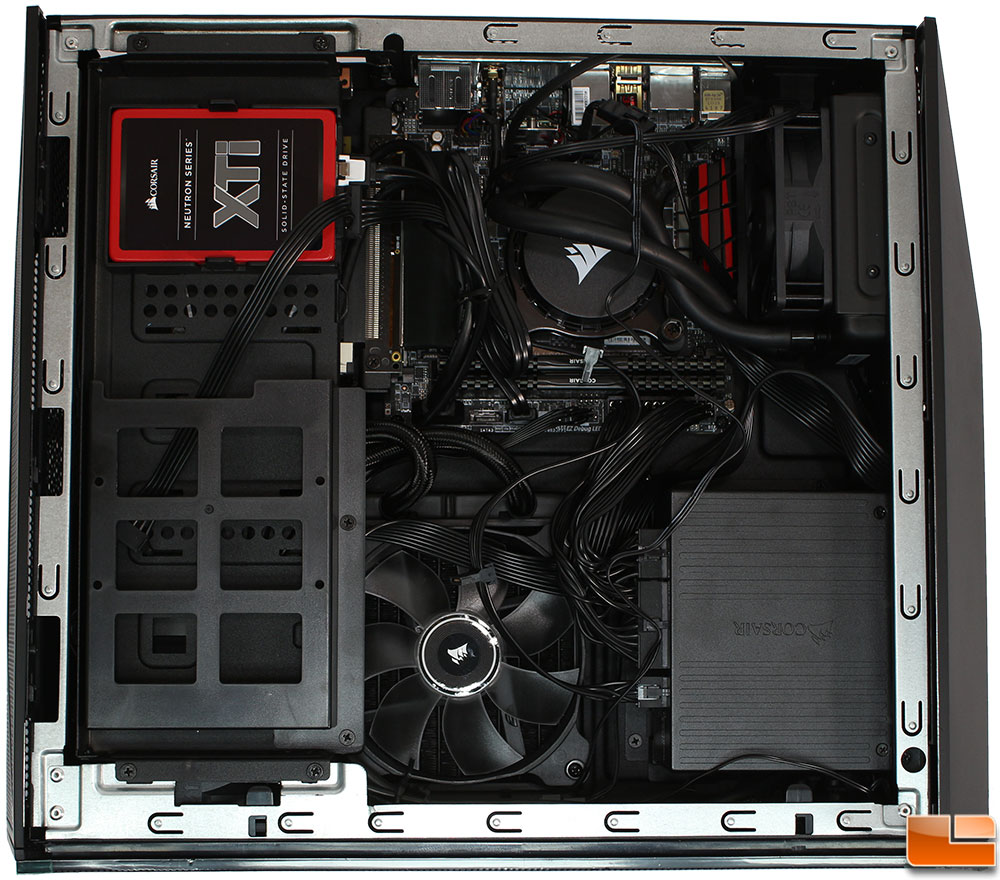
If using the 2.5in drive trays, you simply snap the 2.5in drive into place, and connect the cables. Nothing difficult to do at all. By default, the Bulldog 2.0 includes space for one 2.5in SSD and one 3.5in hard drive. However, if you remember from the accessories, there are two additional 2.5in trays. Remove a few screws, and install the additional 2.5in drive trays. The SATA power cable has connections for up to 4 SATA drives, and is long enough to reach 3 2.5″ SATA drives without any issues.
Corsair also has a great video on how to build a BULLDOG 2.0 that you can see above.