Cooler Master Glacer 240L Expandable Liquid CPU Cooler Review
Installing The Cooler Master Glacer 240L
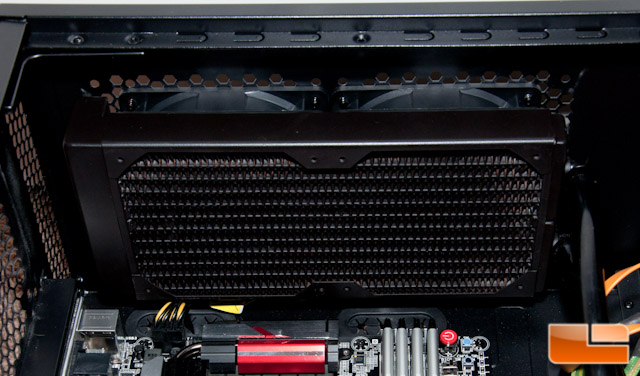
Installing AIO liquid cooling systems is a fairly easy process, if you have a case that can accept them. The case that Im going to be using with this kit is the full-tower Fractal Design Define XL R2. This case has plenty of room to mount a 240 or 280mm radiator on the top using a standard push configuration. Unfortunately it is still a bit compact to accept a push-pull config.

The top of this case didnt have any fans pre-mounted, so I was free to hook this kit up. I went to set the Glacer 240L in place like any other kit, pushing the air out of the case. I went to look for the hardware needed to mount the radiator to the top of my case, only to find none included. The only screw I found was a long screw that fit into the radiator and more standard fan mounting screws. The long screws are for mounting more fans, so these arent it.

I ended up scratching my head and had to reference the manual, discovering that Im supposed to mount the fans to the top of the case and not the radiator like every other kit that Ive worked with. So in essence, this means that Cooler Master has this kit set to push air back into your case, not push it out. Sticking with how the manufacturer wants me to use this kit, I did just that.
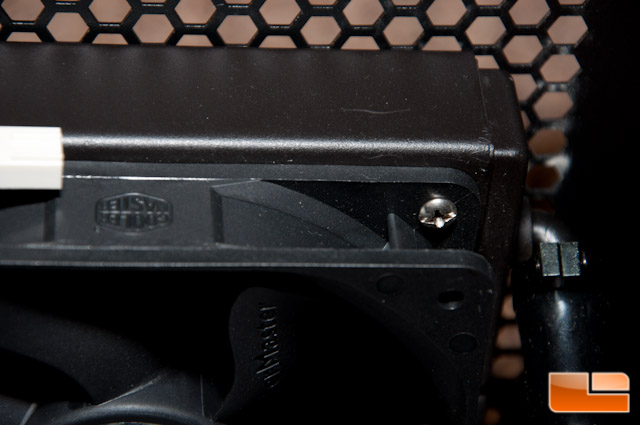
So basically when you mount the radiator, you will use the fat fan mounting screws and it will look something like this:
Now you ask yourself, why are you required to mount it like this? Well, aside from the hardware that was included doesnt include screws to mount the radiator directly to your case, Cooler Master also mounted the included fans in an annoying way. When you look at the next picture, take note of the screw that is holding the fan in place. This screw is short, so its mounted on the interior mounting hole, not through the whole fan mounting system. This is extremely annoying in the fact that you cant simply remove these screws and replace or reverse the fans.
The only other thing that I can point out as to why you have to mount this system in such a way is the extra hump on the end of the radiator, which is where the fill port is located. The fill port will be pointing up, and hidden, in my mounting scenario.
The annoying part aside, I cleaned up my CPUs previous thermal paste and applied the included paste in a pea shape and size. Im a strong believer in this method and have always had great results; besides that, its extremely easy to do. This paste is quite runny, so dont go lifting your system up to work on it for a second, as it will run slowly but surely. If youre wondering what brand paste this is, I did not see any full identification, but it appears to be Cooler Masters ECG-D0001-02-GP paste.

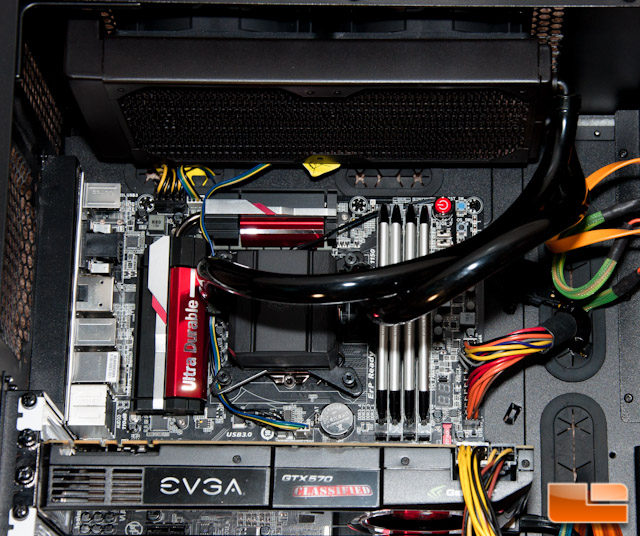
I didnt want to permanently mount the rear mounting bracket with the double sided sticky foam pads, so I just stuck my hand behind the case and held it in place while mounting the block. I always mount the block in a crisscross pattern as to apply even pressure across the CPU and paste. The screws are not tool-free by any means, so a screw driver is recommended.
All finished, this is what it looks like. I do have a rear case fan that I finished mounting prior to testing, as the last kit I reviewed took its place. The Jetflo 120 fans will be mounted in the exact same way as the stock fans are, to provide similar results.
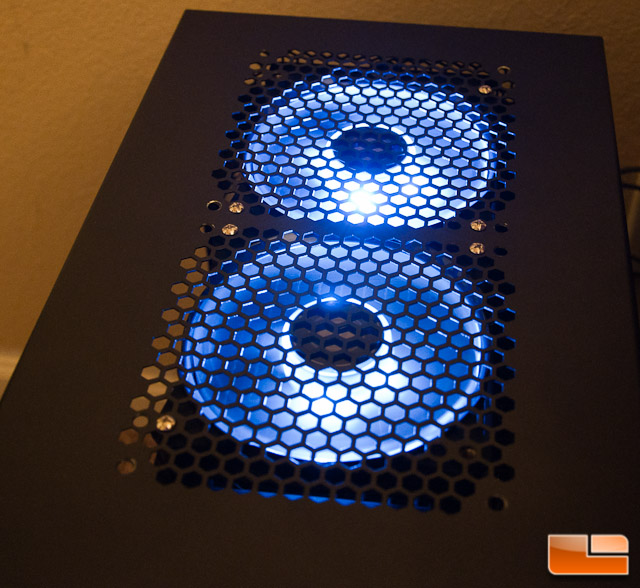
Stepping ahead a little, when I fired up my system with the Jetflo 120 fans installed, I saw that they had a nice and not obnoxiously bright white LED. As the fans spun up the LEDs got brighter at certain RPM stages, which I found interesting. These fans are also meant to be quieter at 36dBA @ 2000 RPM vs. 40.33dBA @ 2400 RPM on the included fans. You can run the Jetflo fans with a silencer, which will reduce to a fixed RPM of 1600 and 1200. This is just an adapter that you plug into the PWM fan connector and hook it up to the fan header on your motherboard.
Thats all there is to installing this kit, so lets take a quick look at the test system on the next page and get into some benchmarking and comparisons!