Building Your Own Computer (DIY) Guide
Installing The Hard Drive
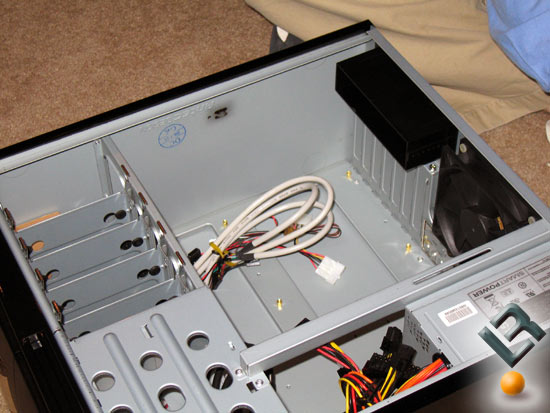
With the cold air duct removed you should be able to see the bottom of the case at this point in time. Now let’s actually put something in!

The first thing we are going to install is the Western Digital 250GB Serial ATA (SATA) hard drive. To install this we pulled out a hard drive tray from the case and found the bag of screws that came with the Antec Sonata II case.
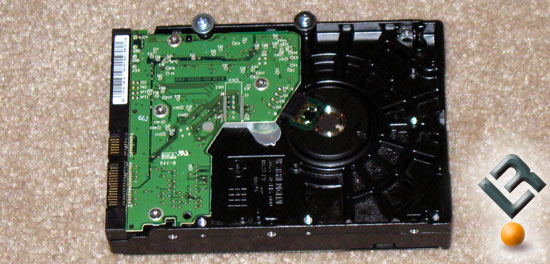
Flipping the hard drive over you will see a number of holes for screws. This is how the hard drive is going to be secured to the hard drive tray. In the above image I threaded a couple of screws into the top two holes that the tray will be installed on.
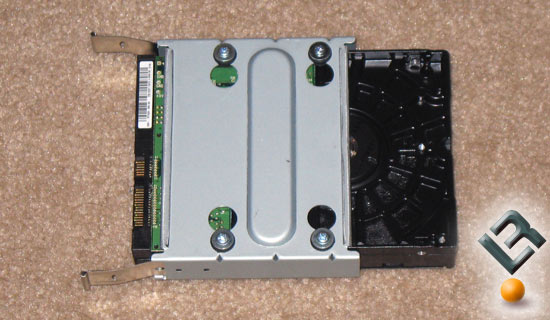
After installing the tray and the four screws the hard drive should look like the image above.
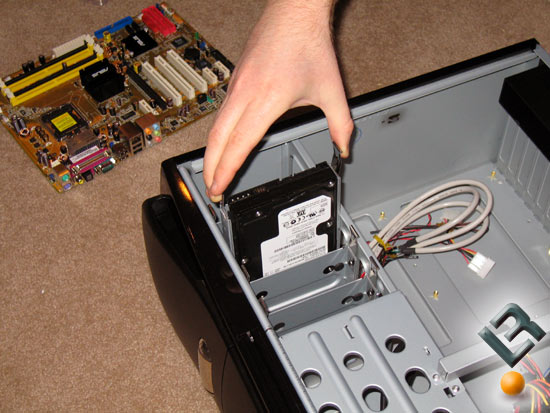
Now all you have to do is place the tray back where it came from in the case and the hard drive installation is complete. Make sure that the two retention arms on the side of the tray click into place. You can check if they did by trying to pull the hard drive out by the drive itself. If it pulls out it didn’t clamp in correctly.
Comments are closed.