Building a Whitebox Notebook: Part 2
Installing the Hard Drive:
|
|
|
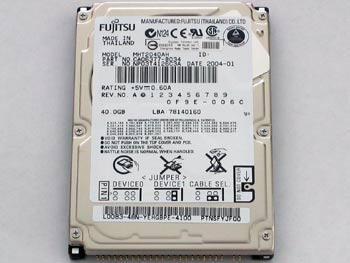

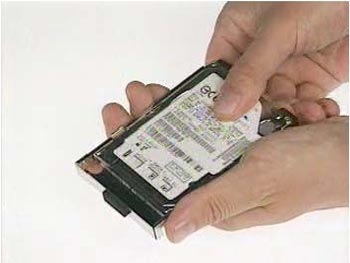
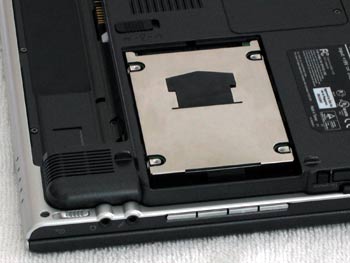
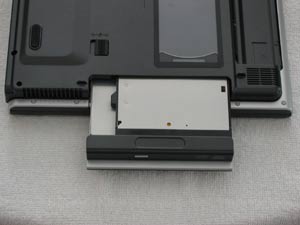
The M6000 series Notebook uses an industry-standard 2.5 HDD with IDE interface. Remove the two screws holding the hard disk cover on and then just remove the cover. Place the new Hard-Disk onto the HDD Housing & then mount the hard drive into the housing by securing it with the four supplied screws. Insert the hard disk module into its compartment and lay it down gently. Once the hard drive tray has been slid into place put on the hard disk cover and re-secure the 2 cover screws.
|
|
|
Installing the Optical Drive:
|
|
|
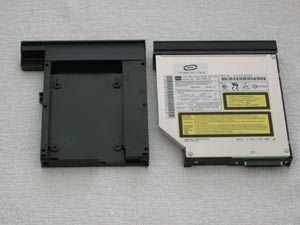
The last thing to install on our notebook was the optical drive. We saved the hardest for last!! For the installation of the optical drive just push the drive in (make sure you have it flipped the right way) till it clicks into place.
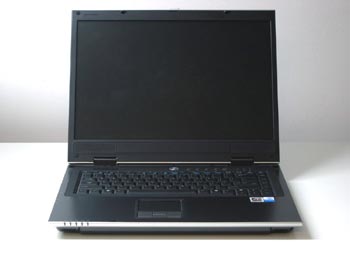
After installing the optical drive all that is left to do is to pop in the battery and plug the notebook in to charge the battery (it is not fully charged from the factory). From here we can begin to install our operating system of choice and begin to use our notebook!
Whitebox Notebook Part 2 Conclusions:
|
|
|
Nathan Kirsch’s Thoughts:
The actual process of putting our pre-selected hardware from Part 1 together in our notebook took well under an hour. For someone that is a novice or a user that reads all the manuals before attempting something like this a couple hours should be set aside for the project. All of the pieces we picked out installed perfectly and the system was up and running minus the Operating System at the end of part two!
That is it for Part 2 of our whitebox notebook journey. Our last and final article on Building a Whitebox Notebook is soon coming and will feature benchmarks, performance tweaks for the integrated ATI 9600 Mobility, BIOS Settings, and our final thoughts on the ASUS M6N notebook.
Comments are closed.