Boot Camp Installation – Windows Vista on a Mac Notebook
Boot Camp: The Install
To get started, we had to download the Boot Camp program from Apple’s website. Boot Camp can be downloaded as a public beta for now, but when Leopard is released, the beta will expire and who knows what will be next, whether they will offer a full stand alone final copy for free or pay is yet to be seen. it will be a part of the new Mac OSX though, so if you purchase a new Mac with it installed or purchase an upgrade for your existing Mac, you will have it.
Once you download it and start the program, you are on your way to living a double life!
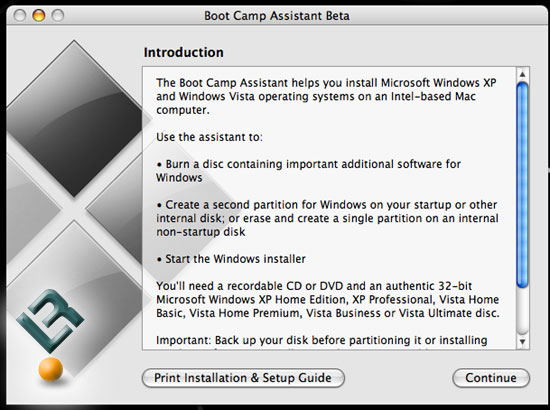
The first screen you come to is an Introduction and set-up guide. You have the option to print the instructions, which is not a bad thing to do. Once ready push Continue.
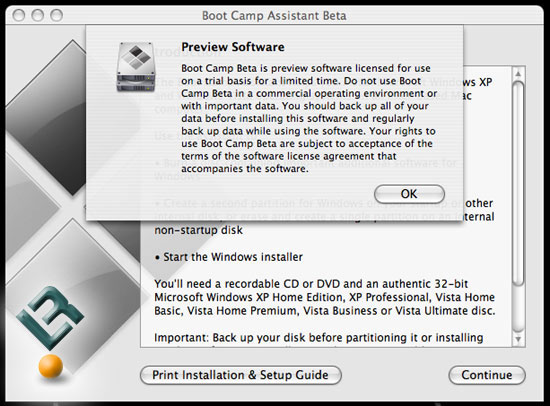
Once you push continue on the first screen you are greeted with a screen that emphasizes the fact that this is beta software and is subject to all the terms… yada yada yada… hit OK and…
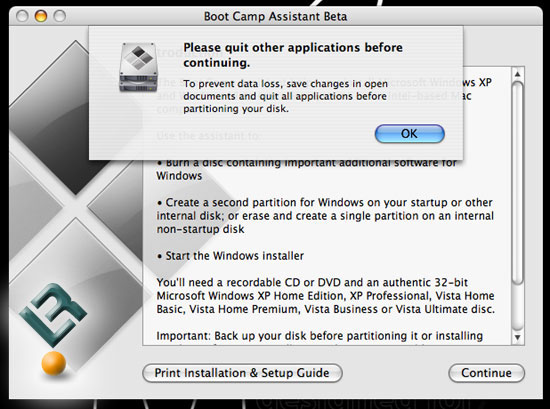
Another pop-up urging you to close all other open applications (programs for you Windows people). Hit continue and…
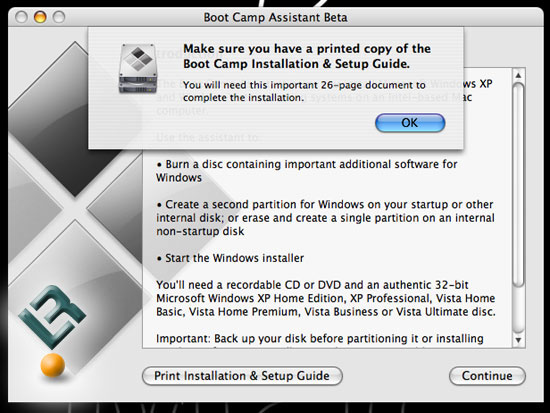
Another pop-up will greet you making sure you have printed the setup and installation guide.

Finally, the pop-ups stop, and we are greeted with the Boot Camp partitioner. Vista can be quite large, so make sure you set up enough space to install Vista and any Windows programs you will want to run. You set up the amount of space to use by either hitting Divide Equally, Use 32GB or you can manually move the slider (the dot between the Mac OSX and Windows symbols) to what ever you desire.
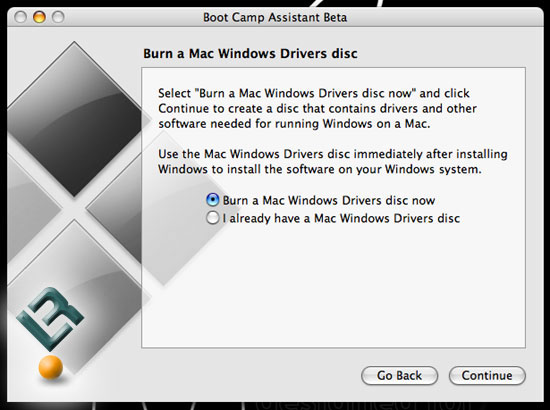
Once it runs through the partitioning, you will then be greeted with a screen that will have you burn a CD that will include any drivers that you will need for Windows. If you have done this before, then you will not need to burn the disk again.

Once the driver CD is burned, you are greeted with a screen that gives you the option to start the Windows installation or to restart OSX. To install Windows, place your Windows installation CD in the drive and hit Start Installation.

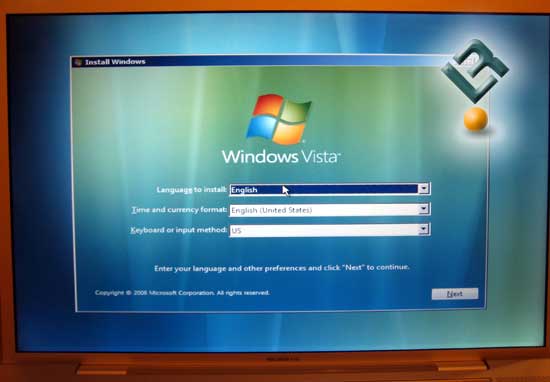
Once you restart the computer, you are on your way to a normal installation. Everything will look just like you were installing a Windows OS on a PC.
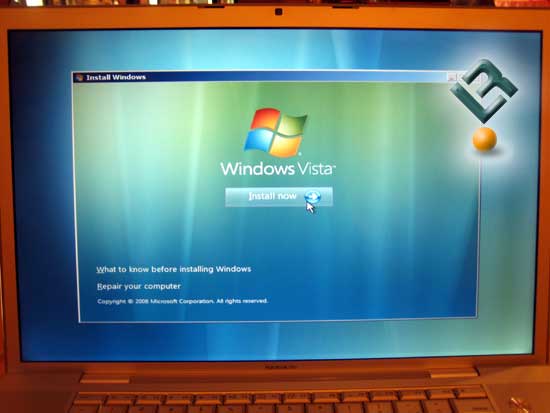
Hit install now!
The Vista Welcome screen at installation startup…
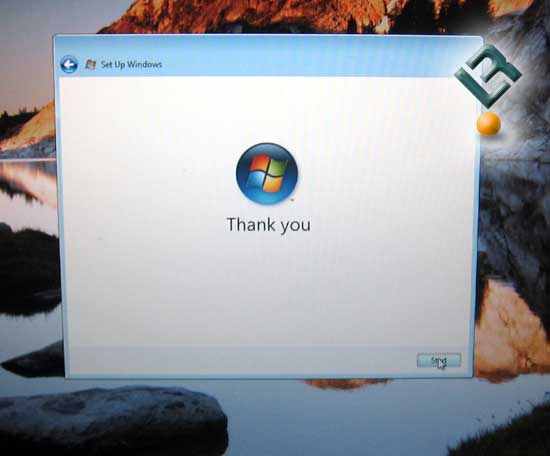
Bill Gates thanks you for spending way too much money!
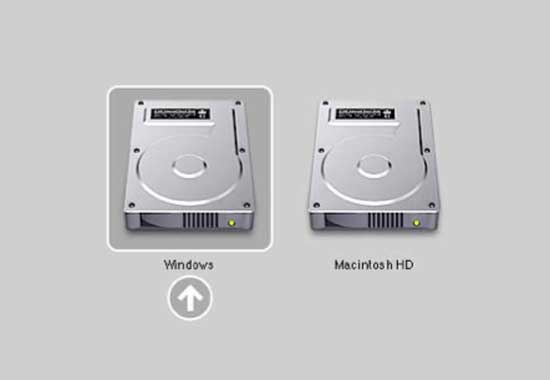
Once installation is finished, you can get to Windows by starting the computer and holding down the “option” key which will bring you to the above screen and allow you to pick an OS to boot from. Just a note, once Windows is installed, it sets itself as the default startup OS. To change that you have to go to your System Preferences in OSX and click on Startup Disk. That will bring you to this screen:
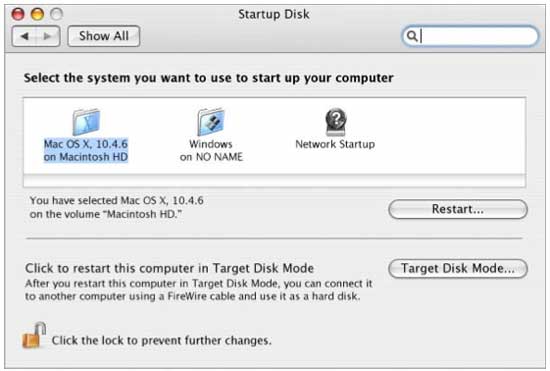
Set which drive you want to be the startup disk, and you are done. You now have the best of both worlds at your fingertips!
Comments are closed.