BitFenix Prodigy Mini ITX Case Review
Inside the BitFenix Prodigy
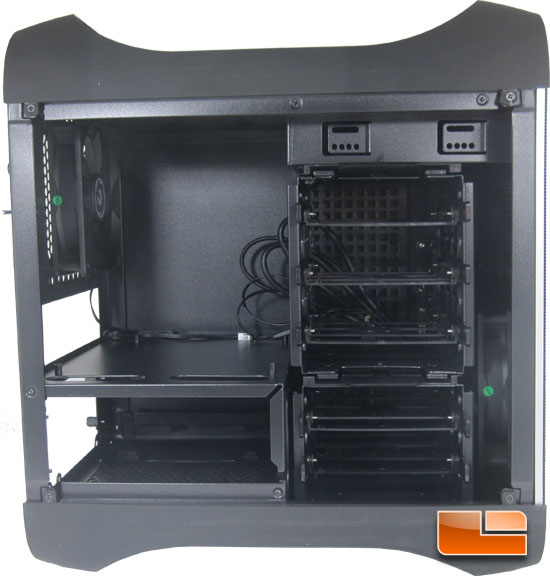
When I first opened up the BitFenix Prodigy mini-ITX chassis, I was truly surprised how roomy it felt. The overall layout inside is well throughout and implemented.
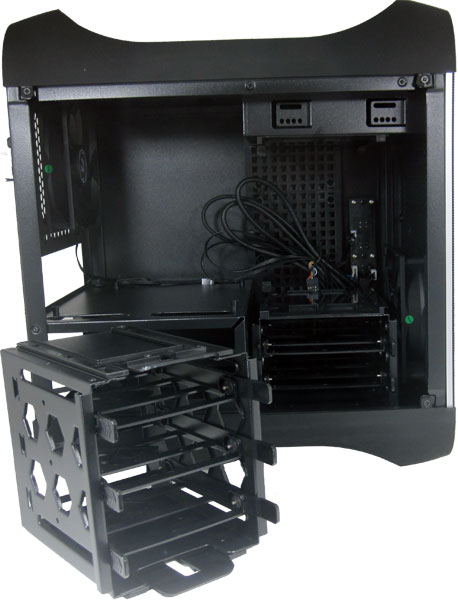
The upper drive bay will support three 3.5″ hard drives or 2.5″ hard drives/SSD’s. Ultimately though, the BitFenix Prodigy will support up to nine drives in various places.
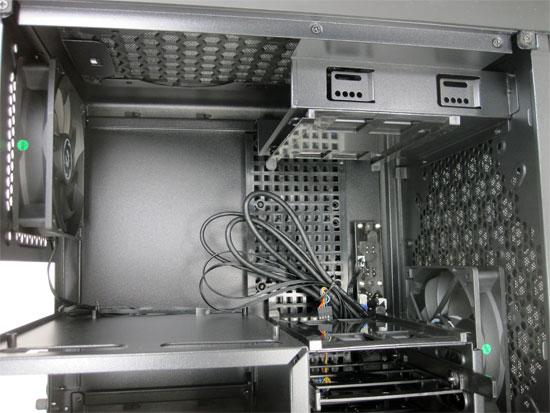
If we remove the upper drive carriage, it opens a lot of space that can increase the airflow by reducing the obstacles that block the front intake fans.
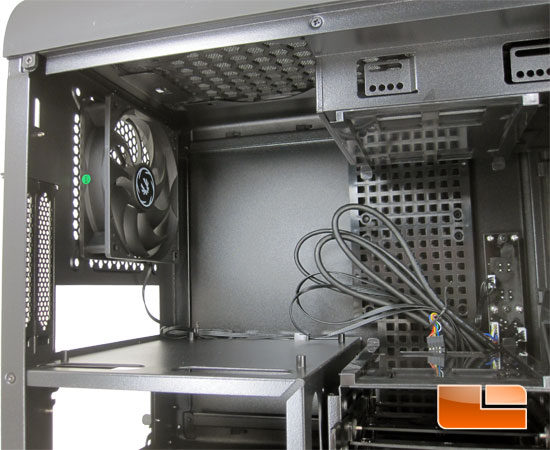
Looking at the back of the case we can see the included 120mm fan that BitFenix is using for the system exhaust. We can remove the included fan and replace it with a 140mm fan.
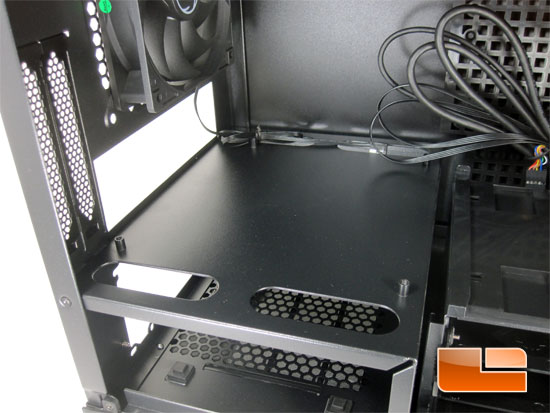
I was a little surprise that there is only four motherboard standoffs on the motherboard tray. Perhaps I’m simply to accustomed to the typical ATX layout that has nine or more standoffs. This matches the motherboard we will be using for our build, just expected more of them. On either side of the motherboard tray there is a pair of cutouts for your cables to pass through to help keep the case clean looking for the build.
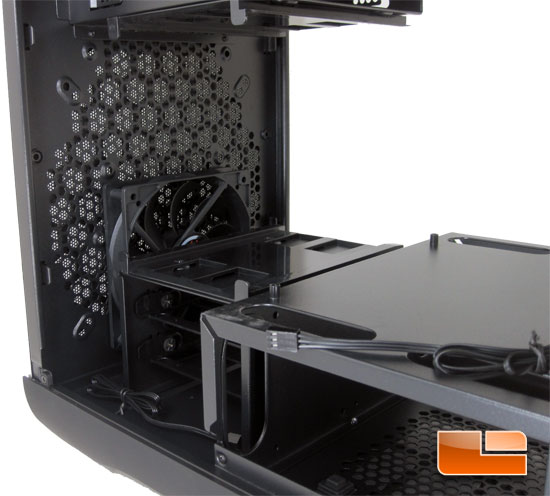
Along the front of the PSU housing, there is another cutout for your cables to pass through on each side of the housing. Looking at the front intake fan, there are a number of different options that you can implement. BitFenix includes a single 120mm fan for the front, but the Prodigy will support 2x120mm fans, or a single 140mm fan, 180mm fan, 200mm fan, or a 230mm fan. It could also be used for radiators of the same size if wanted to leave out the BitFenix FlexCages.
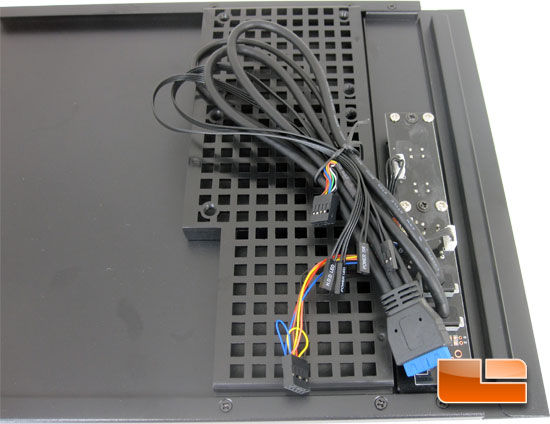
The inside of the solid side panel has all of the connections for the SuperSpeed USB 3.0, power and reset buttons, as well as the activity lights. The cable for the SuperSpeed USB 3.0 ports also features the connector for USB 2.0. If the motherboard that you are using in the BitFenix Prodigy doesn’t have USB 3.0, these ports wont go to waste! This is the first time that I have seen this feature in the cable. I have seen cases come with an adapter, but not wired in!

Comments are closed.