BitFenix Pandora Core Window mATX Case Review
Pandora Hardware Installation
For the most part, if you have built a computer before, installing a system in the Pandora won’t be difficult. There are a few tips that would make an install go a little easier, but none of them are difficult to figure out when installing the components.
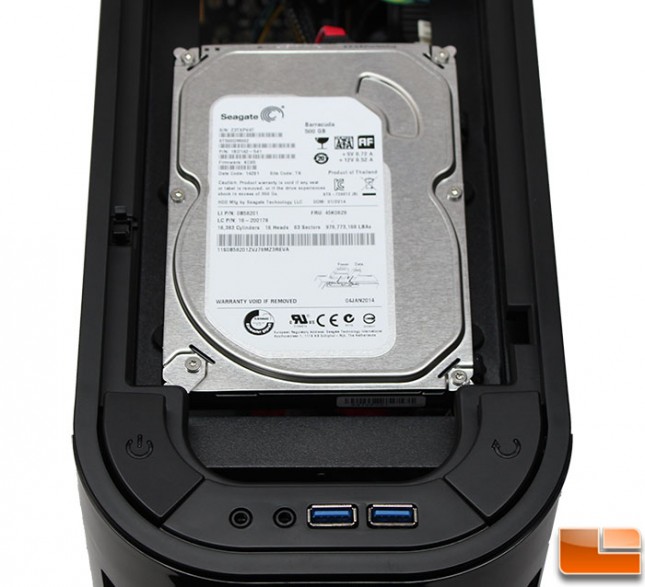
The top mounted 3.5″ drive was one of the easiest to place and connect. Two rubber coated pins help line it up, and then secure the drive through the bottom of the tray. Route the power and data cables to the drive and get it connected. A right-angle or straight SATA cable can be used here, , where on some of the other drive connections a straight SATA connection was necessary. Nothing difficult at all about this one.
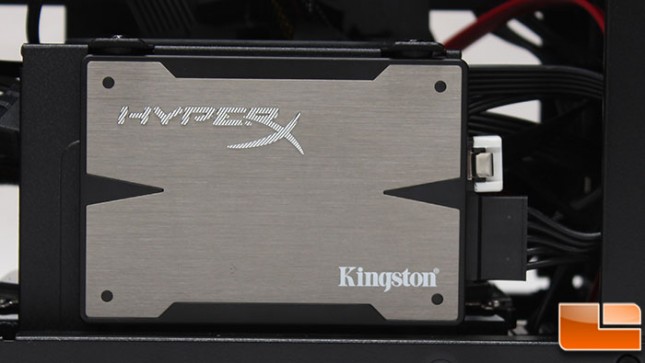
Installing a 2.5″ hard drive on the side of the case was extremely simple, place the drive onto the rubber coated pins, and then use screws to secure it on the other edge. Once it is installed, the cables are extremely easy to attach. A right-angle SATA connection can be used here as well.
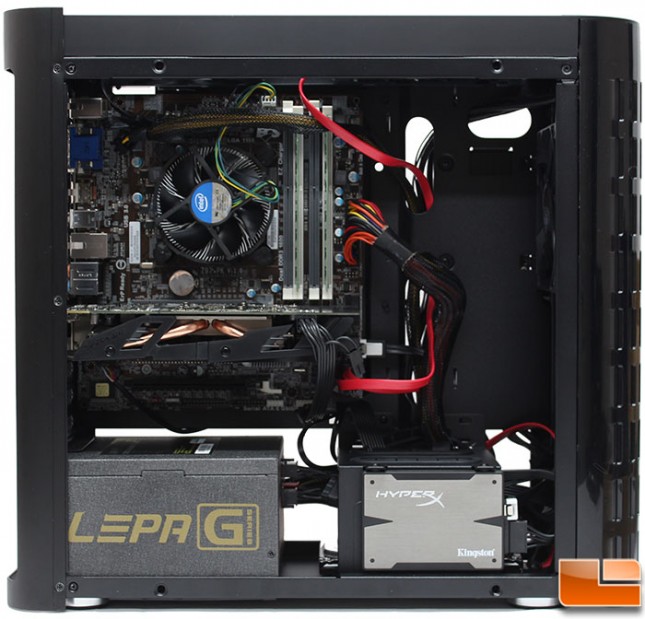
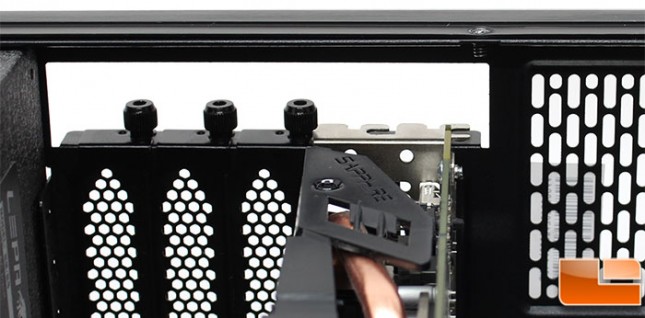
Originally, an ASUS STRIX GTX 970 was going to be installed in the Pandora, however that specific card is a bit too tall for the Pandora; the ASUS Strix GTX 970 is 5.5″ tall. So we had to resort to a back-up card, a Sapphire Radeon R7 260x. Be aware of the GPU height limitations on the Pandora before jumping in and buying all of your hardware. There used to be a time when all we had to worry about was the length of the GPU, now it’s also the height. From the top of the PCI-E slot, there is approximately 5 1/8″ of space. However, you still have to get the card under the edge of the case, so the maximum height of the card would have to be under 5″ in order to get it under the edge and push it into the PCI-E slot.
The back side of the motherboard tray is nice and clean once everything is properly routed and hidden. There appears to be plenty of room to install a CPU cooler after the motherboard has been installed. We installed the power supply from this side, which is recommended by BitFenix to avoid any issues with the power cables and the front cage. It was surprising how easy it was to install the pwoer supply from this side. There is just enough space for the power supply to side under the motherboard tray and be pushed into place.
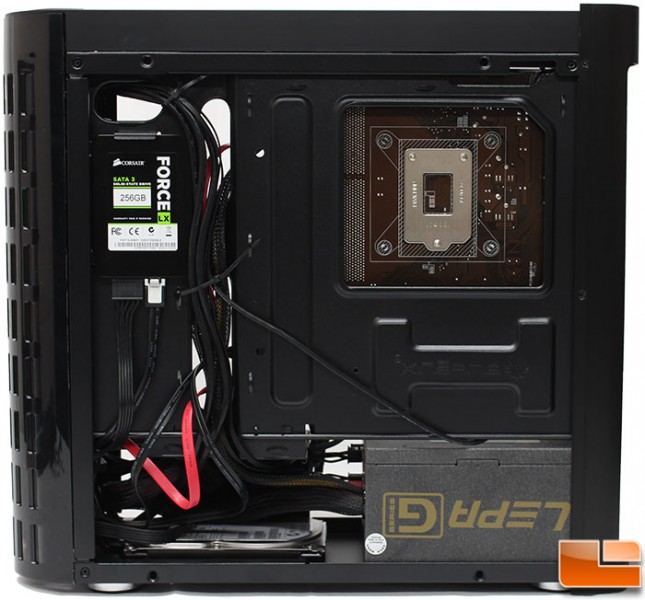
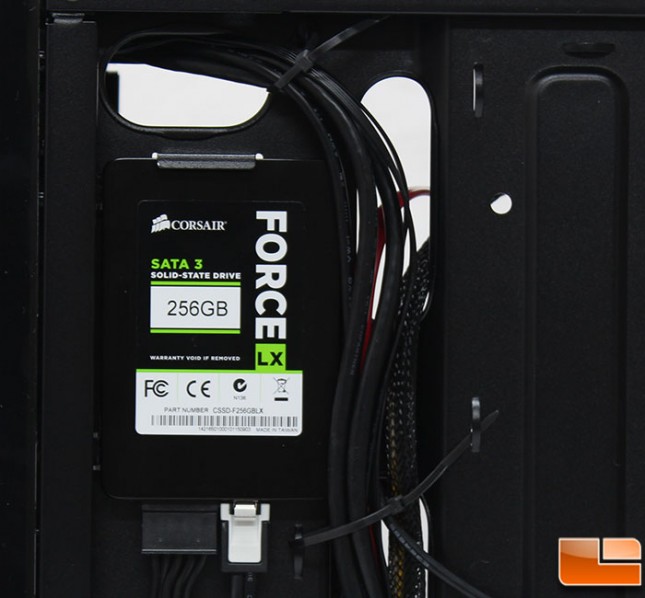
Behind the motherboard tray, there is a place to install a 2.5″ drive, this is done using two integrated rubber coated pins that go into the side screw holes on one side, while using screws on the other side through the motherboard tray. As space is at a premium behind the tray for cable management, I had to use a straight SATA cable, and not an angled one. Also, for the power, it might be easiest to use the SATA connector on the end of the cable to avoid space issues. Finally, the other cables can be a little troublesome with the limited amount of space. I found the best way to do them is to tie them in a couple different locations and run them down the little channel next to the SSD. The power cable, had to be placed on the front side of the case rather than being routed behind the motherboard tray.
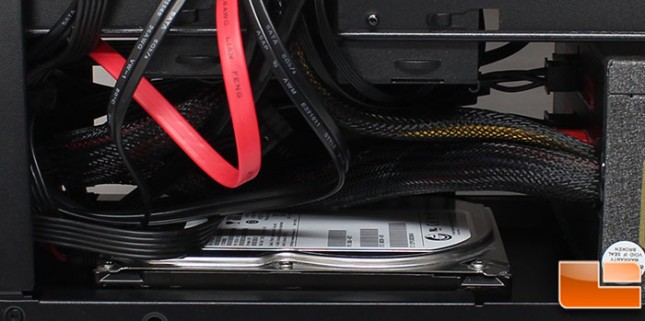
One of the mistakes I made was trying to install the bottom 3.5″ drive after I had all the cables in place. While it was still possible to do, it would have been much easier to install this drive before the power supply and the other cables. Using four of the anti-vibration washers, this 3.5″ drive is secured to the case through the bottom panel. Very easy to do, just easier if the power supply wasn’t in place. Like the SSD located on the back of the motherboard tray, a straight SATA connection is necessary as the drive sits on the bottom of the case and there is not enough room for a right angle SATA connection. Likewise, there could be issues with the power connection if it is in the middle of the cable, depending on how flat you can bend the SATA power connections.