BitFenix Pandora Core Window mATX Case Review
Pandora External Impressions
The BitFenix Pandora review sample we received is the Core Window Black. From the normal Pandora Window, this means it does not have the LCD on the front bezel. The two side panels and the back panel that wraps around the corners are made out of aluminum and has a vertical brushed feel to them. The overall dimensions of the Pandora are 160mm x 420mm x 465mm (W x H x D), or 6.3in x 16.5in x 18.3in. Before taking a look at the interior, let’s take a quick look at what the exterior of the Pandora can tell us.
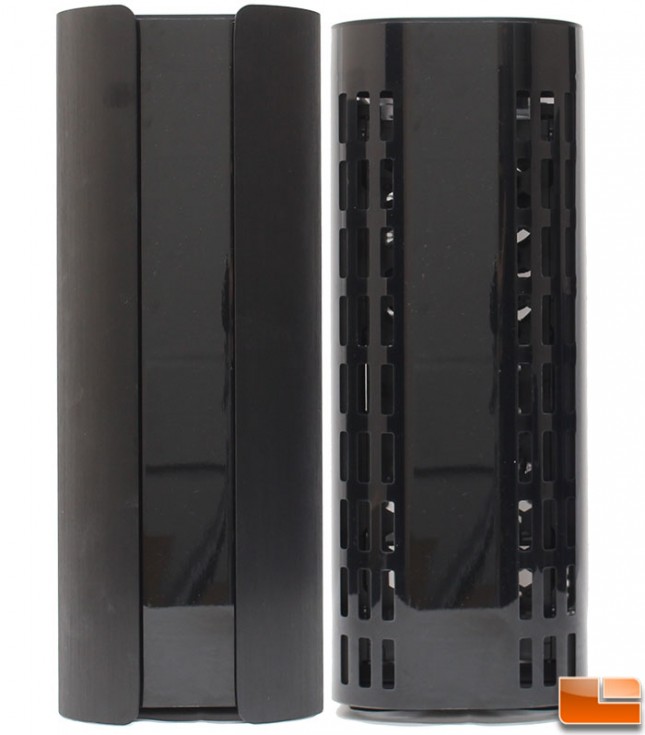
The front of the Pandora has the side panels wrapping around the front corner of the case, which covers a shiny black plastic bezel. When the side panels are removed, we can see the plastic portion of the case, which has some large air vents down the sides. The middle piece is where you might attach the included BitFenix logo if you have the Pandora Core, however if you have the Pandora model with the LCD screen, it will show up in this area.
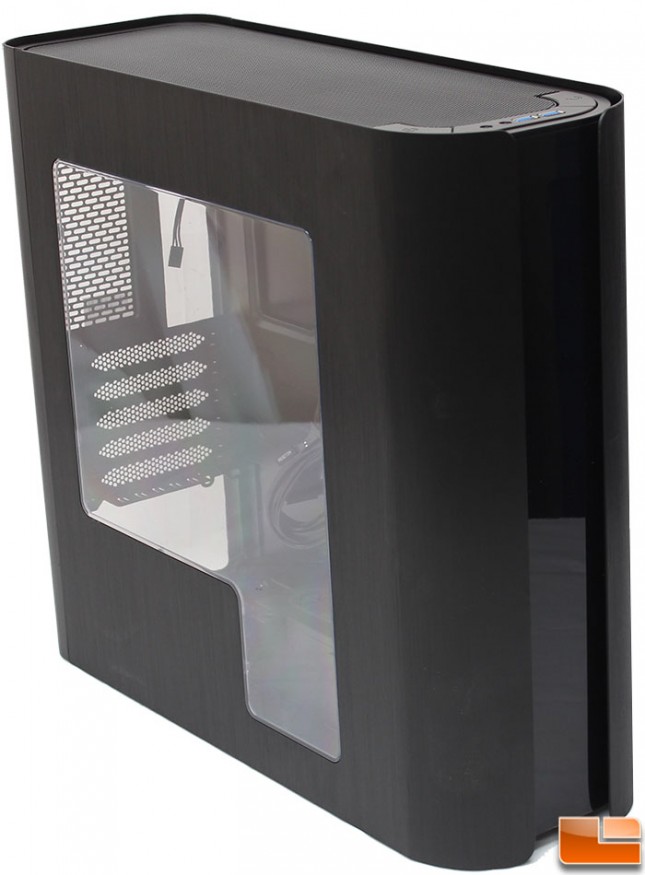
Turning to the side panel, we can see the large window BitFenix has installed on the Pandora models with Window. It is slightly unusually shaped, with a section designed to hide the power supply. The other small section, is in a perfect place to show off a SSD, should you decide to install one in that location.
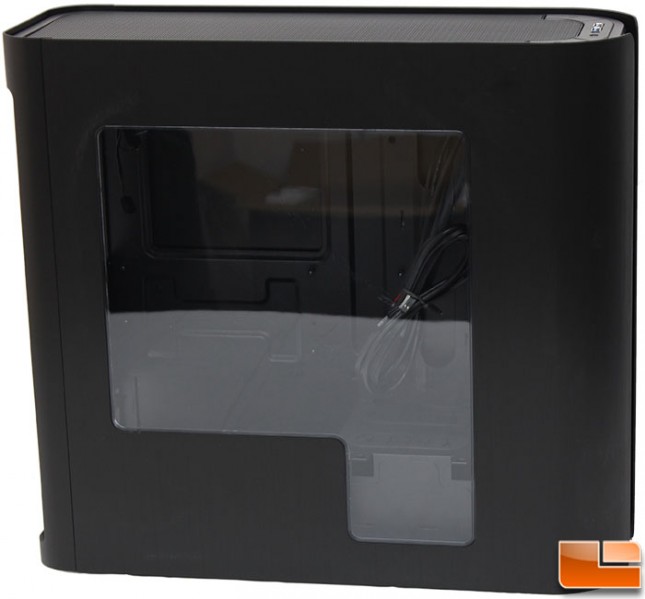
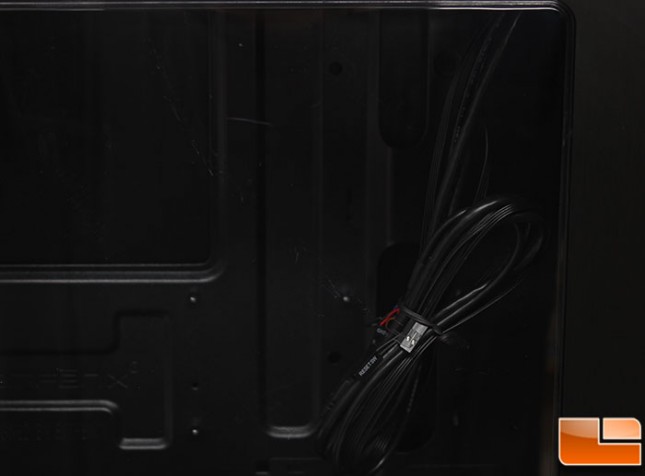
On the side window, the external part of the acrylic was protected by a sheet of plastic. However, the side on the inside of the case was not protected. During shipment, the included cables were not secured, so they rubbed and scratched the inside of the side window. While the picture doesn’t show all the scratches, you can follow the scratches from the right side of the panel, all the way to the top along the trajectory that the cables would rub against.
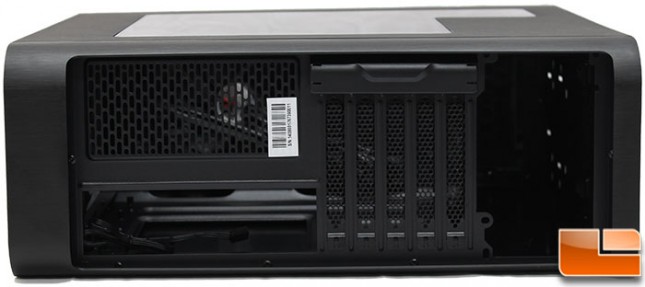
The back panel doesn’t provide any real surprises. At the bottom of the case is the standard power supply port, then five expansion slots, and then finally the motherboard back I/O cluster port. The five expansion slot covers have the thumbscrews on the outside of the case, hidden behind a plastic removable panel. Above the motherboard I/O cluster is a mesh area that measures 5 1/2 in x 2 1/2 in; this would be enough room to fit two small 60mm fans for a rear exhaust if necessary. There is a hidden handle on the back panel, at the top of the case in the back BitFenix has included a little handle disguised as a part of the case, this makes it extremely easy to move around.
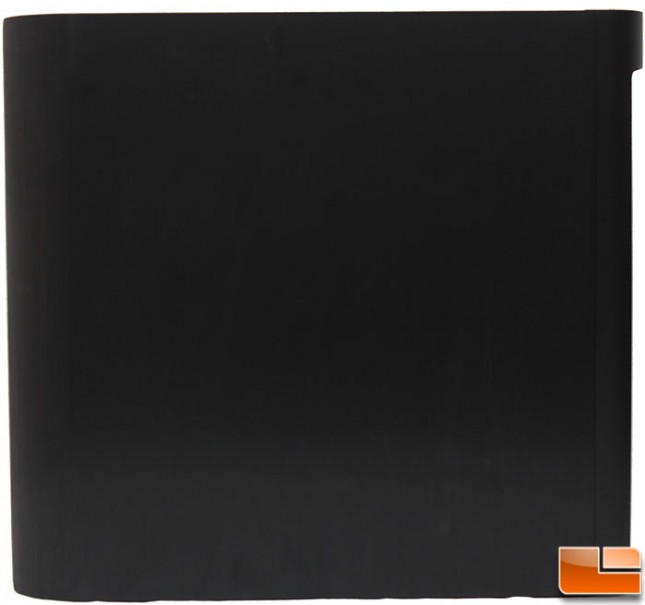
Like most back side panels, there isn’t much to look at on this panel for the Pandora. It has a brushed aluminum look and feel to it, but it otherwise plain. If you are into modding, this give a nice canvas for some custom art.
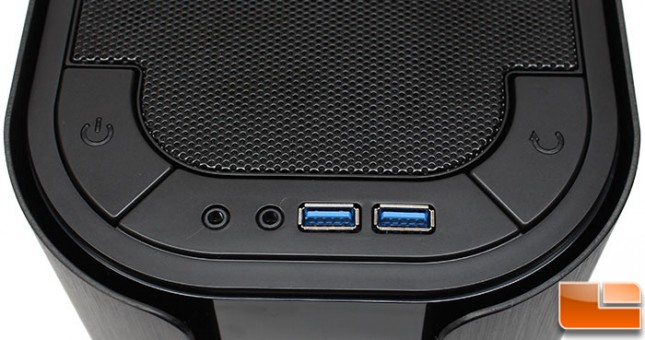
There are many locations the “front” I/O cluster can be placed on cases, with a design such as the Pandora, the options get limited. BitFenix has placed the I/O cluster on the top panel, and curved it to seemlessly fit with the design of the case. This I/O cluster has the common items, a large power button, headphone/microphone jack, two SuperSpeed USB 3.0, and a large reset button.
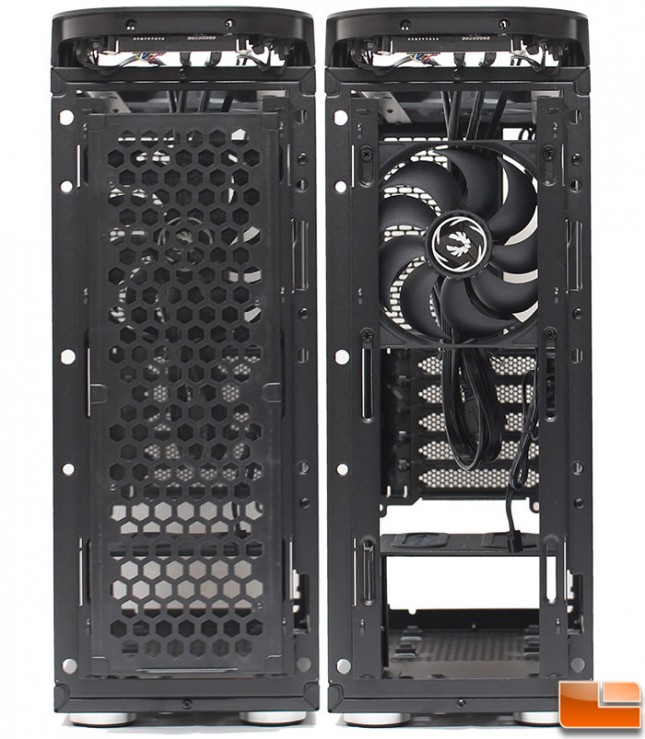
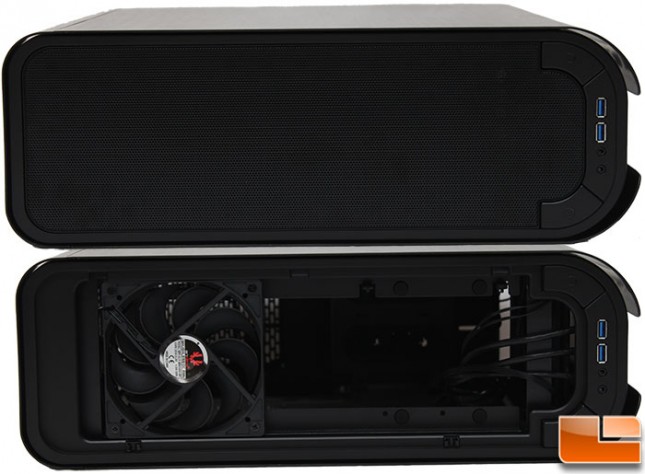
Taking a look at the rest of the top panel, we find that the majority of the top is a wire mesh cover. Where most will pop off from either the front of the case or the back of the case, BitFenix has changed it a little, and it pops off from the Window side of the case. Using a couple of push-lock latches on one side, and notches on the other it comes off easily. Once removed we can see the top 120mm exhaust fan, which is model BFF-SCF-12025KK-RP, with specification of being Non-LED, speed of 1,000 RPM, CFM 43.5, at a noise level of <20dBA. It appears to be room for a second fan, however this is where one of the 3.5″ hard drives can be installed.
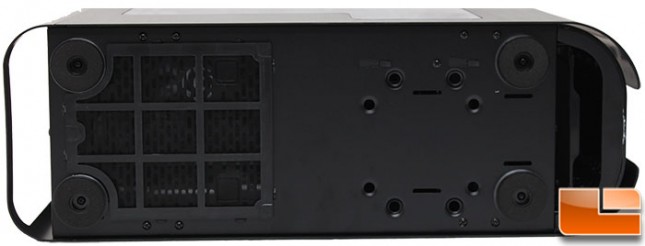
On the bottom of the case, we find that the power supply intake has a magnetic filter on it, which the case will need to be picked up in order to be removed for cleaning. At the front half of the bottom panel, are a couple sets of screw holes, which will be used to secure either 3.5″ or 2.5″ drive to the bottom of the case. There are also two sets of strap holes if you wish to use the velcro straps to secure your cables to the bottom of the case.
With the side panels removed, the plastic front bezel can be removed as well. Behind it, we find a magnetic air filter from the bottom to the top, which can be removed from the bottom of the case, you’ll need to live the case in order to remove it from there. With the filter removed, the included 120mm front intake fan is visible. There is room for a second 120mm fan if you wish to increase the airflow.