BitFenix Outlaw PC Gaming Case Review
Interior
Interior
BitFenix has flipped the world of mid-tower cases upside down with the Outlaw. Below in the pictures you will see how some simple changes in the engineering of the BitFenix Outlaw interior will help simplify installation and air flow.
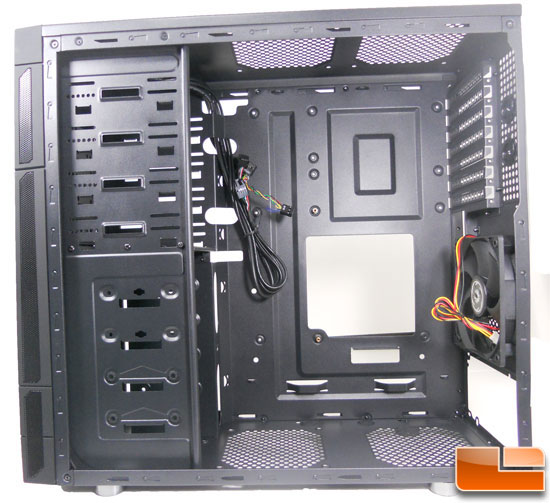
Here we have a wide photograph shot of the case interior. As we saw in the previous page the case opens on the opposite side. You will also notice now why it opens from the opposite side. The motherboard tray mounts upside down!
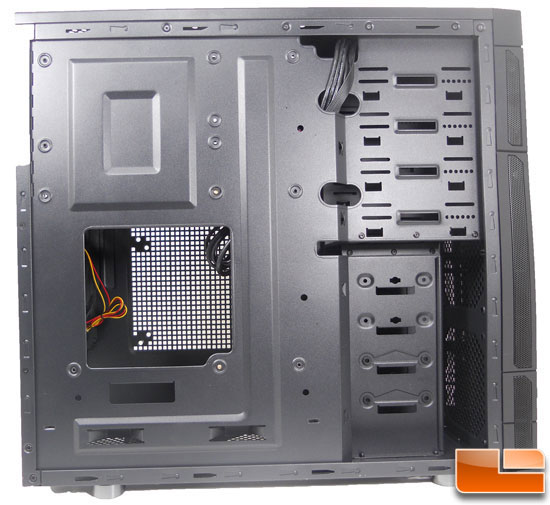
The BitFenix Outlaw, of course, has an alternate side to open. This side shows an ample number of openings for wire management. The drive bays all point toward the interior of the case. The cut out for the CPU will be able to support almost any processor out there. The case wiring feed through the top so it will be really easy to connect the wiring to a motherboard with minimal wire management.
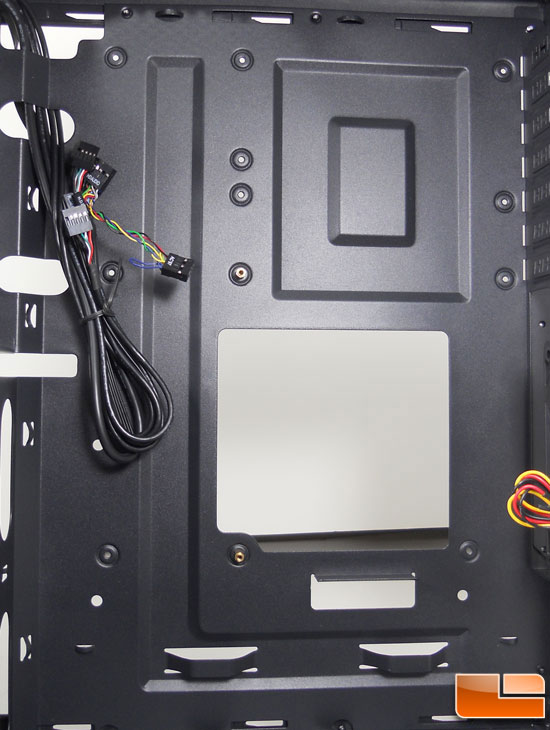
Here we have a closer look at the motherboard tray. Notice only two motherboard screws are in place. The accessory bag has enough to screw in more for any motherboard configuration.
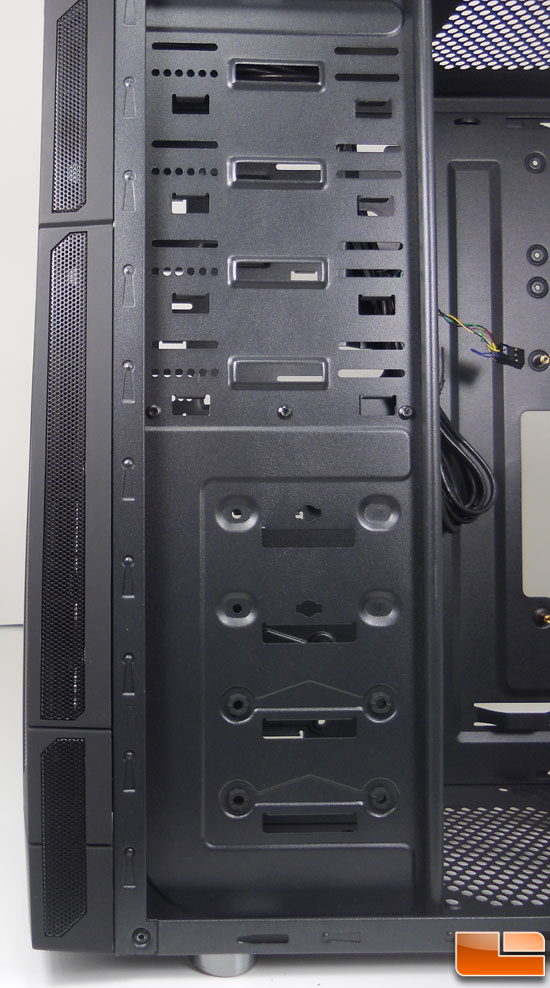
The BitFenix Outlaw stays a little more traditional with its drive bays. The drive bays are not screwless but the accessory bag has all screws that you will need. The hard drive bays also point to the interiors of the case, not toward the door.
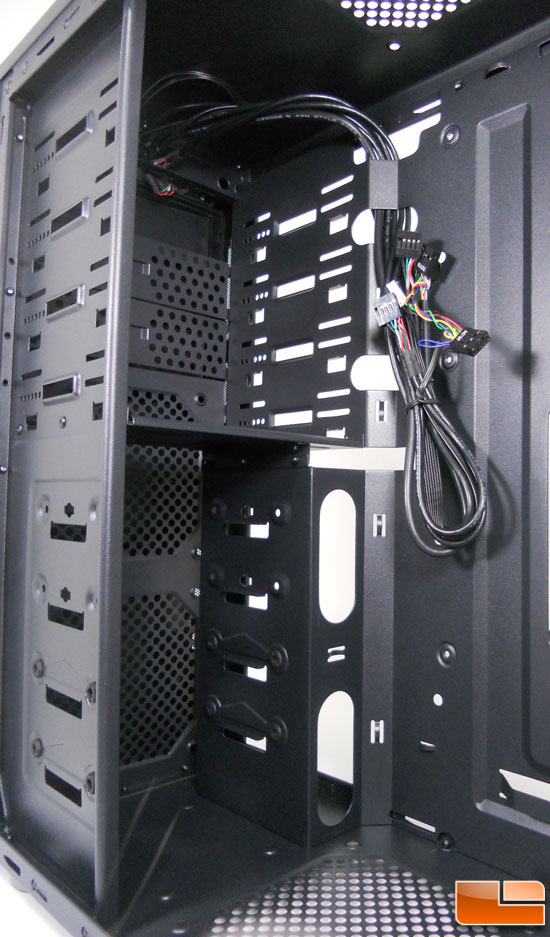
Here is another look at the traditional long view of the cage.
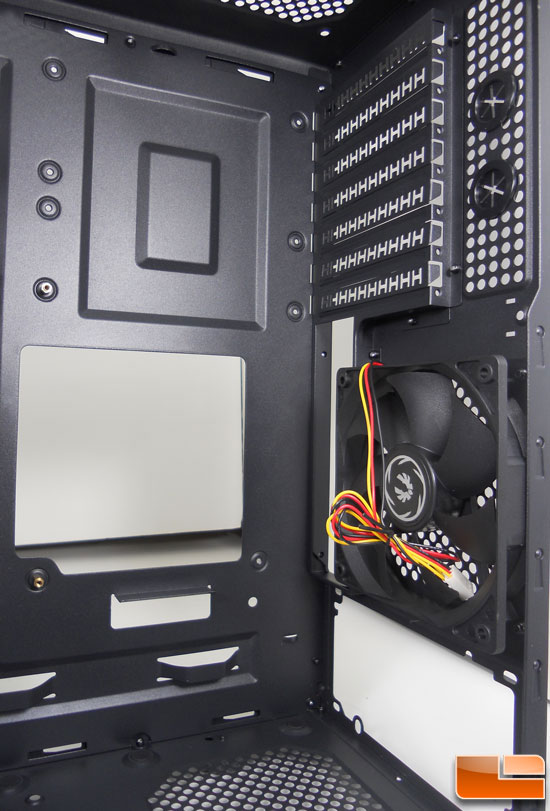
We have a look at two parts here. At the rear of the interior we can see the seven card slot that starts from the top. Once the slot is removed it cannot be screwed back in. Ports for external liquid cooling and the 120mm fan you can see next in the photograph. The I/O ports did not come with a spacer, but most boards do not these days since I/O on motherboards differ so much. The power supply can be installed in different ways for versatility and wire management. On the bottom you can see where the two 120mm fan mounts are.
Overall the interior of the case does some really nice things for the builder. You have to remember for $49 there are a lot of options here. I am thrilled to next install an inverted motherboard and see how this works. I do like to convenience of screw less cases but that maybe just the laziness in me speaking. For caged bays I personally prefer it to point to the case door, but for a case like this it is by no means a deal breaker. The plusses of this case way outweigh these couple of things.

Comments are closed.