BenQ Joybee GP1 Mini Projector Review
A Closer Look At The GP1
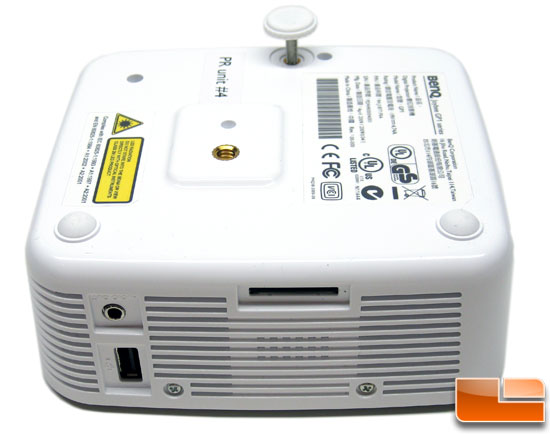
Flipping the GP1 over you can see that there is a front peg that unscrews to adjust the screen height. You can also mount the Joybee P1 Mini Projector onto a tripod as it has a location for that screw on the bottom as well.
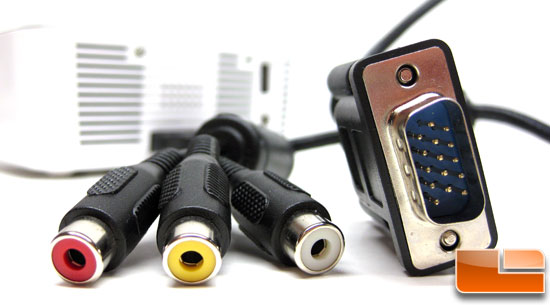
When it comes to input connections, you have your choice of either the USB port or the multi-input socket that supports RGB, D-Sub, Composite and Audio in.
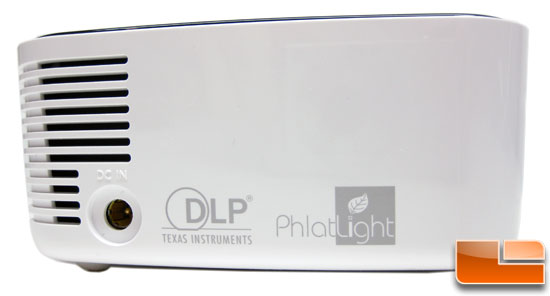
The DC input is located on the side of the projector, below one of the many exhaust vents.
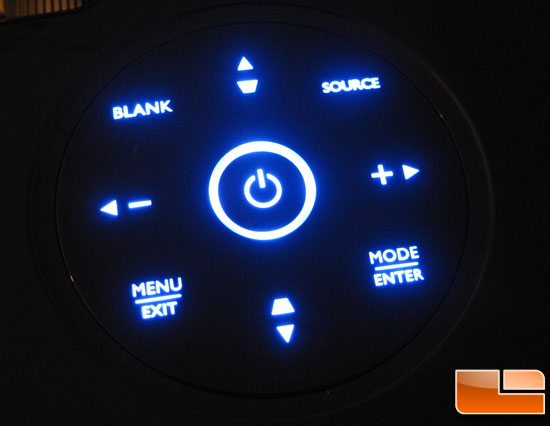
The Benq Joybee GP1 Mini Projector comes with two ways to control it: a control panel on the unit itself and a remote control unit. The controls on top of the BenQ Joybee GP1 Mini Projector are easy to read and back-lit in order for them to be used in low-light situations. The controls are touch sensitive, which is nice as you don’t have to worry about sticky buttons, but the reaction time isn’t that great on these keys.
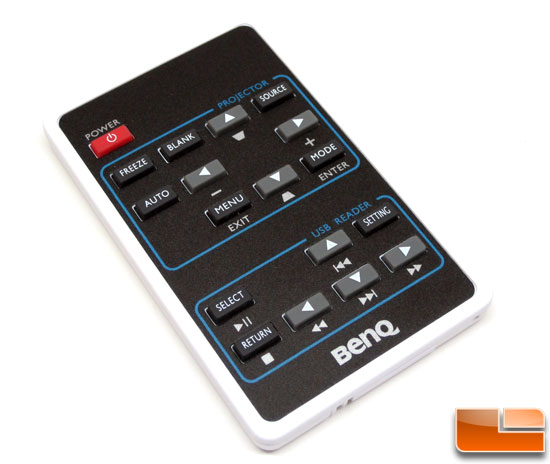
It also comes with a small remote that is ideal when using the BenQ Joybee GP1 Mini Projector in presentation setting. While the remote is nothing fancy it does get the job done. We have found that the dial is a little touch sensitive as mentioned above and for those with bigger fingers the remote would be the way to go for you. But with either the remote or dial, the user is able to control all of the normal functions and then some. One key point to the remote is that it has two different sections depending upon if you are using the USB or the multimedia option. Whichever control you go with, however, both are quite user friendly.

Comments are closed.