Azza Inferno 310 Mid Tower Case Review
Azza Inferno 310 Build
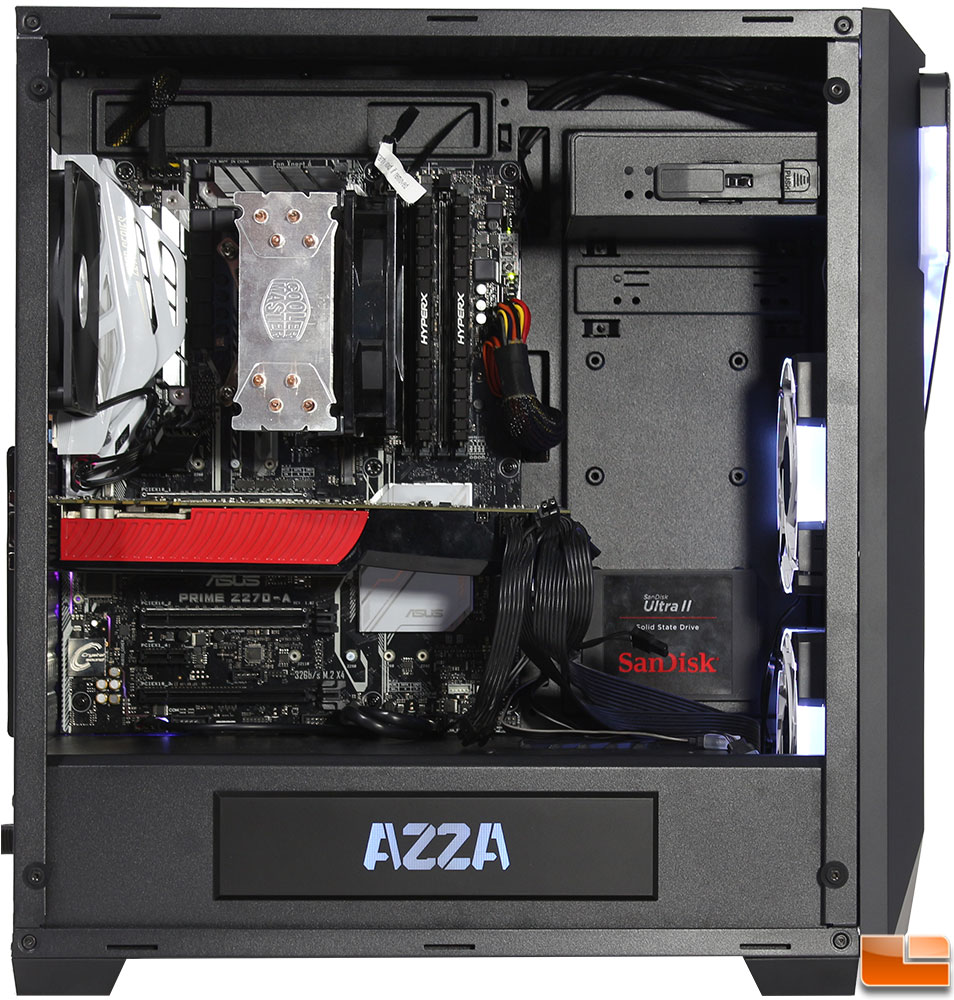
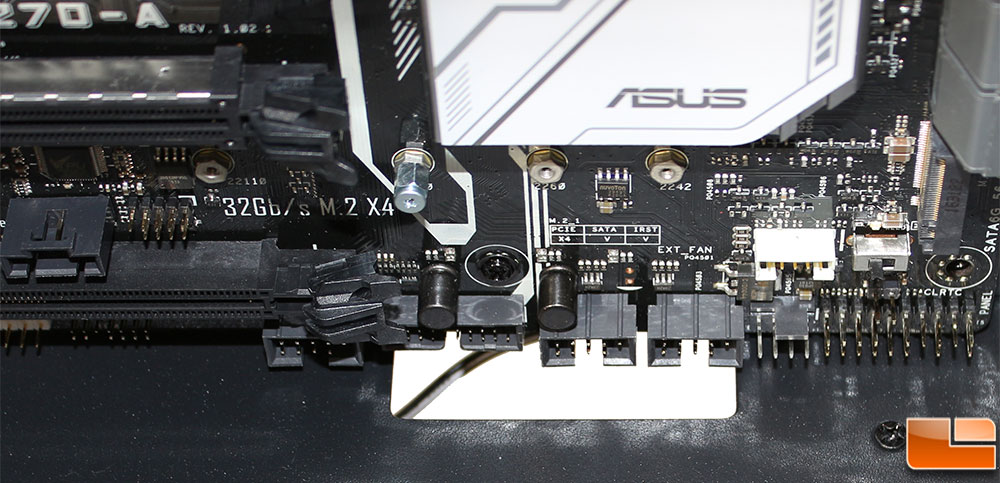
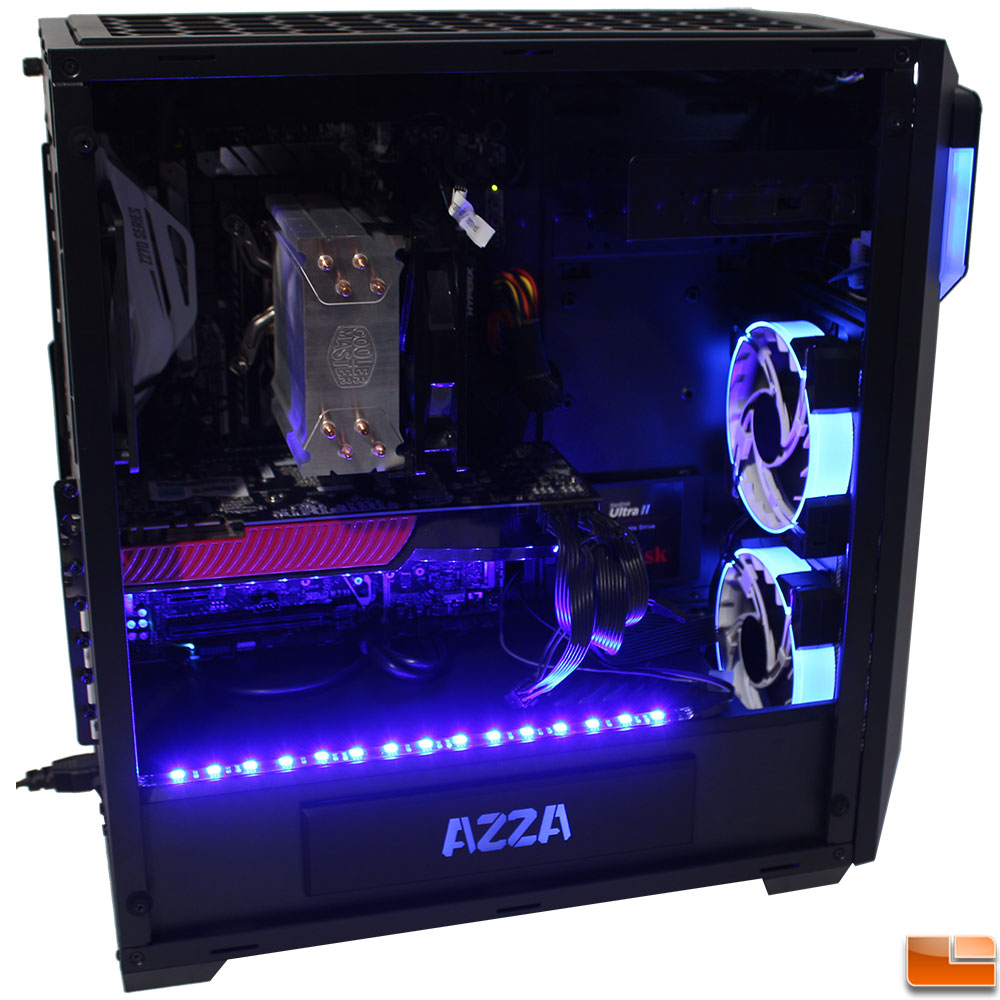
For the most part, installing your components inside the Azza Inferno 310 goes as you would expect; there were a few little surprises that we encountered. Inside the case, we installed an ASUS Prime Z270-A motherboard, with an EVGA GTX 275 graphics card. There is plenty of room for longer graphics cards, as the Inferno 310 supports graphics cards up to 380mm in length. We decided to install another 2.5 inch drive on the front side of the case, just to show it is possible. However cabling is a big challenge for the drive, as the connectors are pretty close to the SATA connectors on the motherboard.
After the motherboard is installed, we started installing the necessary cables. That’s when we started finding a few things that made us need to rethink the build. For example, once the motherboard is installed, the cable routing hole on the power supply cover isn’t large enough to route PCIe cables through it. Between the bottom connectors and the cover there is approximately .25 inch to squeeze the PCIe power connector through, which is about half the space needed.
In order to get the PCIe power cables to the graphics cards, you have a few options. First, you can route them through the hole on the power supply cover prior to installing the motherboard. Next, you can route them in the space by the front intake fans. Finally, you always have the option to route them behind the tray and to come out in the holes in the motherboard tray.
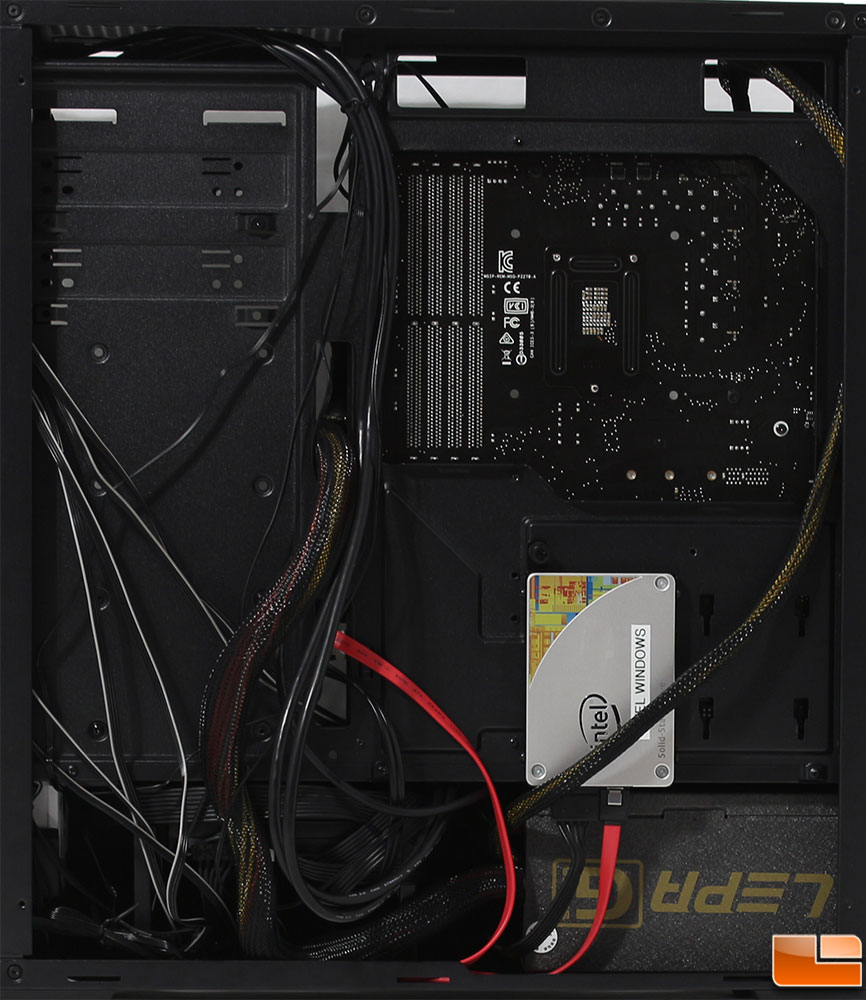
There isn’t a lot of room for cables, and the lack of cable tie locations might might doing a great job at cable management a little difficult. Re-using the twist ties can make it a little better; other than the one twist tie at the top, and the slight routing of the 8-pin motherboard power cable there hasn’t been any further cable management done. Also, despite the small amount of space, the side panel goes into place without any difficulty.
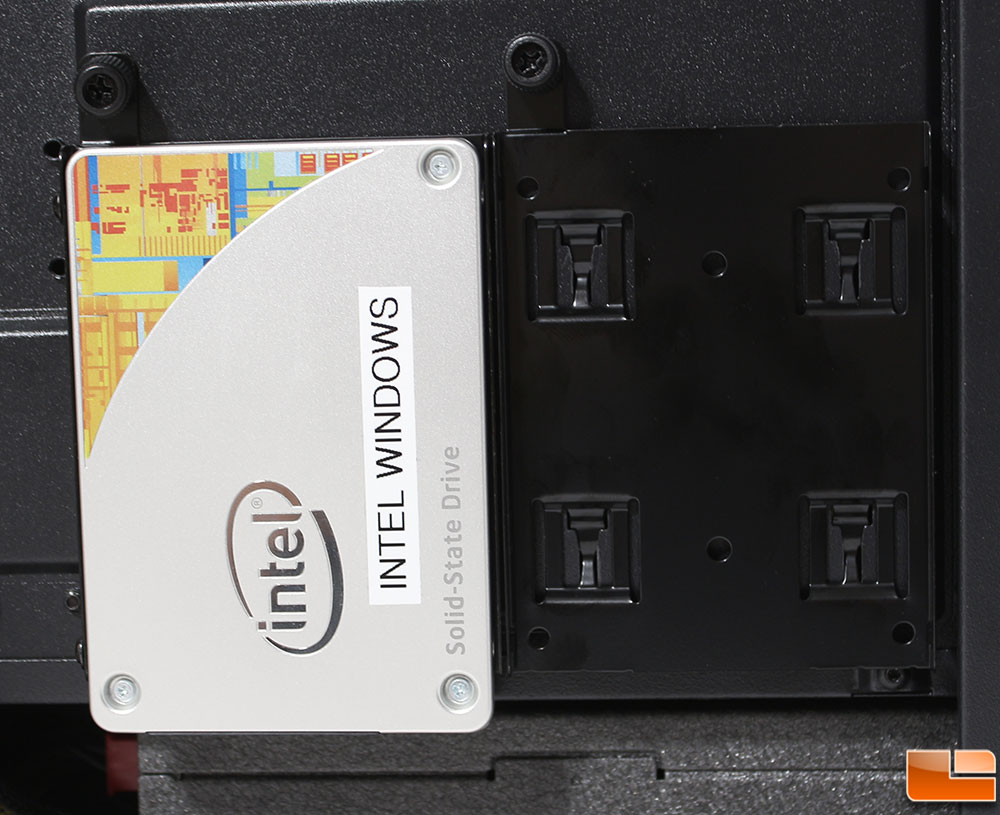
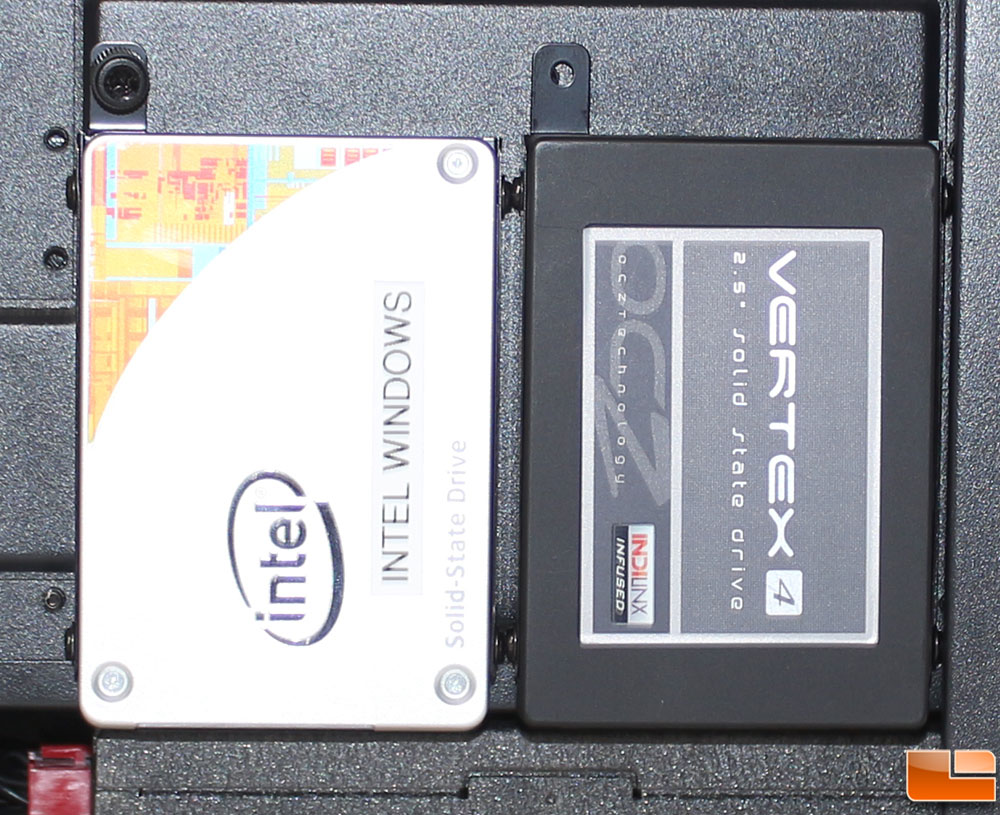
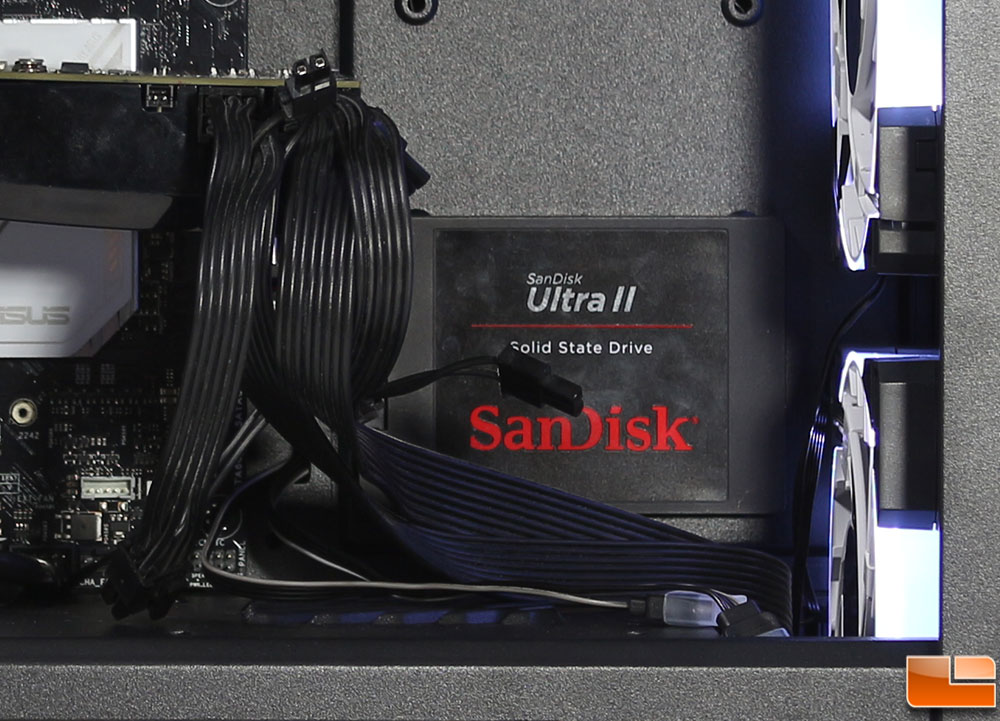
Installing 2.5 inch drives onto the metal drive trays is easy, however I quickly noticed a potential for an issue with the included screws. The two drive cages get installed with very little room between them, so installing two drives with screws on both sides, there is an issue installing the trays. If you look at the picture with the two SSD’s installed, you can see that the tray on the right will not line up with the slots on the motherboard tray or the thumbscrew hole. The only way to get them to install is to use flat head screws (which aren’t included). Otherwise, don’t put screws on one of the sides, of course then your drive isn’t totally secure, but shouldn’t be an issue. Something else I noticed, is that the 2.5 inch drives hang a little over the power supply, which will make it a little more difficult to install the power supply if the drives are in place first; install the power supply prior to installing 2.5 inch drives.
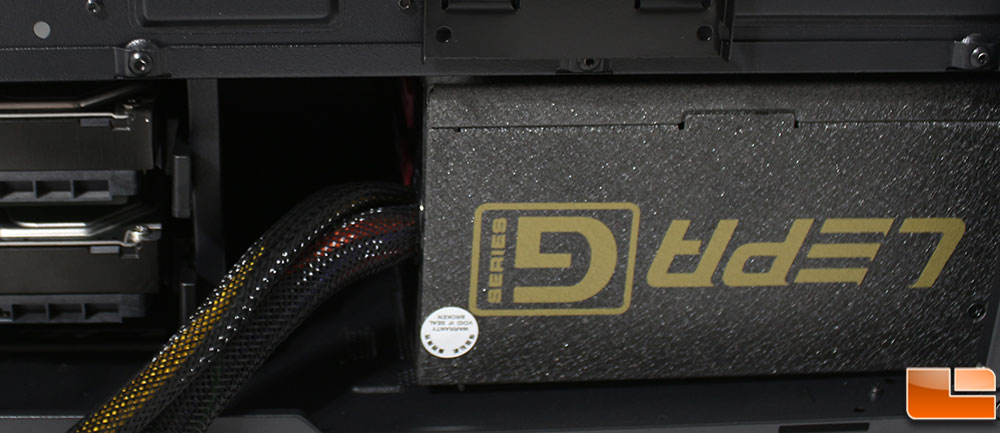
If you happen to be using a modular power supply, you will really want to think out the cables you will be using. Between the edge of the power supply and the 3.5 inch drive cage there is approximately 2 inches of space. That doesn’t leave a lot of room to manipulate cables, so connect the necessary cables prior to installing the power supply to make your life easier.
Built In LED Controller Functions
There are three LED functions built into the included controller, Solid, Fade In/Out and Flashing. In addition, it only provides the option to use seven colors, Red, Green, Yellow, Pale Blue (almost White), Blue, Orange, and Purple. The Fade In/Out and Flashing functions, will automatically rotate through the seven colors depending on the selected mode.
The LEDs are bright and vibrant, the accent bar and RGB Hurrican fans look great. The Azza logo on the side looks great as well, however it is only lit by two LEDs on the sides so the color isn’t even across the entire logo.
Azza has included two additional connectors for additional RGB items. You can connect RGB LED strips, or additional fans. We happened to have BitFenix’s Alchemy 2.0 Magnetic RGB Strip available. All the functions provided by the included controller work with the RGB LED strip. If you have a motherboard with a RGB header and you have the necessary cables, you could connect the RGB connections to the motherboard, controlling them through that software.