AZZA Helios 910R ATX Mid Tower Case Review
AZZA Helios 910R – The Build

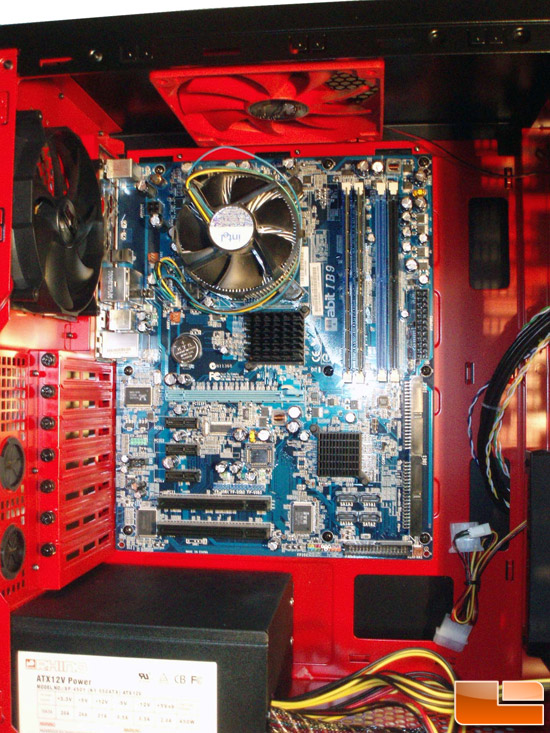
Now we can start putting the system together. I started with the power supply which has the exhaust pointing downward. After that I installed the motherboard. The motherboard fit in here perfectly and looks quite nice against the red background. As I mentioned before, heres where I get into trouble. This motherboard has two areas where power is plugged in. One is the top left corner and the other is on the right side half way down. The power supply has connectors for both, but they are not long enough to reach either area. Flipping the power supply over allows the 24 pin connector to reach but the 4 pin connector at the top right corner is still too far away. Luckily, there are extension cables that can be purchased to fix this problem. I will probably swap out power supplies in the future, so I will need to make sure that the cables are long enough.

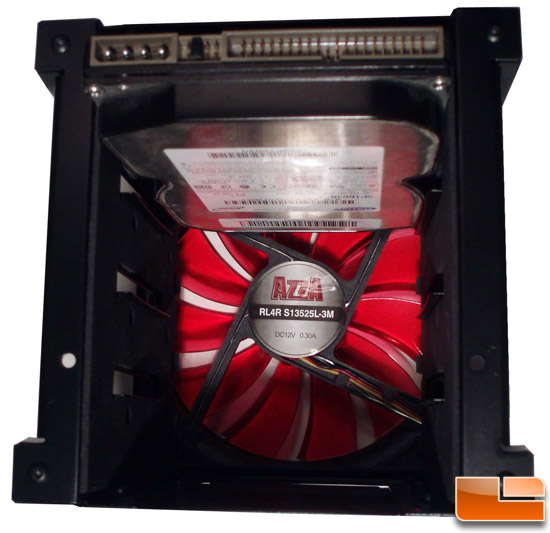
Next was installation of the hard drive. To remove the hard drive enclosure from the case, the front panel must be removed, 8 thumb screws are removed and then the enclosure just slides out.

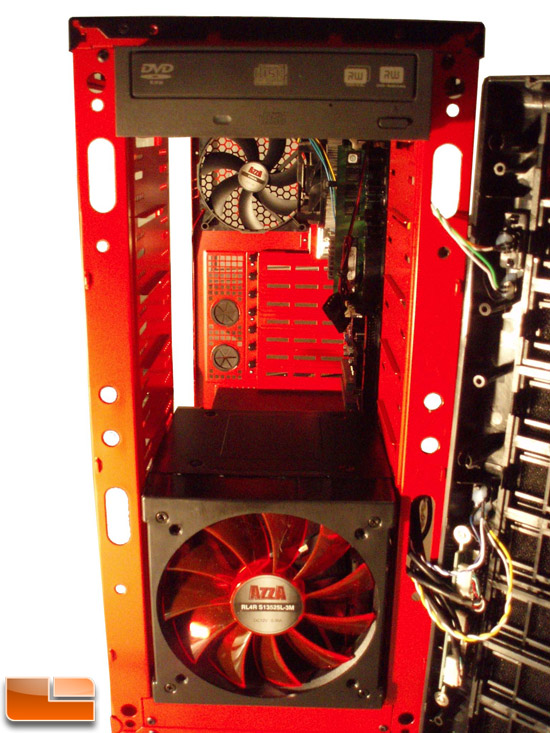
From this view you can see how the hard drive enclosure slides in and out. I then installed my DVD writer in the top slot. This is the slot reserved for a floppy drive or a card reader, but since I dont have either one, I decided to install my DVD writer there.

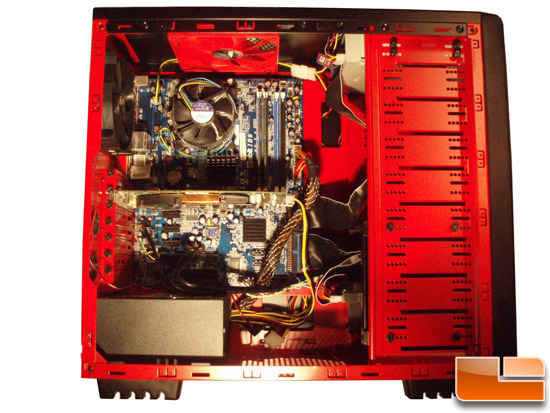
Next, I installed the graphics card. My graphics card is not one of the top of the line models, but it gets the job done. You can see that there is plenty of room for cards that are longer than the one I have. Last, but not least, is the cabling. Most of the power cables I ran behind the motherboard tray. This helped remove much of the clutter that I had in my old case. At this time, I am still using the IDE cabling for my DVD writer and hard drive. I plan on switching that over to SATA cables during my upgrade process. That will help remove a lot of the clutter that is still there and make the inside of this case look even cleaner.

Comments are closed.