ASUS P5GD2-Premium Motherboard
BIOS Tour
ASUS has a very feature-rich BIOS on ths motherboard which tries to handle settings for all the components integrated on the P5GD2 Premium. However, there are a few issues with these BIOS settings which I will comment on below. We used BIOS rev 1007 which is the latest BIOS released at the time of this review. All of our screen shots below are linked to a bigger image for your convenience.
|
|
|
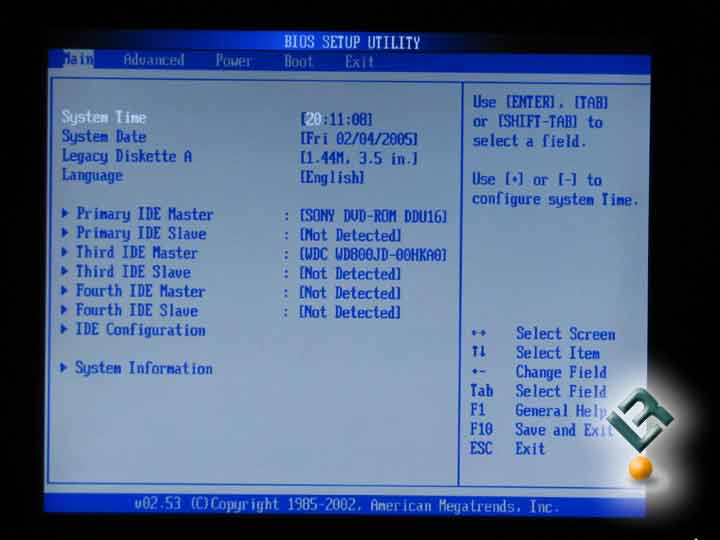
When first entering the BIOS, the main menu will show simple things like the system time and whether your hard drive, CD/ROM, or floppy drive was auto-detected. There is also a link for more detailed system information.
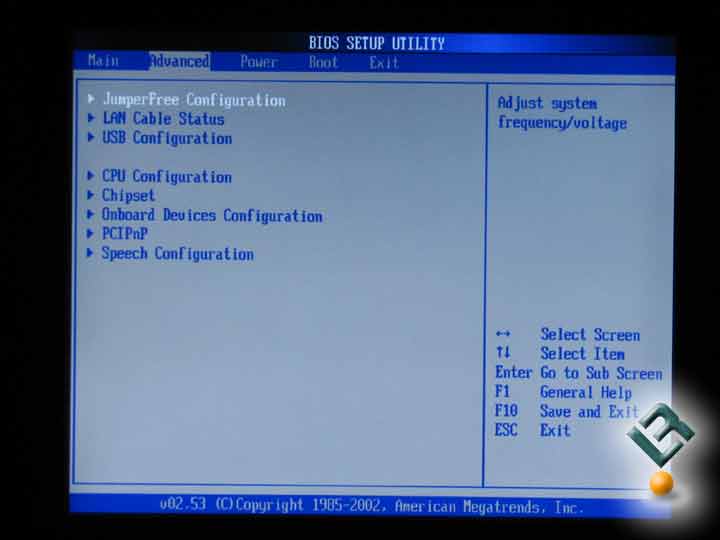
The Advanced Settings menu is your gateway to customization. This is the menu you will use the most when tweaking your system’s options like what hardware you will disable, overclocking settings, and other onboard devices. Many of the screen shots below are links off the Advanced Settings menu.
|
|
|


The Chipset Features menu allows you to enable/disable most of the added hardware features so you can save on system performance if you are never going to use a certain feature. This is good for those of you who will never use the RAID controllers because you can disable those to lower boot-time! Another good example is that you can disable the second, Legacy PCI, Gigabit LAN controller if you don’t plan on using it to save on another driver being loaded by the operating system.
I initially had a few issues with setting the memory timings of this system using the Advanced Chipset Settings menu. At first, I could only get 4-3-3-8 to actually run in Windows. However, after some more BIOS tweaking, I was able to get the memory timings set to what I wanted them to be set to, but after a couple hours of tinkering, I can not tell you why I was getting this issue to begin with. At the time of posting this article, there seemed to be no issues with setting memory timings.
|
|
|

On the CPU Settings menu, there is not much you can do here. The main feature we used on this menu is the ability to adjust the CPU multiplier for testing purposes. Since we do not have a retail processor on-hand, we are not sure if ASUS has the ability to adjust the multiplier of a retail, locked, processor on this board with this BIOS.
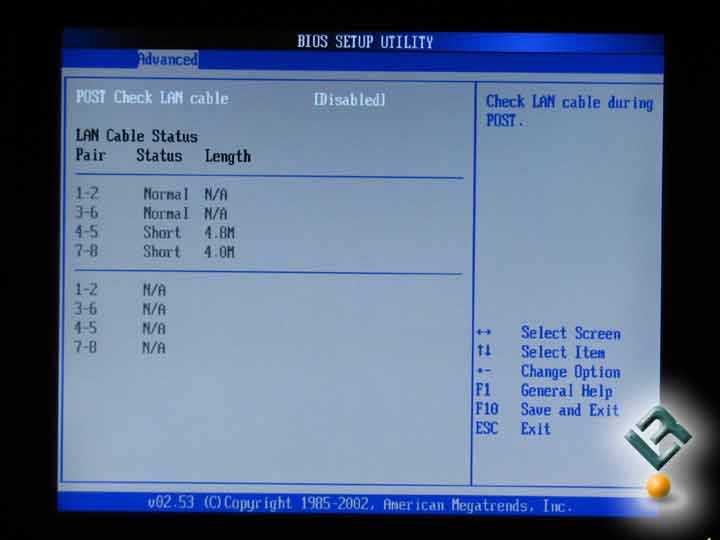
As part of the AI NET2 feature to test LAN cables, the BIOS screen shown above allows you to tweak the settings for the tester.
|
|
|

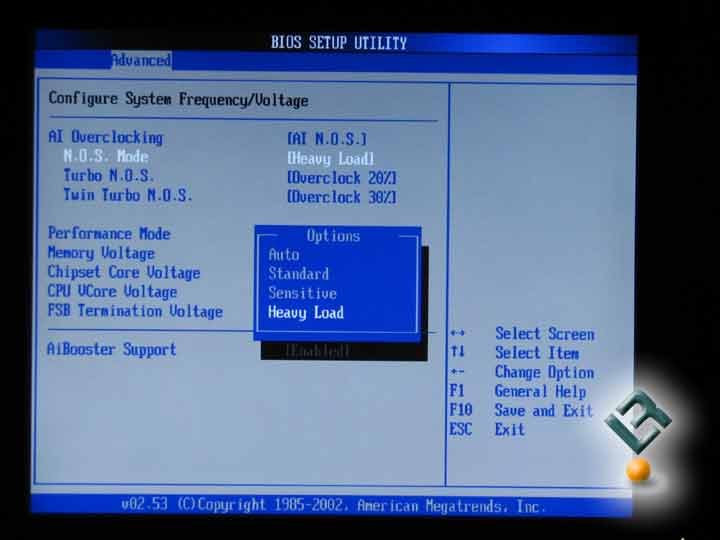
The overclocking section of the bios is where the power of the motherboard lies. Here we can set the FSB (Front Side Bus) frequency, PCI/PCIe frequency locks, and voltages for the memory, chipset, and CPU. The Memory voltage options range from 1.80V to 2.10V in 0.1V increments. The CPU voltage options range from 1.4375V to 1.70V in 0.0125V increments. The Chipset voltage options are Auto, 1.5V, and 1.6V. The FSB frequency can be set from 100MHz to 400MHz in 1MHz increments. The DRAM frequency is set based on 3 dividers: 1:1, 3:4, and 2:3. This give you the settings of Auto, 400, 533, and 600 when the CPU frequency is set to 200 MHz. The divider spots on the menu change based on what you have the CPU frequency set to. We did not have any issues when overclocking manually.
This is also this same menu where you can choose to enable the AI N.O.S. feature to do your overclocking for you. We did not have any luck with this feature in two ways. First, at conservative settings in the AI N.O.S. menu, when we booted into Windows, the memory divider was suddenly set to 1:1 so our 533MHz memory was only running at 400MHz, which kills performance for a lot of applications and games. We also kept our eye on the frequency levels through CPU-Z and noticed that the FSB frequency was going up to about 215MHz and would then suddenly drop down to 202MHz. The frequency would gradually move back to 215MHz again, only to drop to 202MHz… again. This cycle never ended the entire time we were watching the computer idle on the desktop. This does not seem to have the “detecting” performance scaling that we think AI N.O.S. is supposed to give.
|
|
|
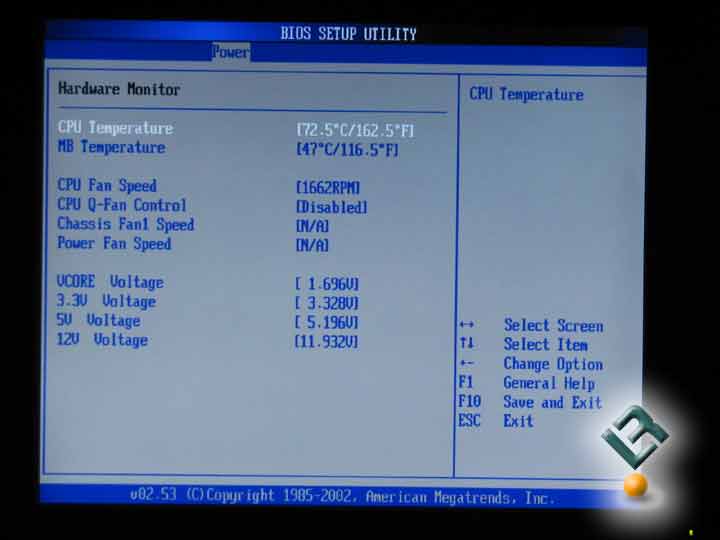
Here we have the handy-dandy hardware monitor that every bios has to monitor fan RPMs, calculated temperatures, and voltages. This is always a good way to troubleshoot if you are having voltage or cooling issues.
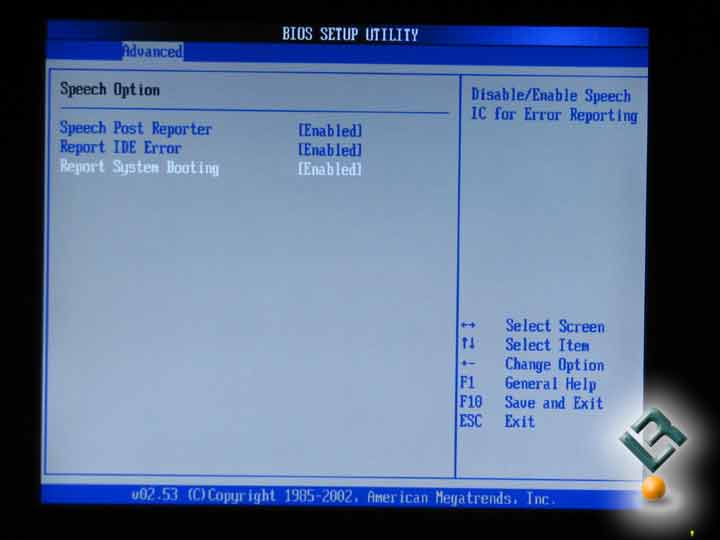
The last screen here shows that there are settings to enable/disable a Speech Post Reporter. Enabling this option will allow your computer to tell you what error, if any, occurs durring the POST operation when you first boot-up your computer.
Comments are closed.