ASUS Maximus III Extreme LGA 1156 Motherboard Review
Box and BIOS Images
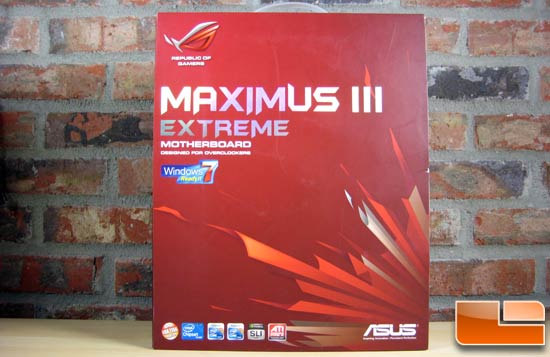
I wish I were an art critic as I feel there surely must be some hidden meaning in the abstract art of motherboard boxes. Like all recent Asus ROG boards the box art features the red shards of something or another. What else can I say? It is pretty.
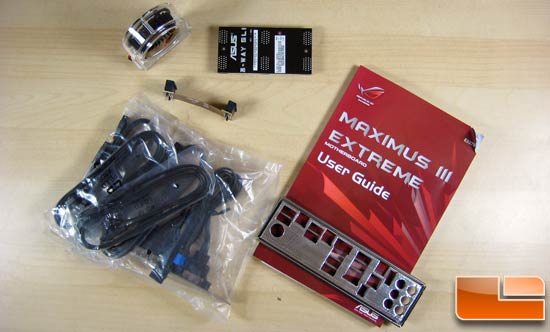
The bundle includes everything needed to run SLI/Tri-SLI and utilize the various SATA ports on the board. They even included a hamster wheel fan to blow air over the PWM heatsink for heavy loads.
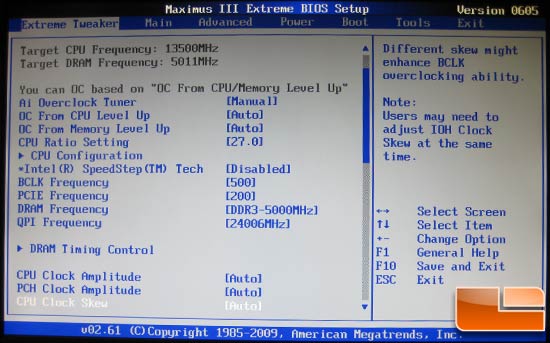
The first tab in the BIOS is the Extreme Tweaker tab with all the overclocking settings. The chunk includes all the frequency settings and dividers. The memory dividers included are 2:6, 2:8, and 2:10 for Clarkdale with Lynnfield supporting 2:12.
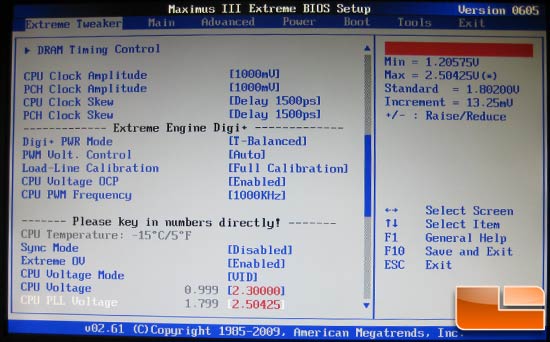
The second chunk includes calibration for signal skews and amplitudes and adjustment of the CPU PWM switching frequency. Higher switching frequency yields more stable power but reduces efficiency.
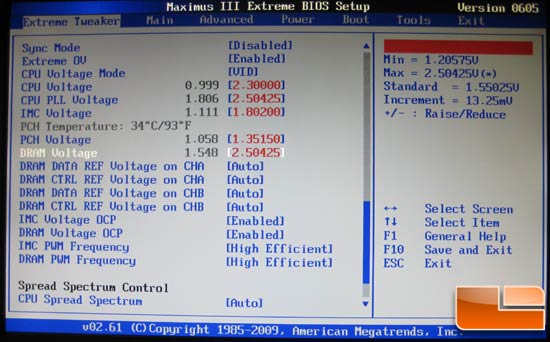
The voltage adjustments with the Extreme OV setting enabled yields more than enough voltages for even the most insane overclocker. There are also IMC and DRAM switching frequency options that have either “High Efficient” or “1.33x” options. At the top you can see the Sync Mode setting; this is used for ROG Connect. I suggest keeping this disabled otherwise the board will load whatever are the latest settings in RC TweakIt. I had the board accidentally try to POST on air with 1.7vcore and 5.8GHz after shutting down from a run under the cascade. Lesson learned to say the least.
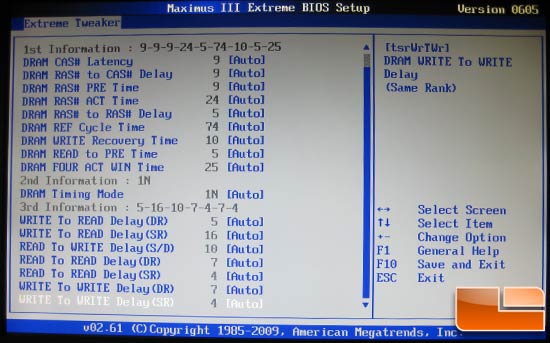
Here are all the DRAM timing options. The board likes to set the primary timings a bit loose; it would be wise to manually set the timings.
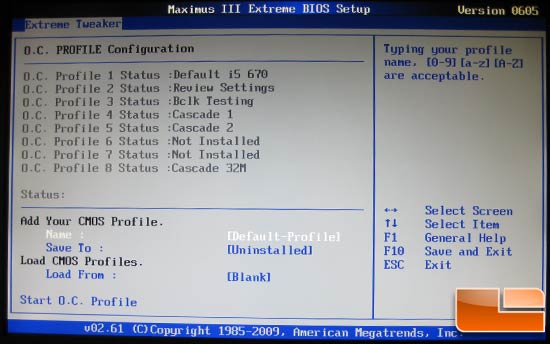
At the bottom of the Tweaker tab is the OC Profile option. Here you can set up to 8 profiles that save the BIOS configuration for easy switching. You can see I have a few profiles saved such as “Default i5 670”, “Review Settings”, and “Cascade 32M”. These let me quickly change all the settings and can be useful if you want a smooth board for daily use but a screaming, tweaked machine for gaming.
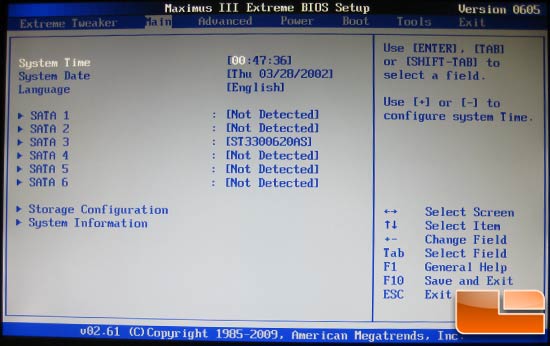
Nothing special here, set the date, time, and move on.
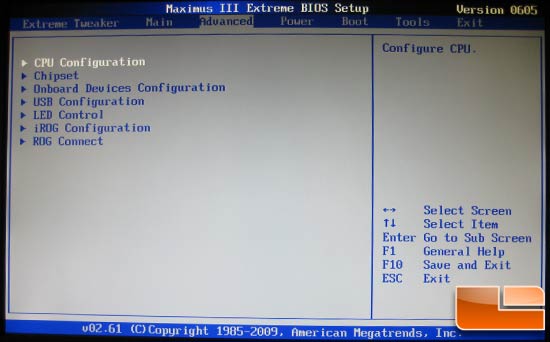
I’m only showing this screen for the next screen. Selecting onboard devices and…
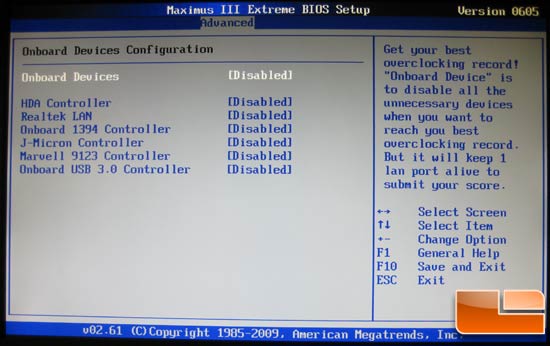
…there is the option to disable all onboard devices with one setting! This just shows how overclocking oriented the board is.
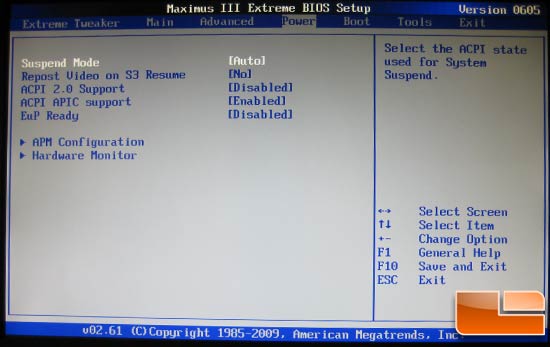
Not much here except that hidden Hardware Monitor option.
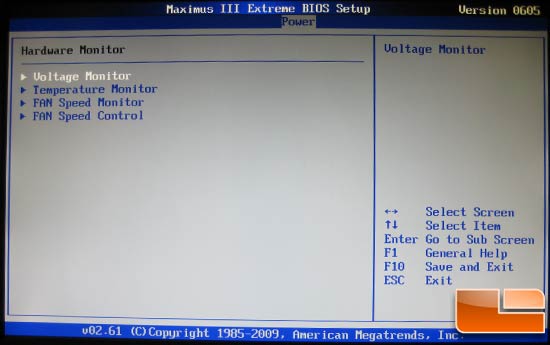
Plenty of monitoring options; we’ll select Temperature Monitor.
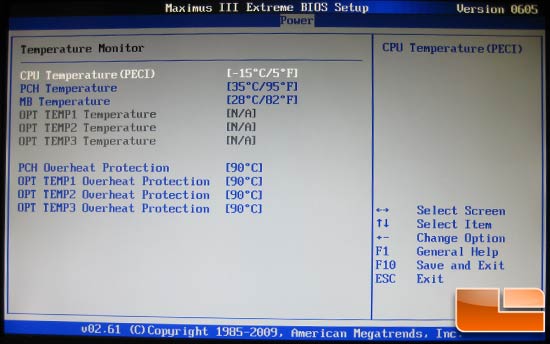
Please ignore the CPU temperature setting; I took the screen shots under the cascade and it clearly had issues reporting below -15C. That being said, the temperature reporting works perfectly fine in normal situations.
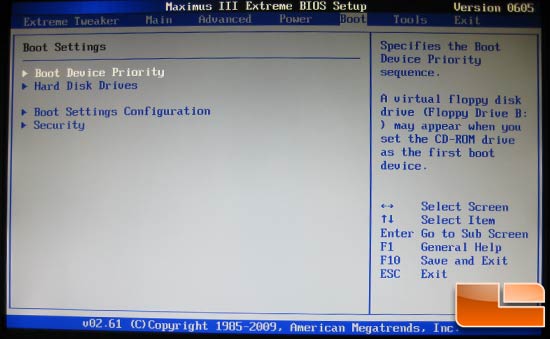
Boot settings: once again, nothing too special here.
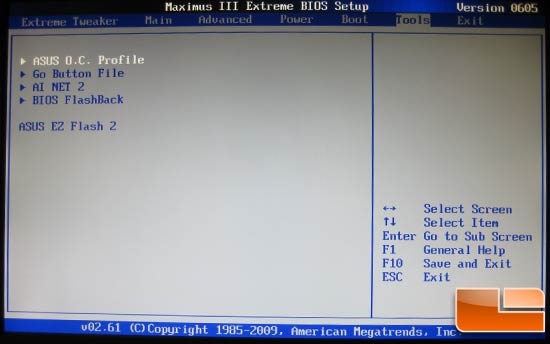
Last up are the tools. OC Profile makes another appearance here along with the all important Asus EZ Flash. This makes flashing BIOS files a breeze; I’d suggest flashing at safe speeds although I found it works just fine at 5.5GHz.

Comments are closed.