ASUS Crosshair III Formula Motherboard Review
BIOS Configuration
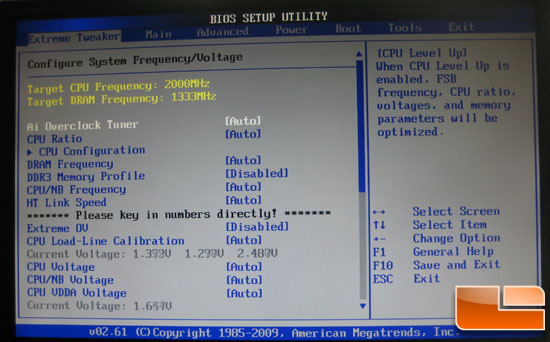
ASUS doesn’t fool around with overclocking. When you enter the BIOS the first screen you are greeted with is the overclocking screen. Here, you’ve got all your normal options like HTT adjustment (labeled FSB, have a laugh with me) and multiplier adjustment for the CPU, memory, and northbridge.
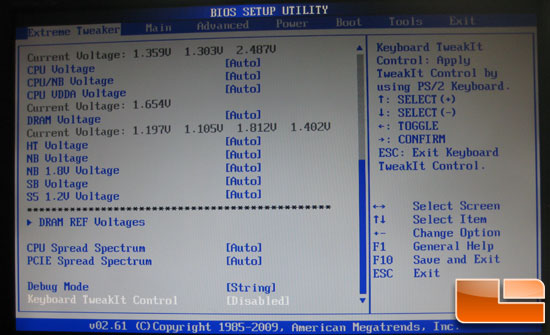
Voltage adjustments are available for everything you could possibly need. I found it necessary to only play with the CPU, CPU/NB, DRAM, and SB voltages. When pushing high HTT clocks I find bumping up the SB voltage a few notches helps with stability. SB750 contains a clock generator for the board so it makes sense that when pushing high frequencies extra voltage would help.
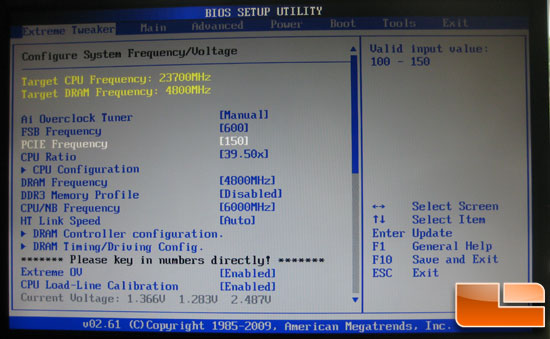
Here are the maximum values possible with our AMD Phenom II TWKR installed in the socket. A respectable 23.7GHz is possible in BIOS, of course the chip will only realistically do around 6.5GHz but let’s just pretend for a moment this is real. There are plenty of frequency and multiplier options to play with when using unlocked chips; I’m sure with this board you can find the right combination for your setup.
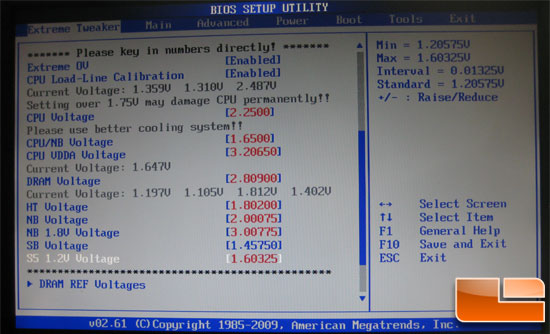
Check out those voltages. This is enough red to make anyone nervous. I, unfortunately, didn’t have any liquid nitrogen available to push the limits of this board but it appears to offer enough voltage for every setting to toast the entire setup and then some. I am particularly fond of the warning “Settings over 1.75v may damage CPU permanently!!” I suppose 1.725v is safe?

Nothing to see here folks, move along. Date, time, detected peripherals, and SB750 storage options.
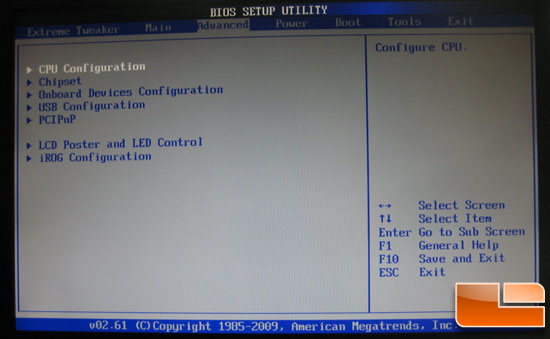
A gigantic sub-menu of options. This is pretty straight forward, so let’s move on.

Here you can adjust the CPU specific settings. For the tests I had Cool ‘n Quiet disabled but for energy savings and such I’d suggest leaving it on.
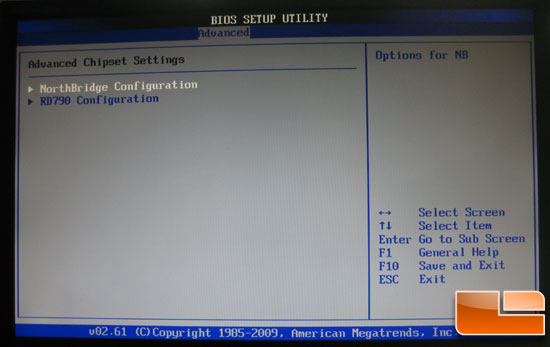
Not much here, a few adjustments in the sub-menus for things like PCIe lane power.
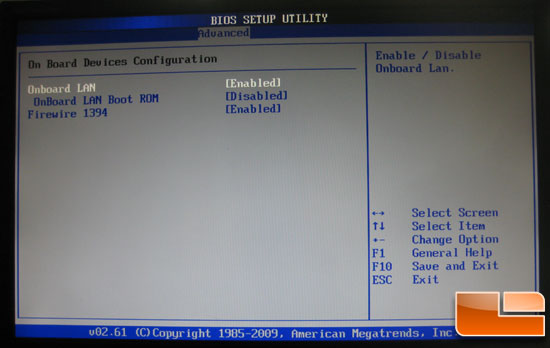
The only onboard peripherals — not much here. It’s either on or off.
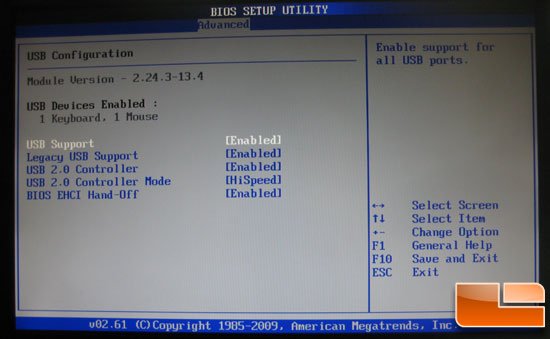
Here you can configure the USB ports. Haven’t had to fiddle with this beyond disabling it all when pushing HTT clocks.
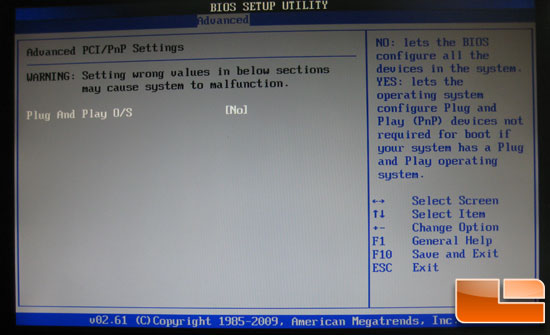
Plug and Play for expansion devices. They should include a game of Tetris in the BIOS here to make things interesting compared to the Tweaker menu.
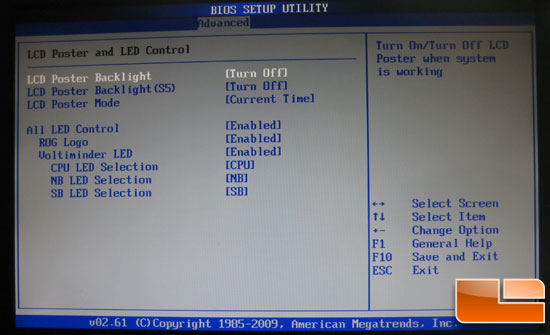
Sleep next to your PC and can’t stand bright LEDs? The Crosshair III Formula is covered in status LEDs and a pulsing Republic of Gamers logo which is surprisingly bright. With these controls you can disable all these bright fancy lights and revert back to 2004 when things were dark and stayed that way.
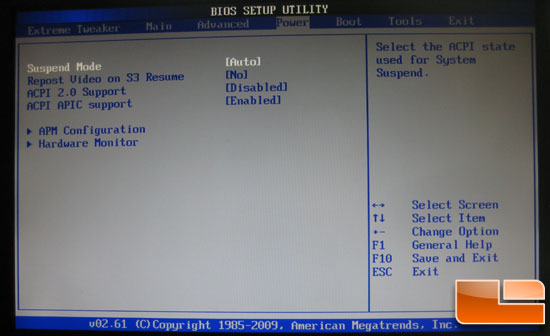
Power state configurations for S3 resume. Nestled at the bottom is the Hardware Monitor; we’ll get to that in a bit.
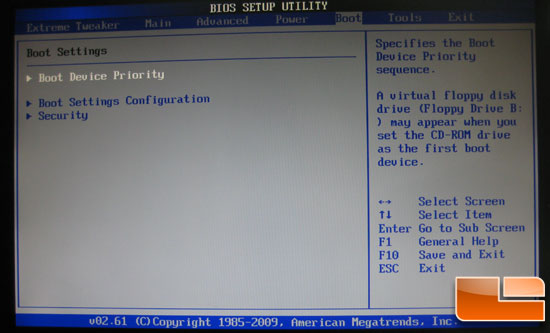
Important stuff here — select your boot device and boot priority.
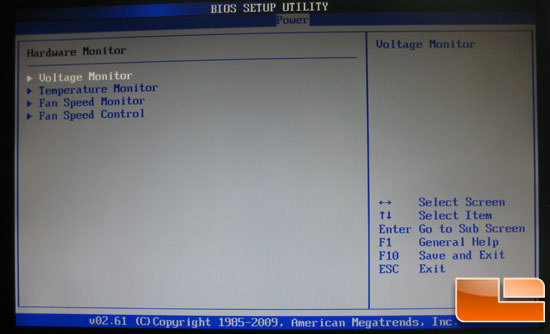
Even more important stuff, voltage and temperature monitoring. I do wish they had just combined everything in one screen.
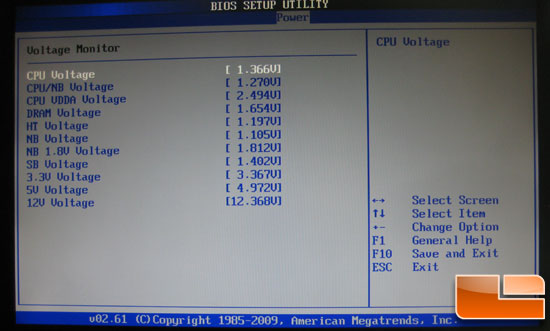
Voltages galore. These are the default voltages on the system besides the DRAM voltage being bumped from 1.50v to 1.654v.
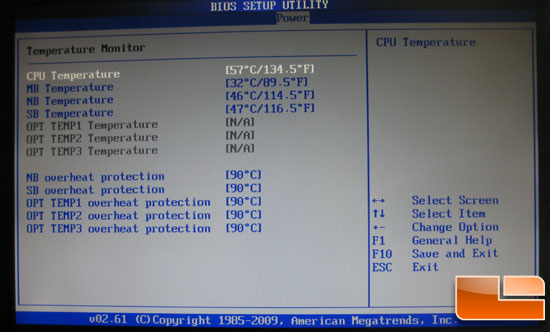
The temperatures, as far as I could tell, were quite accurate. The heatsink on my CPU was poorly sized for the heatload, hence the 57C idle temps in BIOS. Here you can see three additional optional temperature readers for three optional probes that attach to headers on the board.
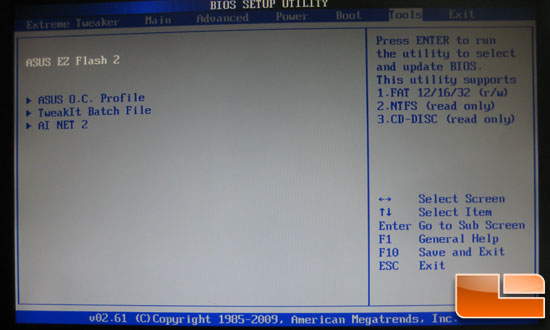
If you overclock then this menu will be a huge time saver. With EZ Flash 2 you can flash the motherboard BIOS from a USB stick, O.C. Profile lets you save various BIOS profiles to quickly switch up settings, and TweakIt Batch Files let you save these profiles to removable devices for quick recall later.
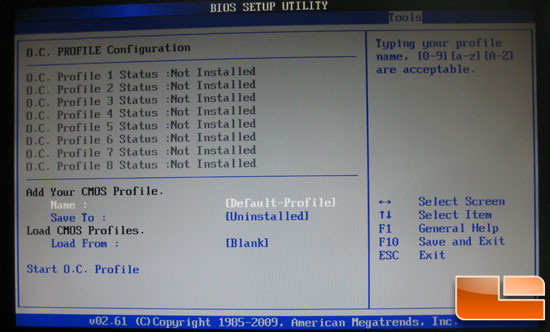
Plenty of space for overclocking profiles. I find this to be especially useful when testing components; I typically have a few profiles for various cooling forms such as dry ice, cascades, and liquid nitrogen.
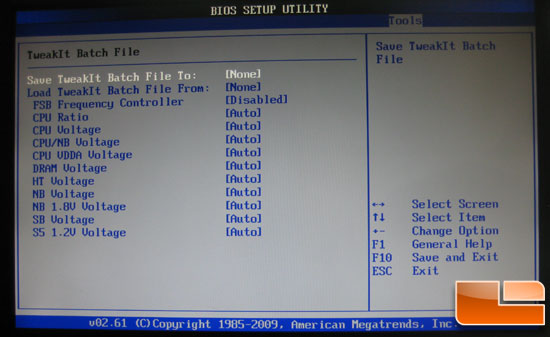
Brutally simple, TweakIt batch files let you quickly reset the core voltage and frequency options in the BIOS from removable media. This is great if you find a perfect combination and want to use it on other boards or down the road after a hard CMOS reset.

Comments are closed.