Antec P193 Mid Tower ATX Case Review
Antec P193 – Interior Impressions
What may be a disappointment for some on the Antec P193 is the lack of finish on the interior. Being that there are no windows on the case, there’s no reason that it should be an issue – especially with the side fan nixing any ideas of modding in a window. Antec saw fit to pre-install some of the motherboard mounting studs; although depending on your board, you may find yourself having to move them around. Joy.
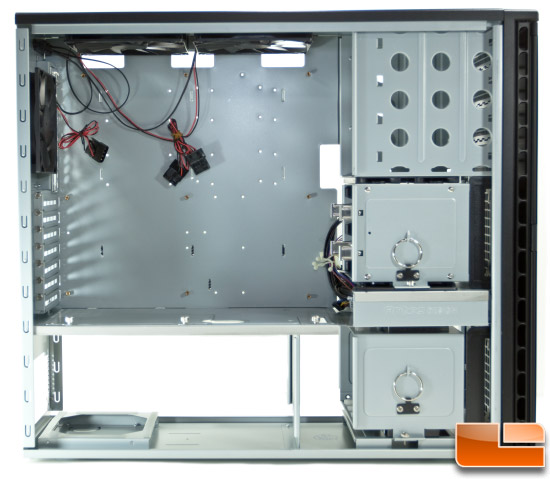
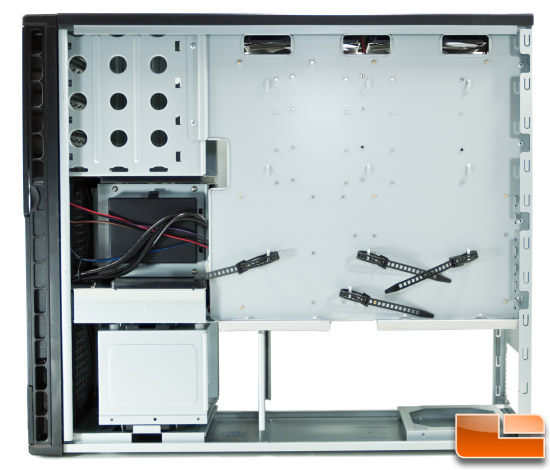
On the back side, there’s plenty of room for routing cables with some strategically placed holes and cable ties with mounts tossed in for good measure. The one hole that is glaringly absent is the one for accessing the back of the motherboard to remove the cooler without removing the whole motherboard. That’s a bit of a disappointment, especially when the case lacks a removable motherboard tray. As mentioned, the side panels are plenty heavy and with good reason. They are each made of steel with a thick polycarbonate layer to deaden noise. On each side, there are strips of silicone that lined the edges to prevent vibration and further reduce noise. This is a thoughtful feature.
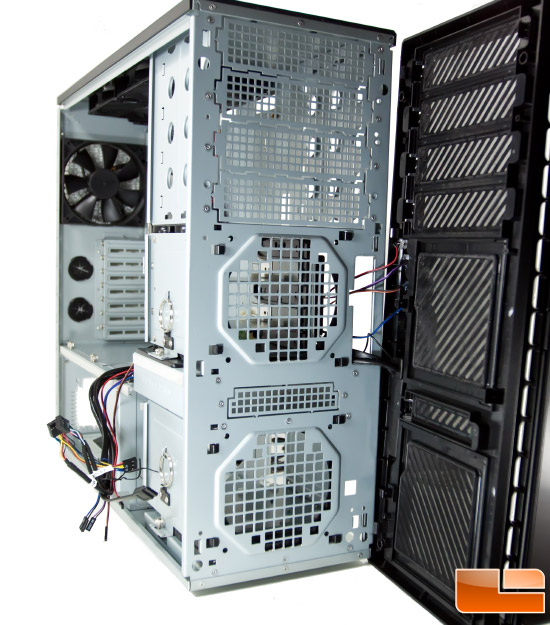
Snapping off the plastic front bezel reveals the four 5.25″ drive bays, fan mounts and floppy bay for those old school builders. Notice the entire front bezel is rich with dust filters.
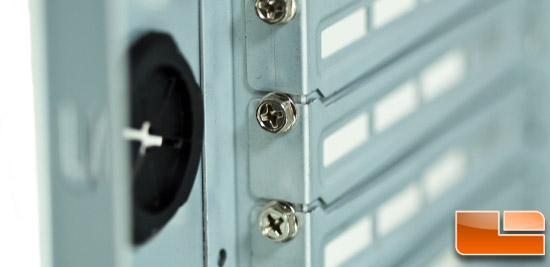
While most of the case is tool-less, the screws that hold in the expansion slot covers require a screwdriver but that’s no big deal since you should have one on hand anyway to install the motherboard screws. If you’re like me, you probably have a half-dozen thumbscrews lying around to replace them anyway.
The PSU has an elevated mount which also features the silicone pads to eliminate vibration noise. I do wonder why there are no holes directly beneath the PSU aperture. Although the PSU area is more or less sectioned off, a few ventilation holes underneath to pull in cool air would sure be beneficial. Mr. Dremel could help with that.
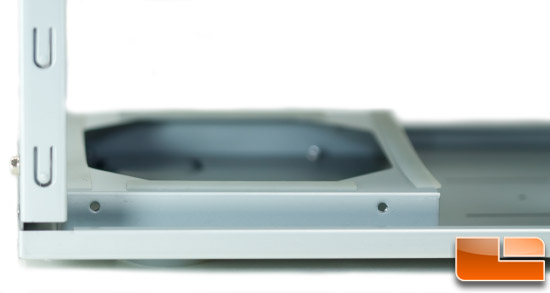
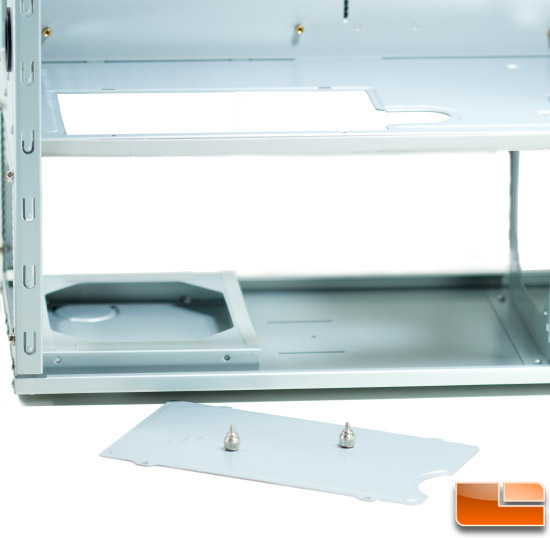
To help cordon off the PSU area, there is a cable pass-through with a removable plate to facilitate the cables with large plugs during the build. This is a decent design but those with diminutive cables may need to leave the cover off to ensure they reach their destination points. Thumbscrews are used here to hold the plate in place.
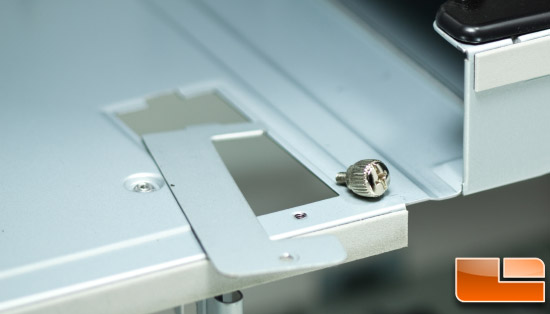
Similarly, there is a smaller pass-through for the SATA data and power cables which is also held in place with a single thumbscrew. I’m not sure that this modest hole really requires a plate cover but it’s there in all its glory just the same.
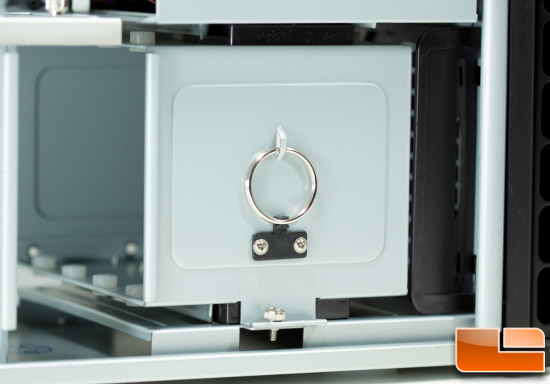
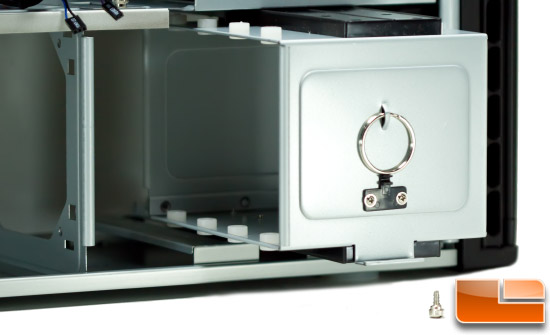
There are two hard drive cages on the P193. The lower cage stores the hard drives on their sides and slides out with a tug on the ring once a single thumbscrew is removed. The ring snaps in place when not in use to prevent extraneous noise.
Forgoing the need for rails, the drives are screwed in directly through silicone grommets to dampen vibration and reduce noise. Be careful not to compress these too much by over tightening the screws or you will lose much of the dampening effect.
The upper HDD cage stores the drives in the more traditional horizontal position. This time the drives are attached to removable trays via the same silicone grommets but through the bottom of the drive. The different combinations of mounting methods may cause those with SSD’s and 3.5″ adapters to have fits. On the back side of this cage is a little storage case for all those small parts you are bound to have leftover.
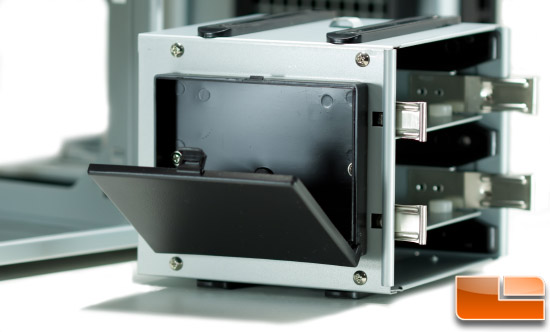
Like the lower cage, this slides out with a pull of its own installed ring and is held in place with a solitary thumbscrew.
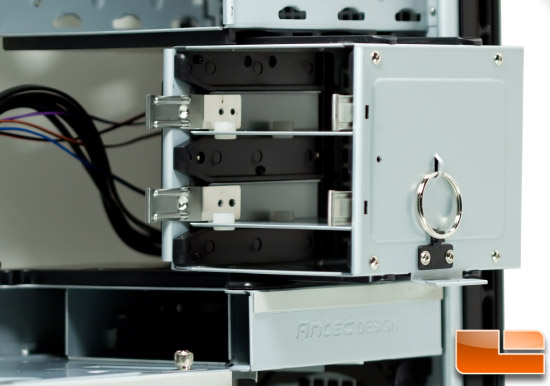
With these cages removed, visible are the plastic shrouds to house the “optional” front 120mm fans and sitting in between is the FDD bay.
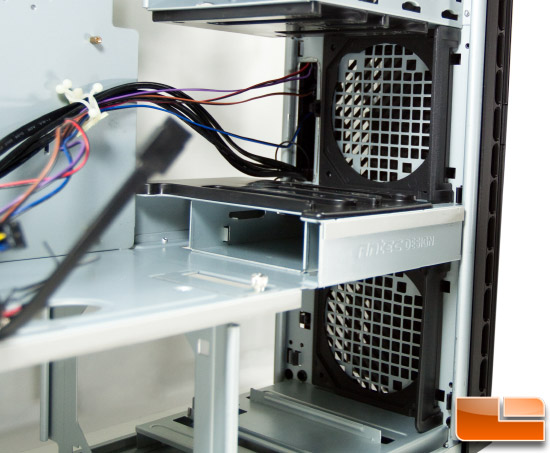
Another optional fan can be mounted just behind the upper HDD cage which acts as a duct to even further facilitate airflow but this will disallow the use of this cage for mounting drives. So, in all, it is possible to have four total 120mm fans in addition to the two 140mm and single 200mm fan. Let’s see how this all comes together in the build.

Comments are closed.